Welcome to your Organisation! Here you'll find everything you need to manage workspaces, users and billing if you're an Admin. As a User, you'll be able to view the workspaces and users in your organisation. Let's dive into understanding and navigating your Organisation!
Creating an organisation is the first step to using our platform. It allows you to manage your team and their access to workspaces.
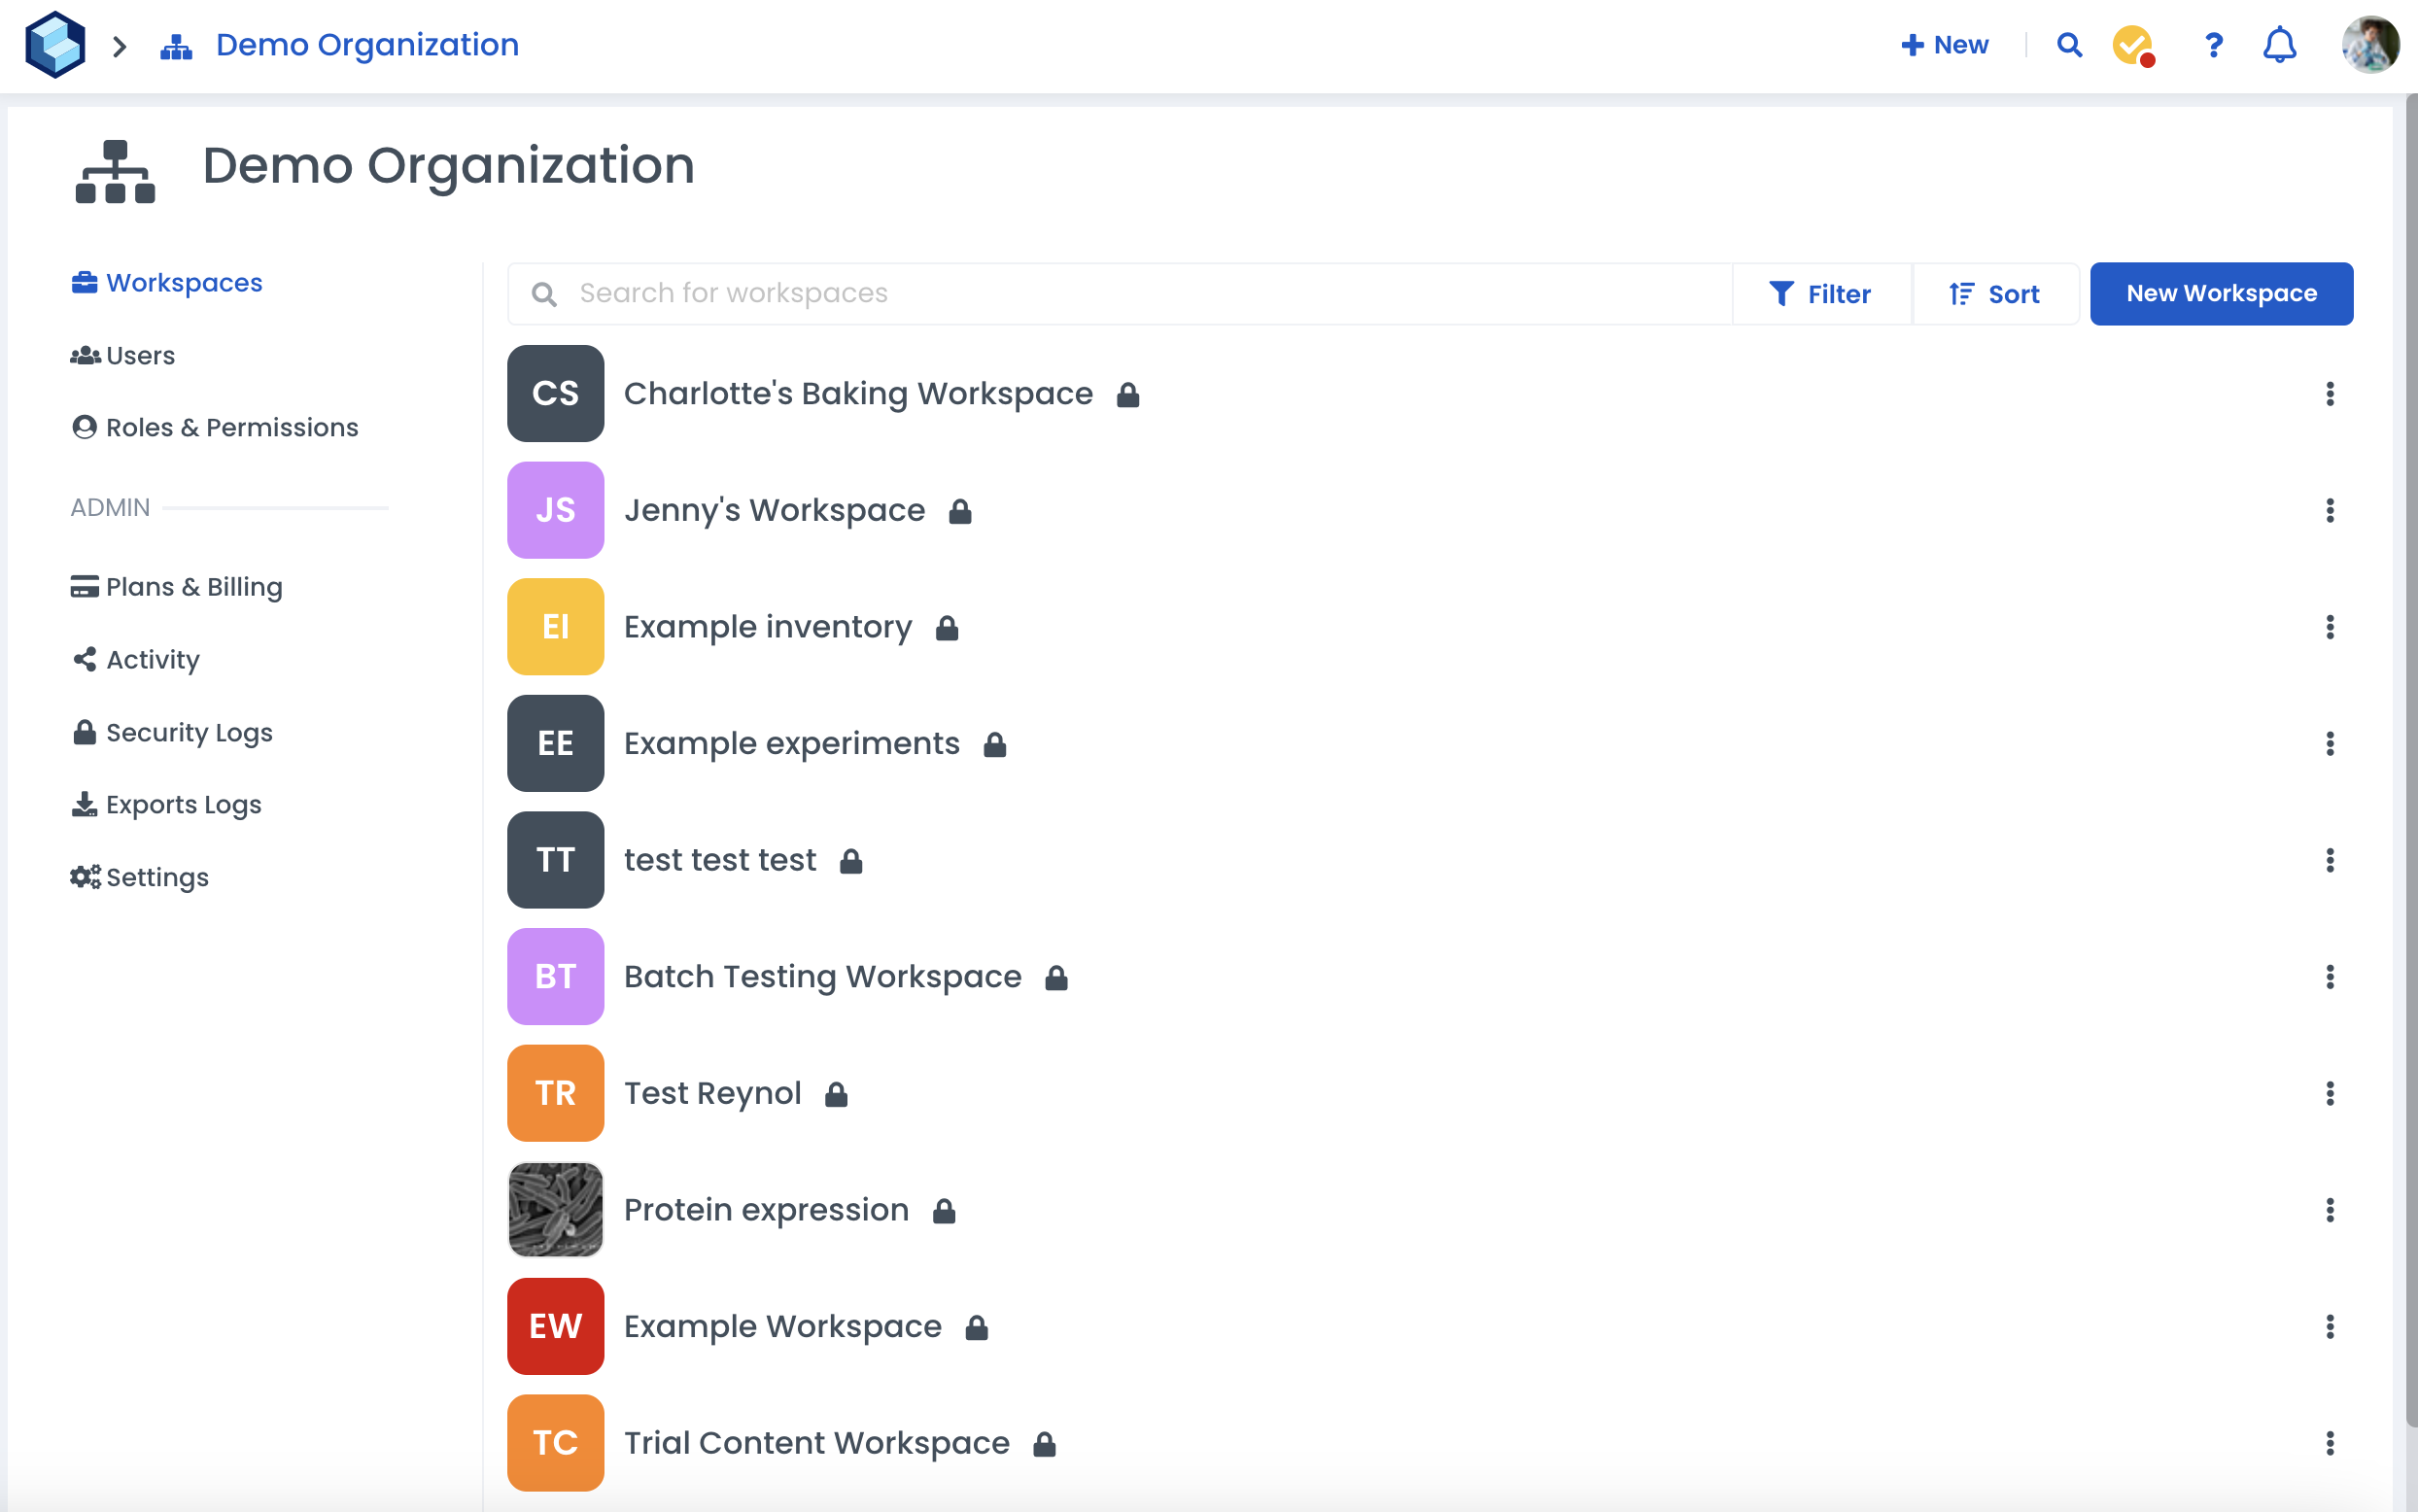
After you've signed up and created your account, you will be prompted to enter a name for your organisation. Once you have completed these steps, your organisation will be created and redirected to the organisation dashboard. From there, you'll see the following tabs:
Workspaces – list of the workspaces in the organisation
Users – list of the users in the organisation, including deleted users
Roles & Permissions – the different roles in the organisation and which permissions they have
Plans & Billing (Admin only) – your current plan and other billing-related information
Activity (Admin only) [premium] – where you can view your custom dashboards
Security Logs (Admin only) [premium] – review the activity of users in the organisation, including IP address and date
Exports Logs (Admin only) [premium] – review the export activity of users in the organisation, including the type (e.g. print, zip, HTML) and the workspace
Settings (Admin only) – manage the organisation's name and other security features
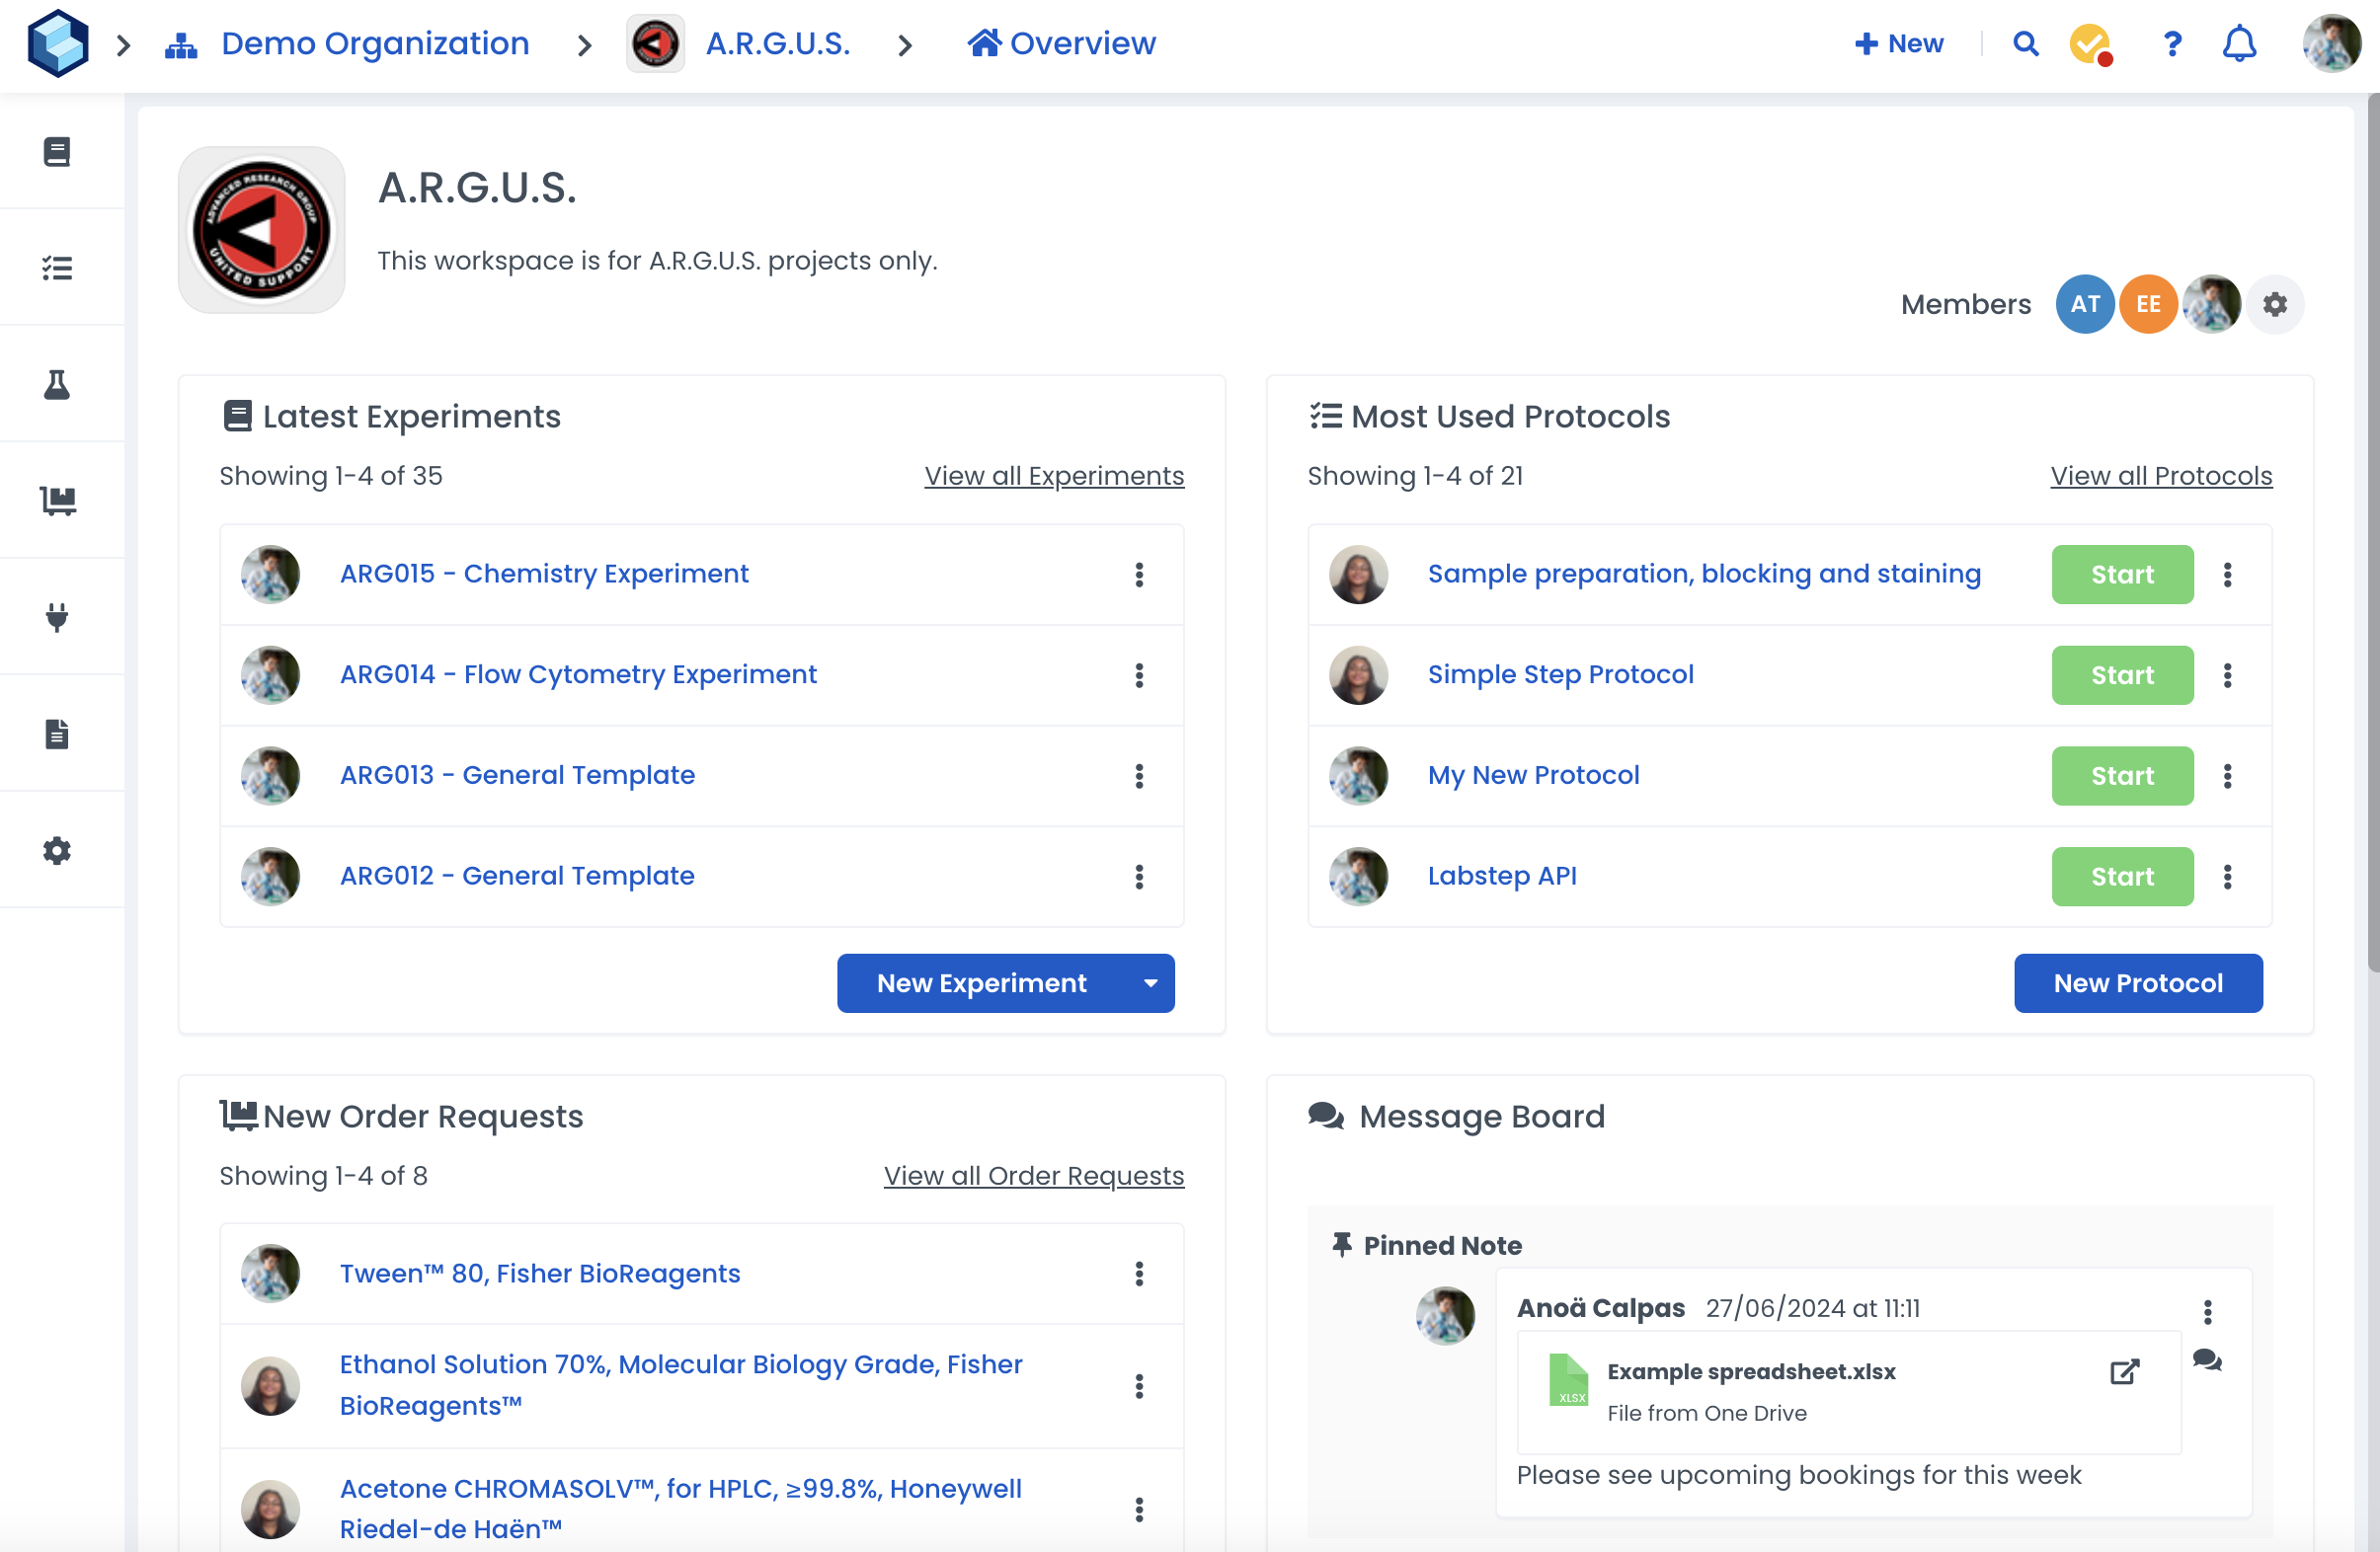
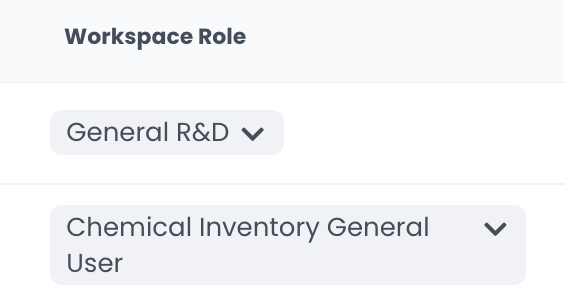
What are workspaces? Workspaces are environments where you collaborate with other users on a project or within a team. Within each workspace, you'll find different modules of Labstep including Experiments and Inventory. In a workspace, you can have different permissions—Owner, Editor, Viewer, Custom [premium]. These permissions can be selected from the Roles & Permissions tab (Admins only) or within the Workspace Settings> Users (Owners only). For more information on the differences between workspace and organisation roles, click here.
Once your organisation is created, you can start adding users to it. To do this, go to the "Users" tab on your organisation dashboard. Here, you will see a list of all the users in your organisation, including their workspaces, permissions, and 2FA status.
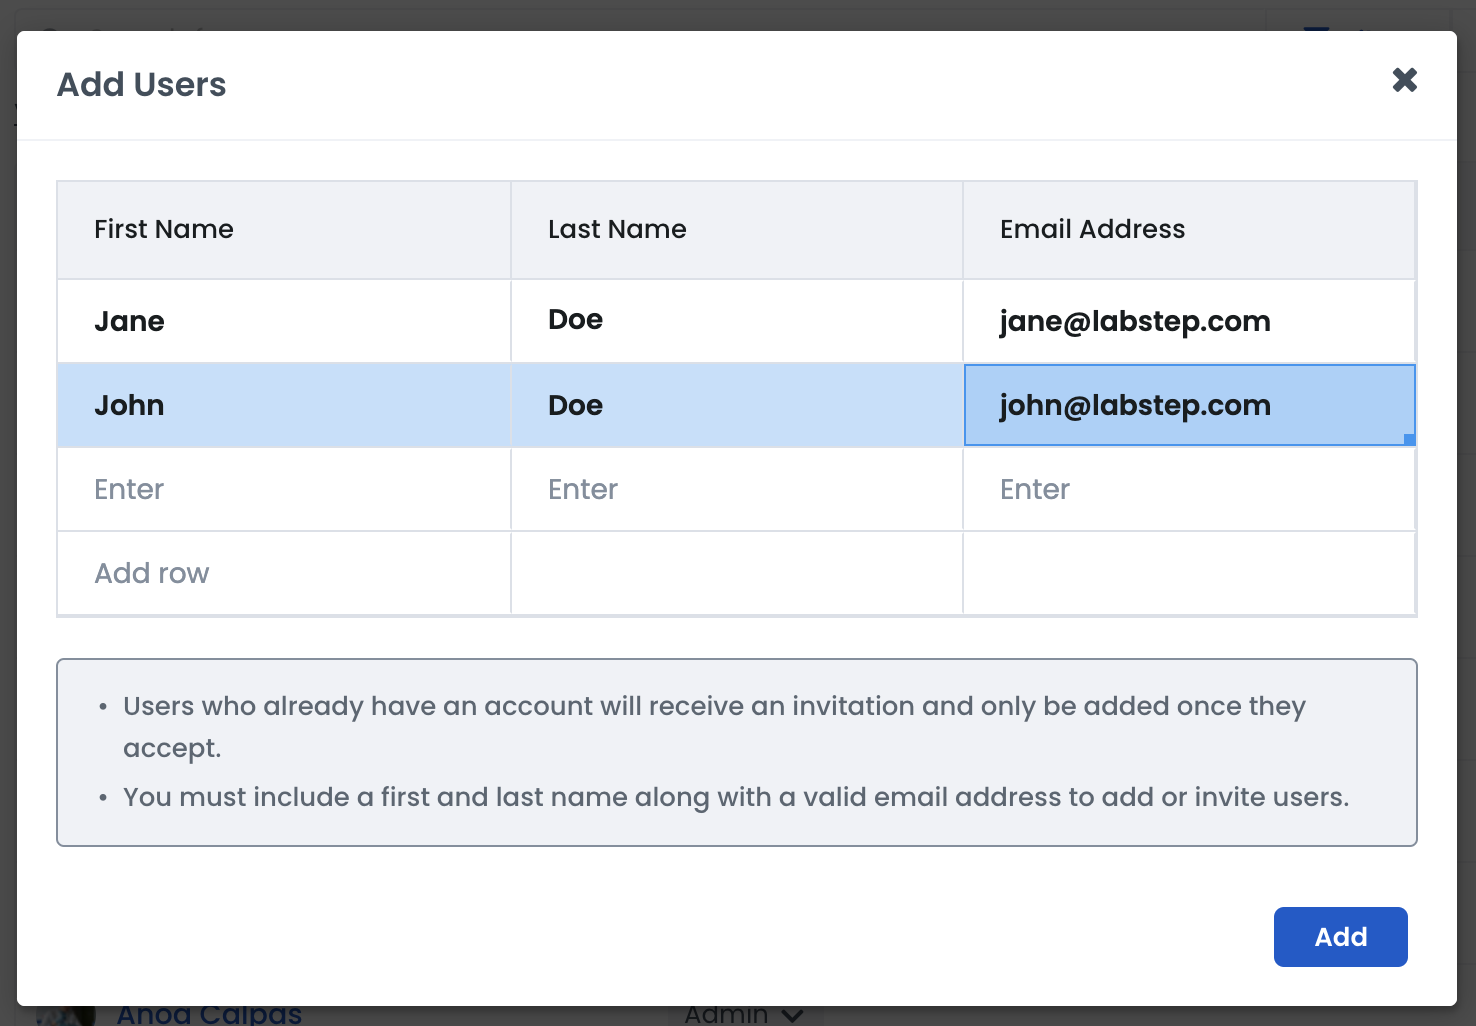
To add a new user, click the "Add User" button and enter their first name, last name, and email address.
If the user does not exist yet, an account will be created for them, and they will be sent an email asking them to verify their account and set a password. In the meantime, you can add them to workspaces and assign roles from the Workspaces and Users tab of your Organisation settings.
If the user already has a Labstep account, they will instead receive an invitation to join the Organisation. In this case, you will have to wait for them to accept the invitation before being able to manage permissions on the account. Once they accept the invitation to join the Organisation, all the workspaces they own will be transferred to the Organisation, and the account will fall under the control of the Organisation admins.
You can add users in bulk using the table. Make sure to add both their first and last names alongside their email addresses:
From the "Users" tab, you can also manage each user's permissions. You can set permissions at the organisation and workspace levels, giving you complete control over who can access what. For more details on how to set permissions, check out this article.
Organisation permissions allow you to control what actions users can perform within the organisation, such as creating workspaces, inviting new users, and managing billing information. To set organisation permissions, go to the "Users" tab on your organisation dashboard and select the desired options. For more information on this, please click here.

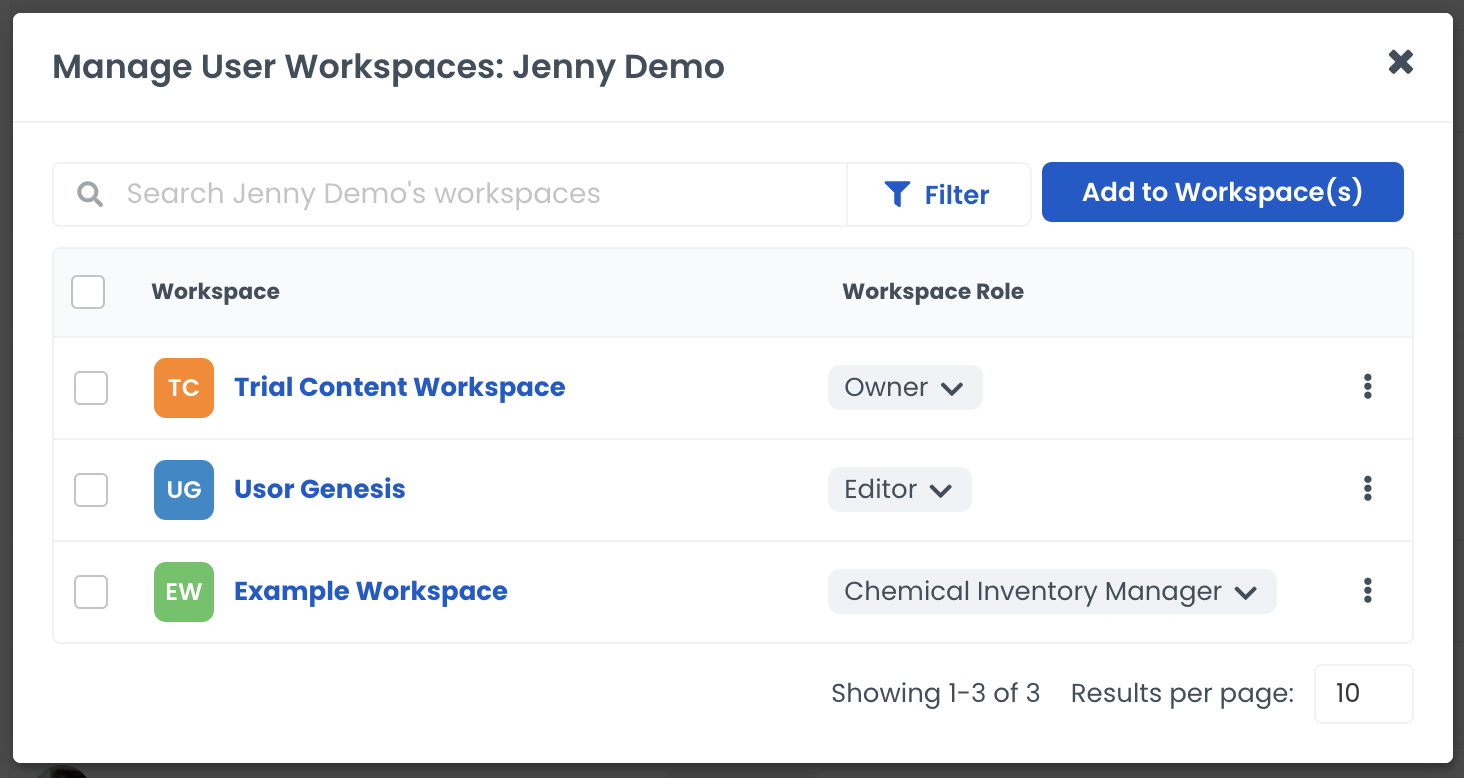
Workspace permissions allow you to control users' actions within a specific workspace. To set workspace permissions, go to the "Users" tab on the workspace dashboard, click ⋮ next to a user's name, then "Manage Workspaces", and select the desired options. For more information on this, please click here.
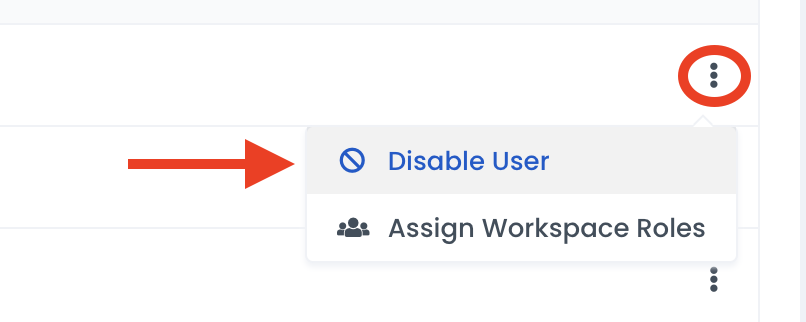
You can restrict a user's access to your organisation or remove them from a specific workspace from the "Users" tab.
Disabling a user does not delete any content they have created, but it prevents them from accessing your organisation, workspaces and content. If a user is removed from a workspace, their content will still be available to other workspace members.
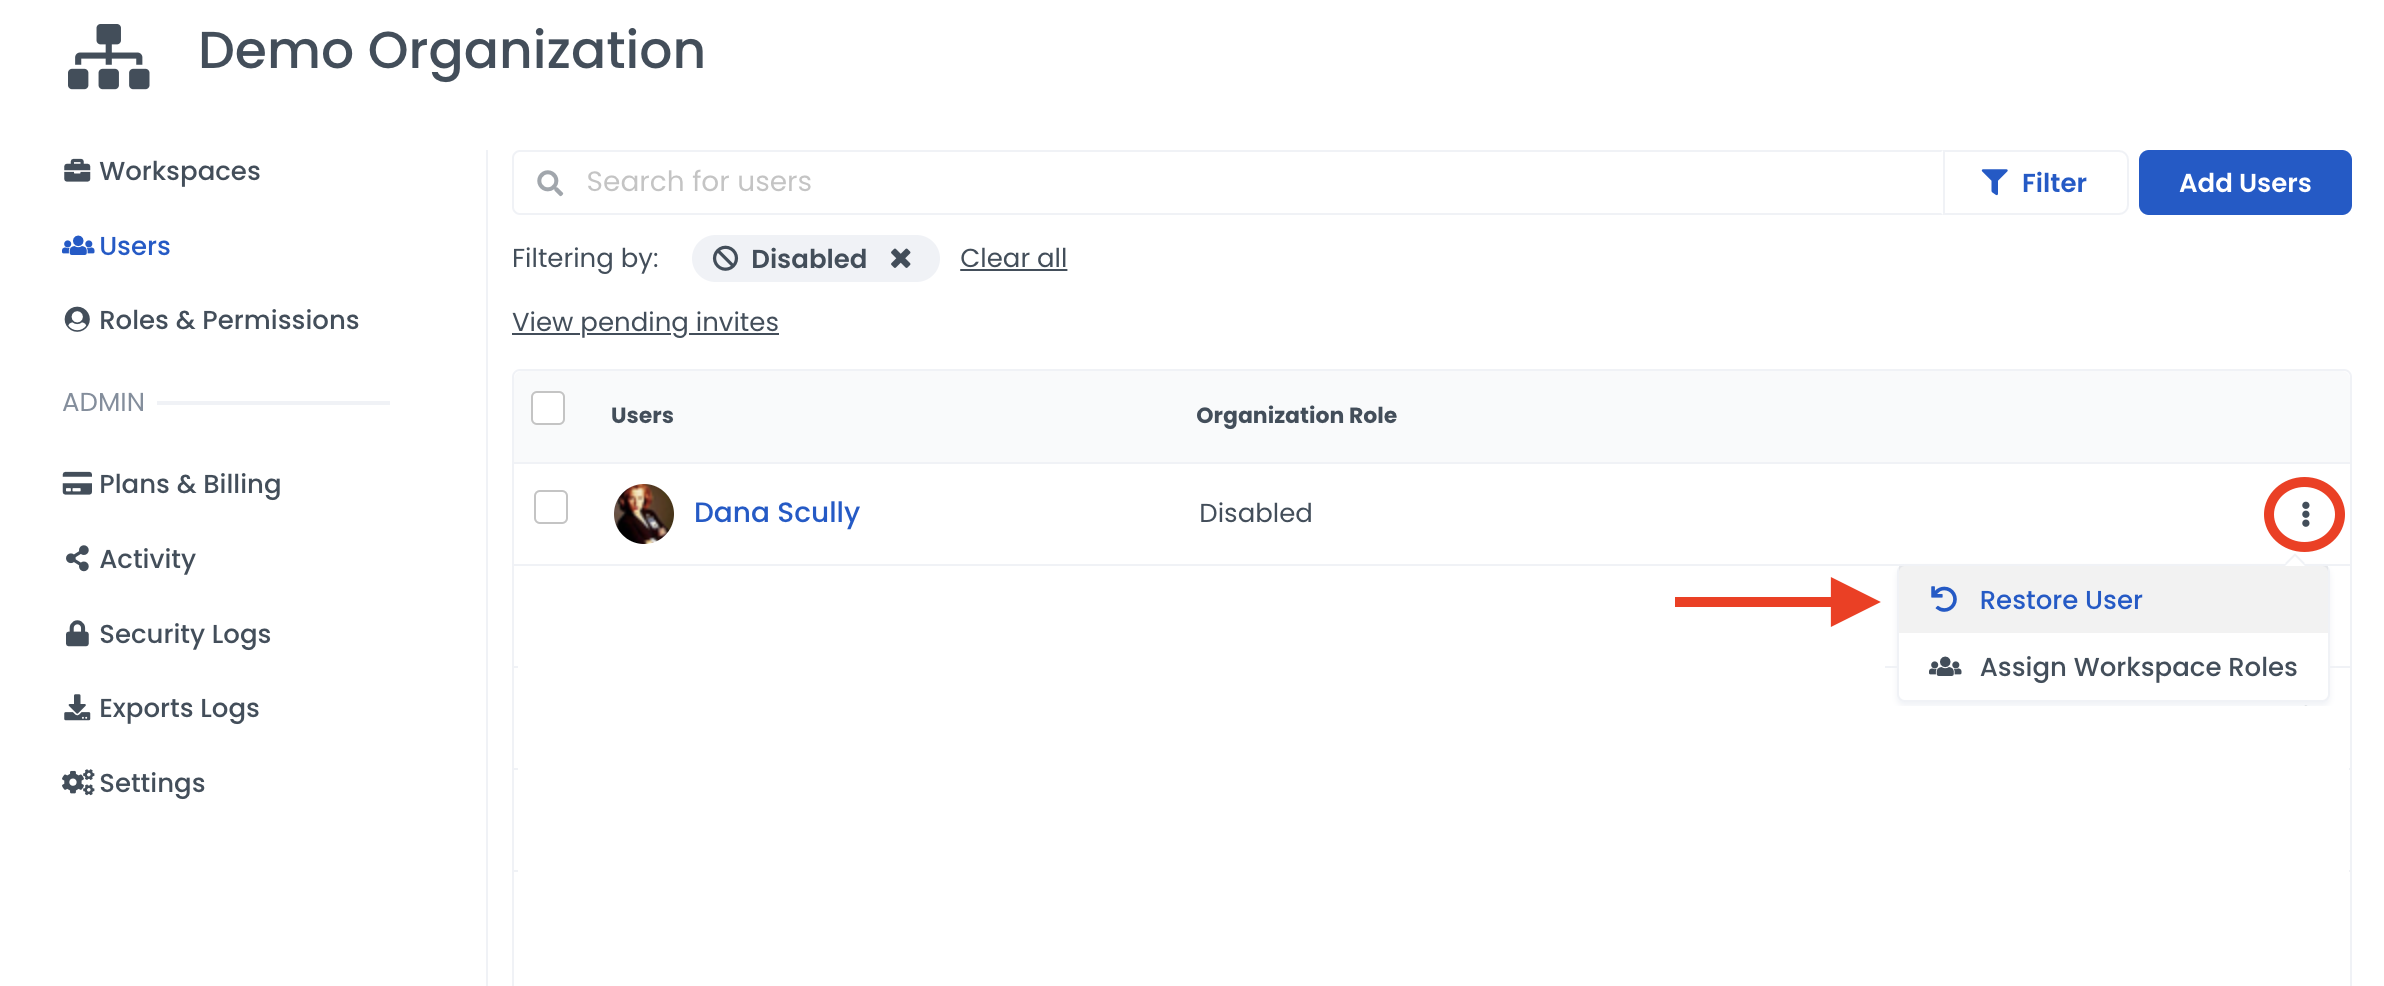
If you need to reactivate a user, go to the "Users" tab and click on the "Restore" button next to their name. For more information on how to add and remove users, please refer to this article.
As an Admin, you can manage your organisation's settings and users. To set up your organisation efficiently, start by quickly adding users in bulk and assigning their organisation and workspace roles and permissions. It's straightforward to manage and ensures the right people have access to the right thing. You can also disable and restore users as needed without any impact on the content they've created. On Labstep, even if a user has been deleted (or removed from a workspace), other workspace members will still have access to any data they created in that workspace!
If you would like more information on how adding and removing users might affect your billing, please get in touch with your account manager at [email protected].
What are the different tabs in your Organisation dashboard?
What is a workspace?
How to manage users?
How do you manage users' permissions in the organisation and workspaces?
This lesson is part of the "Labstep 101: Everything You Need to Know to Get Started" course. View all lessons here.
