Welcome to Labstep. We put together this guide to help you start configuring your account in no time. Keep reading to find out how!
Once you've installed Labstep, you can start creating new experiments and protocols. You can import your files and data and copy/paste your text and images to your new experiment or protocol entry.
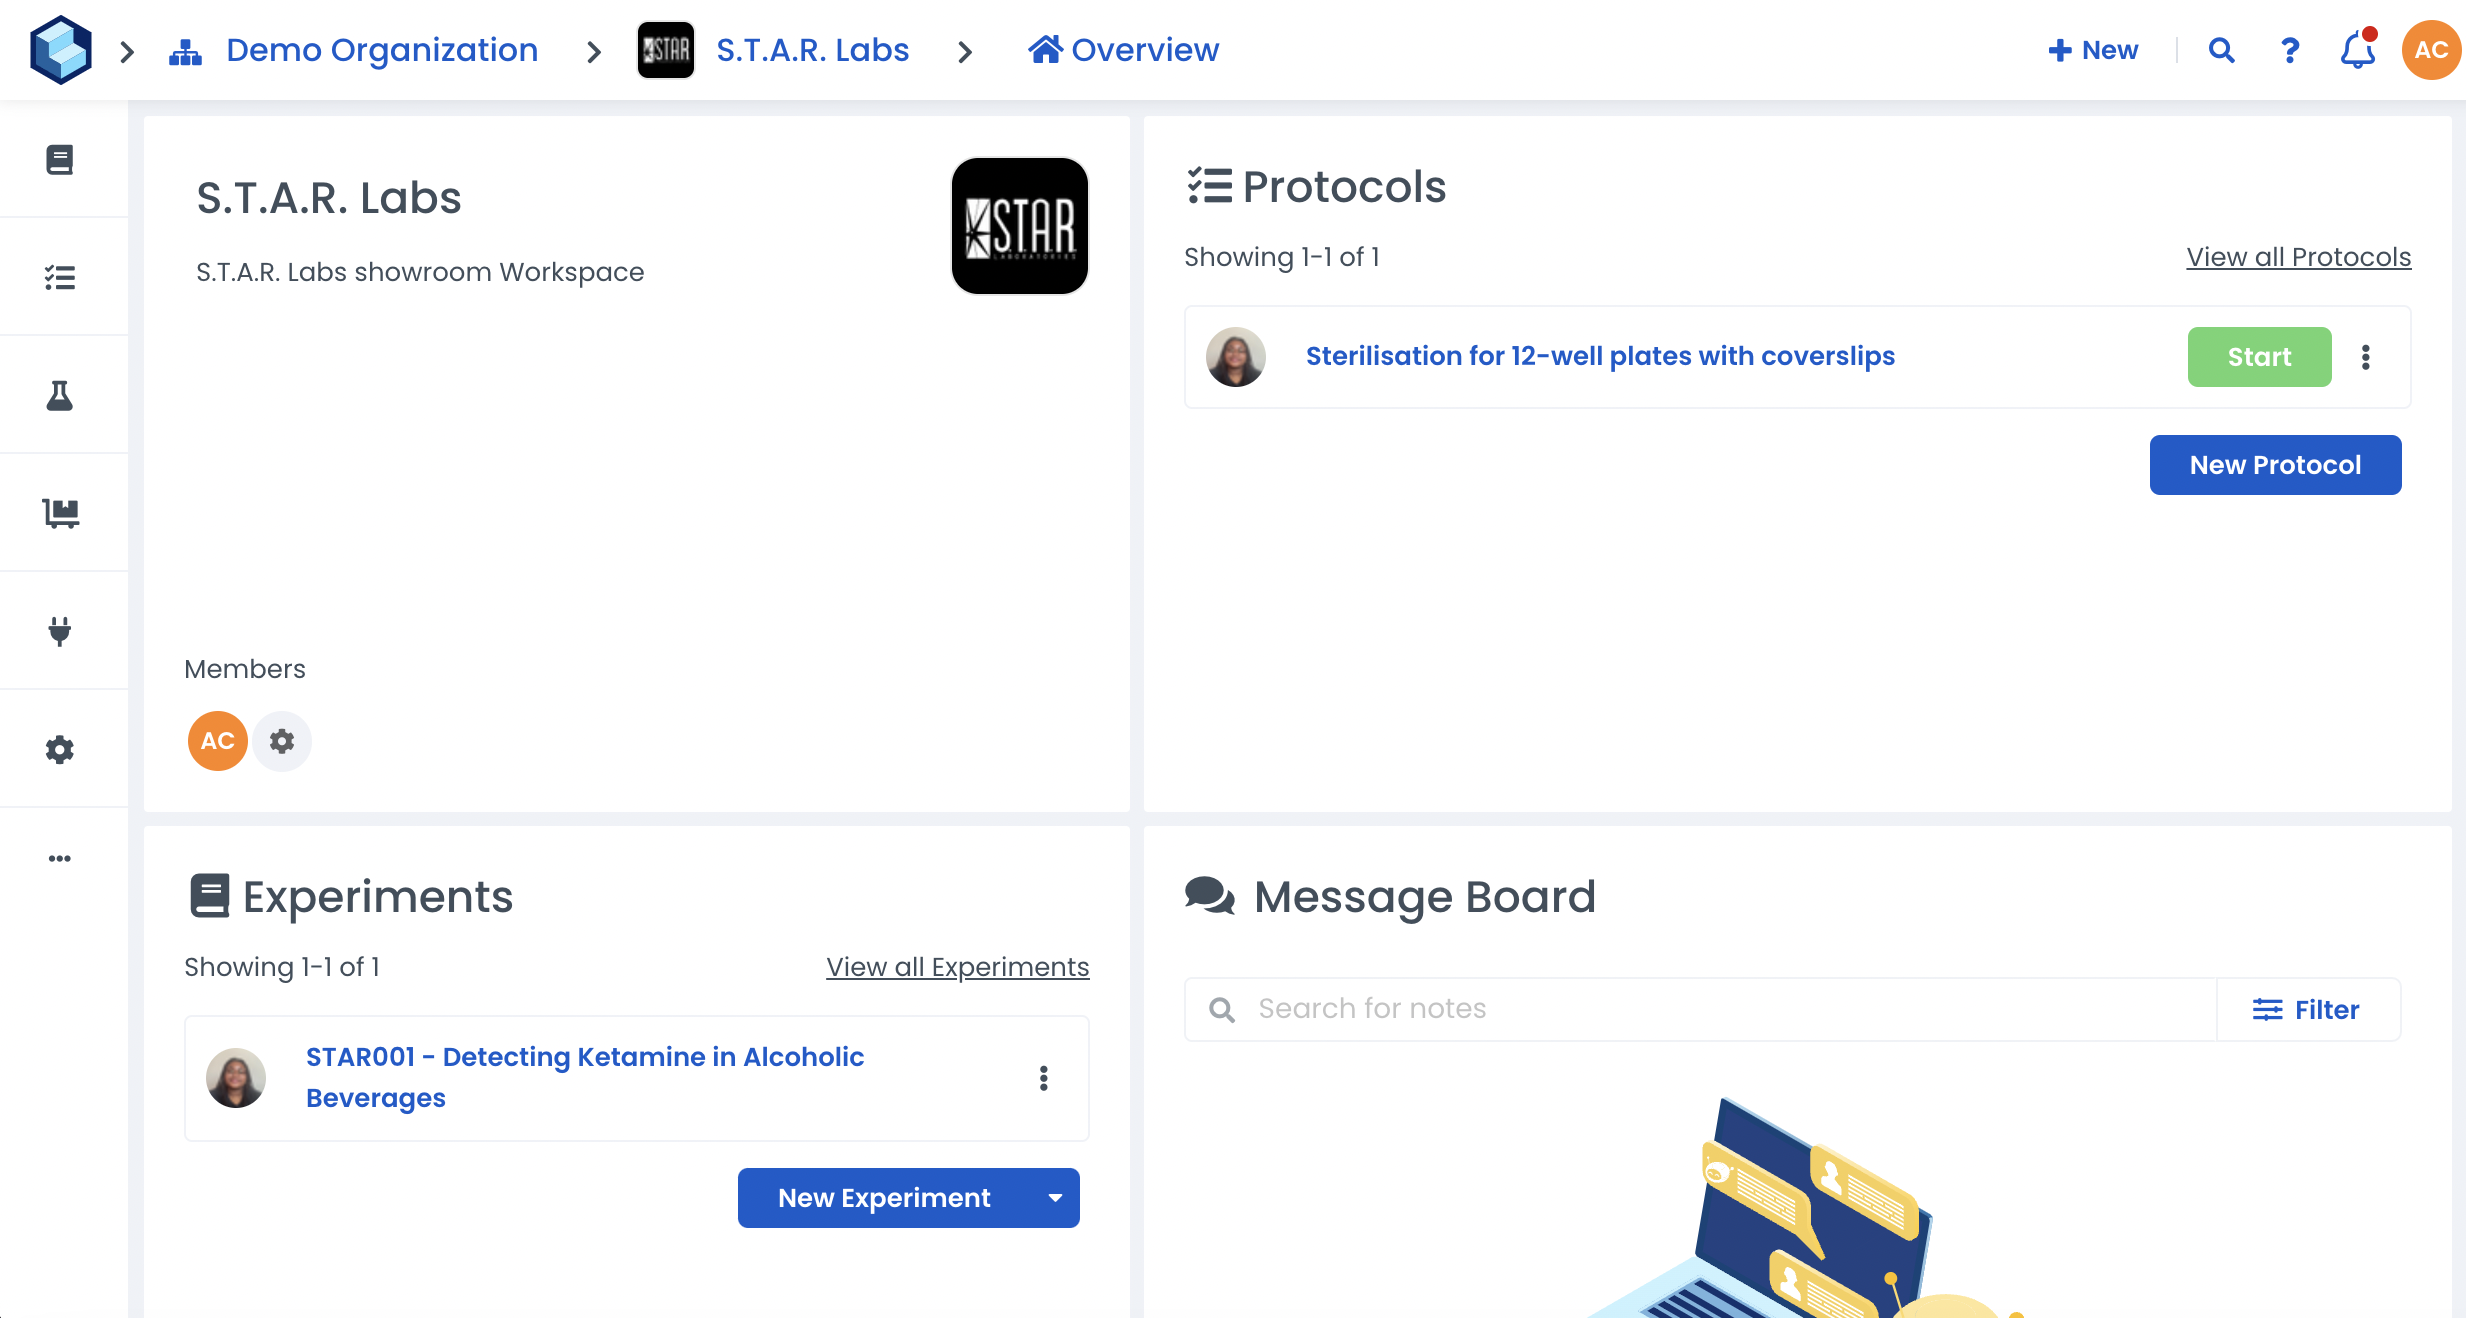
Once you've created your first protocol, you can begin to test out all the features we've designed to help you seamlessly track and develop your scientific discoveries in a smarter, more advanced way. Some of these functions include:
Incorporating live Protocol Runners that can help walk through and obtain data from your procedures in real-time
Track and reference Resources and materials required for each protocol with ease via streamlined integration into all your documents
Embedded tables, timers and wrapped steps you can use to quickly elaborate the protocol for an experiment and record data without leaving the page
Integration with multiple programming and storage services such as Google Drive, Python etc. to customize your essential workflows
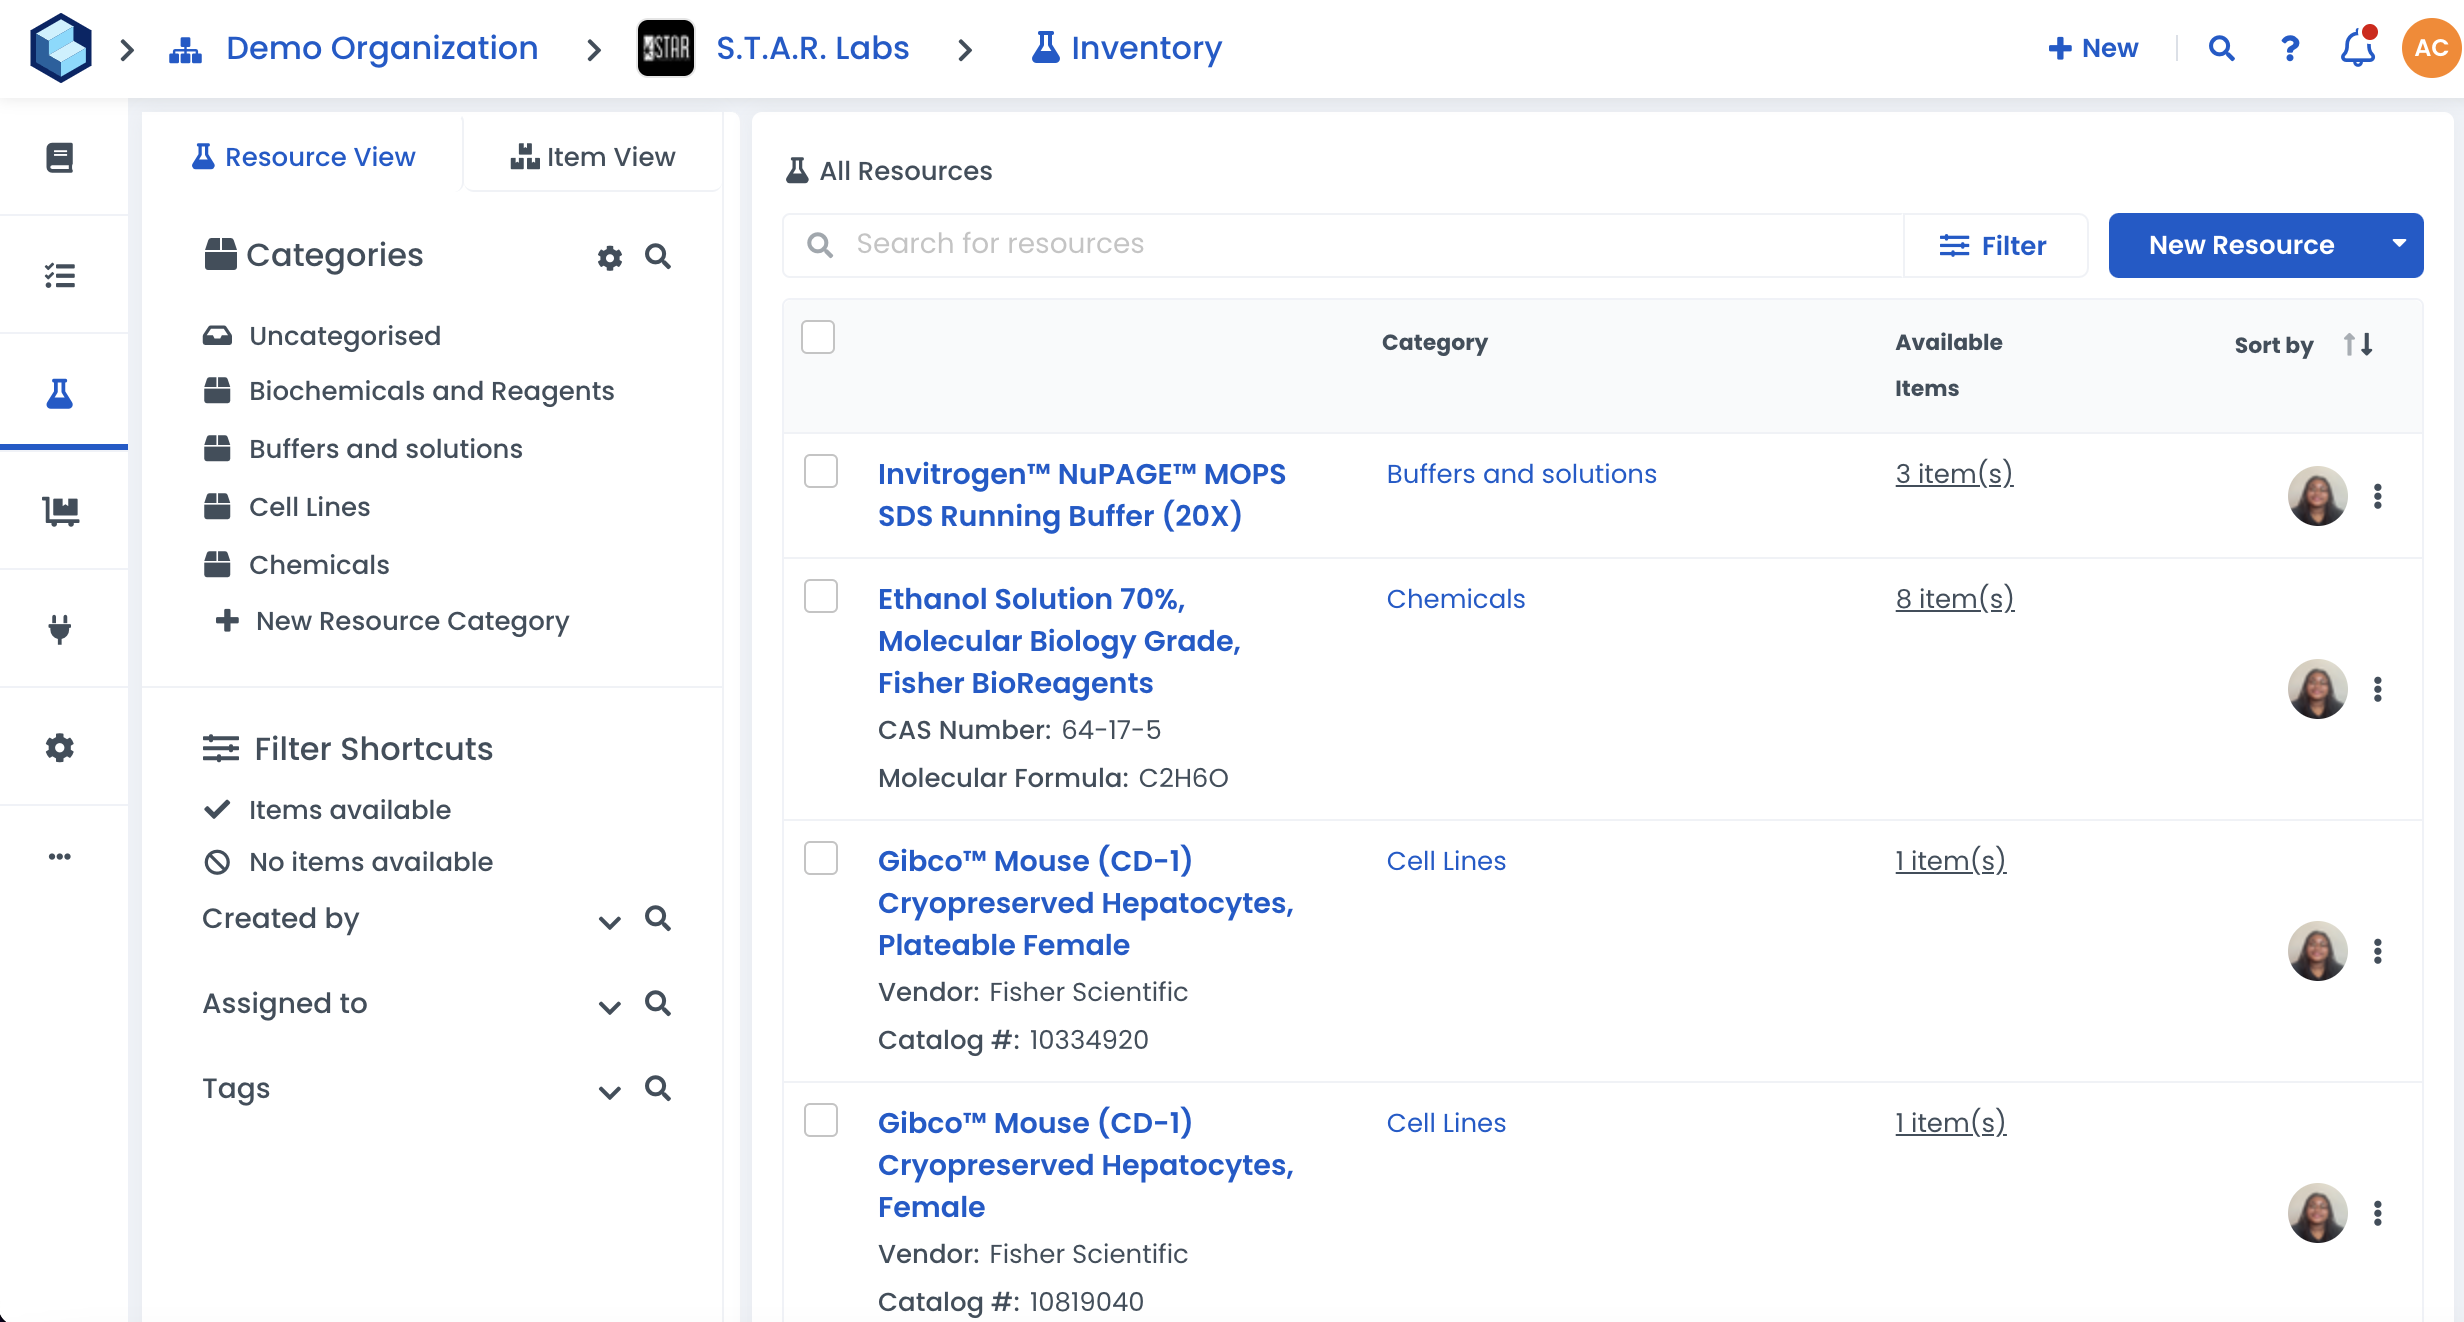
Once you have your protocols in place, it's time to link your materials. We provide a quick and easy way for you to import your inventory via a CSV or XLS file.
Good inventory management in your laboratory is key to streamlining your protocols conveniently, so it's vital that you learn these crucial processes on how to make your Labstep experience as efficient as possible:
How to create, disable and make use of item templates for any metadata from your resource items and categories
Inputting data in bulk rather than individually to your resource via built-in sequence recognition
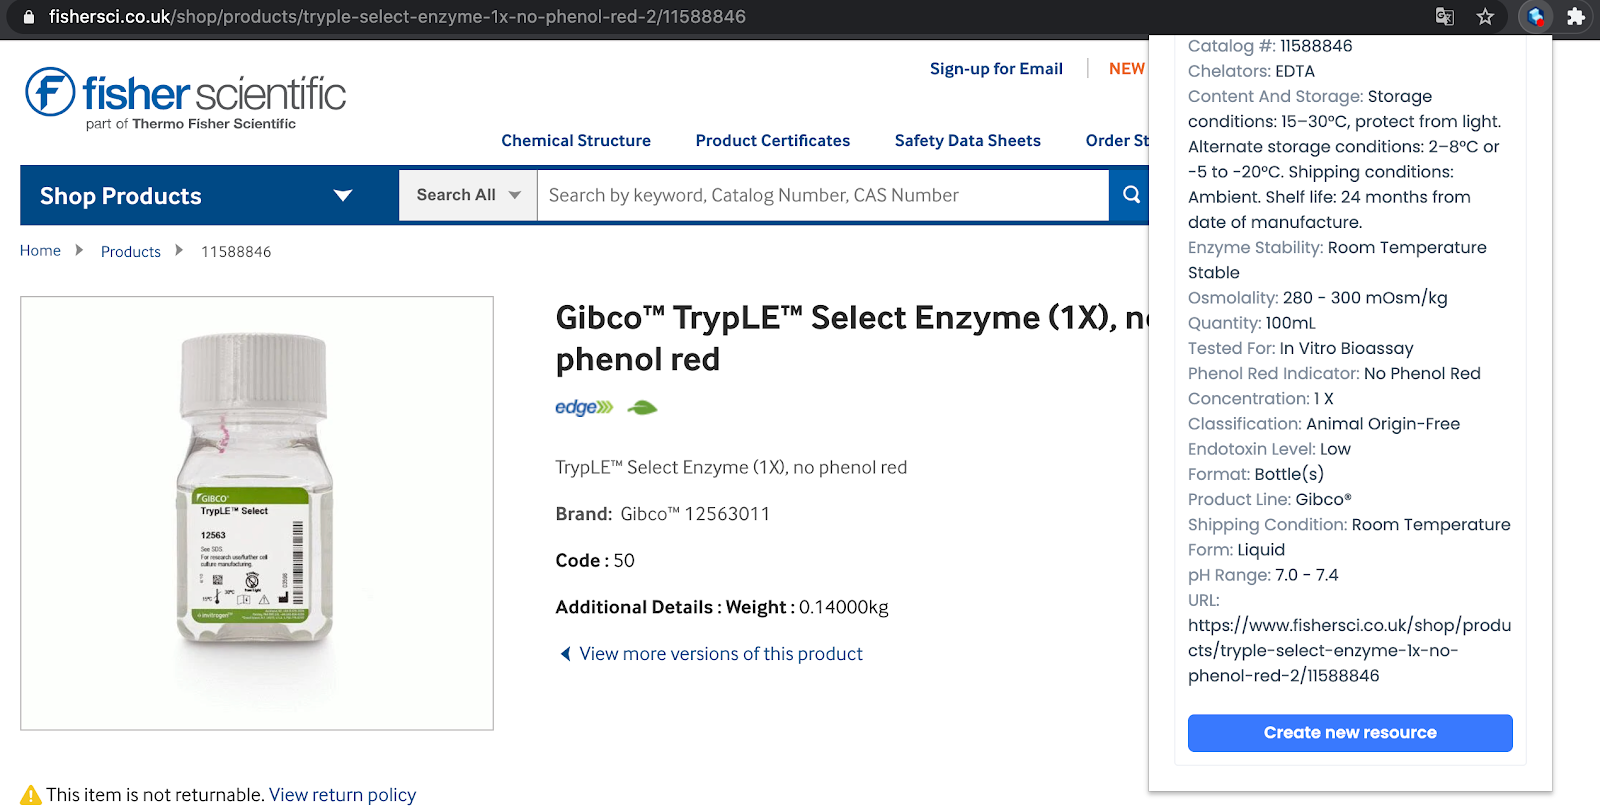
We have created a Google Chrome extension allowing you to add resources directly from vendor websites to your workspace inventory list. Once you connect your workspace via your API key to the extension (download here) from the Chrome web store, you will be able to:
Add new resources to your protocols using whichever website you are on by creating a new resource. Alternatively, you can add the resources to an existing resource category. It will then appear in your inventory.
Create order requests once a new resource has been created. Adjust the quantity that you would like to request, and your lab manager will then receive a notification of the resources necessary in the 'order requests' section of their workspace.
Request new vendors to be added to the list of compatible sites with the Google Chrome Labstep extension by clicking on the extension window and selecting 'Missing vendor-click to request' at the bottom of the pop-up window. You will then be asked to fill in a short Google form.
After establishing your protocols and inventory, it's time to configure Labstep. Customize your workspace settings to suit your needs:
Customize your tags to segment according to teams, projects or workflows. Organize them for all types of content within your workspace.
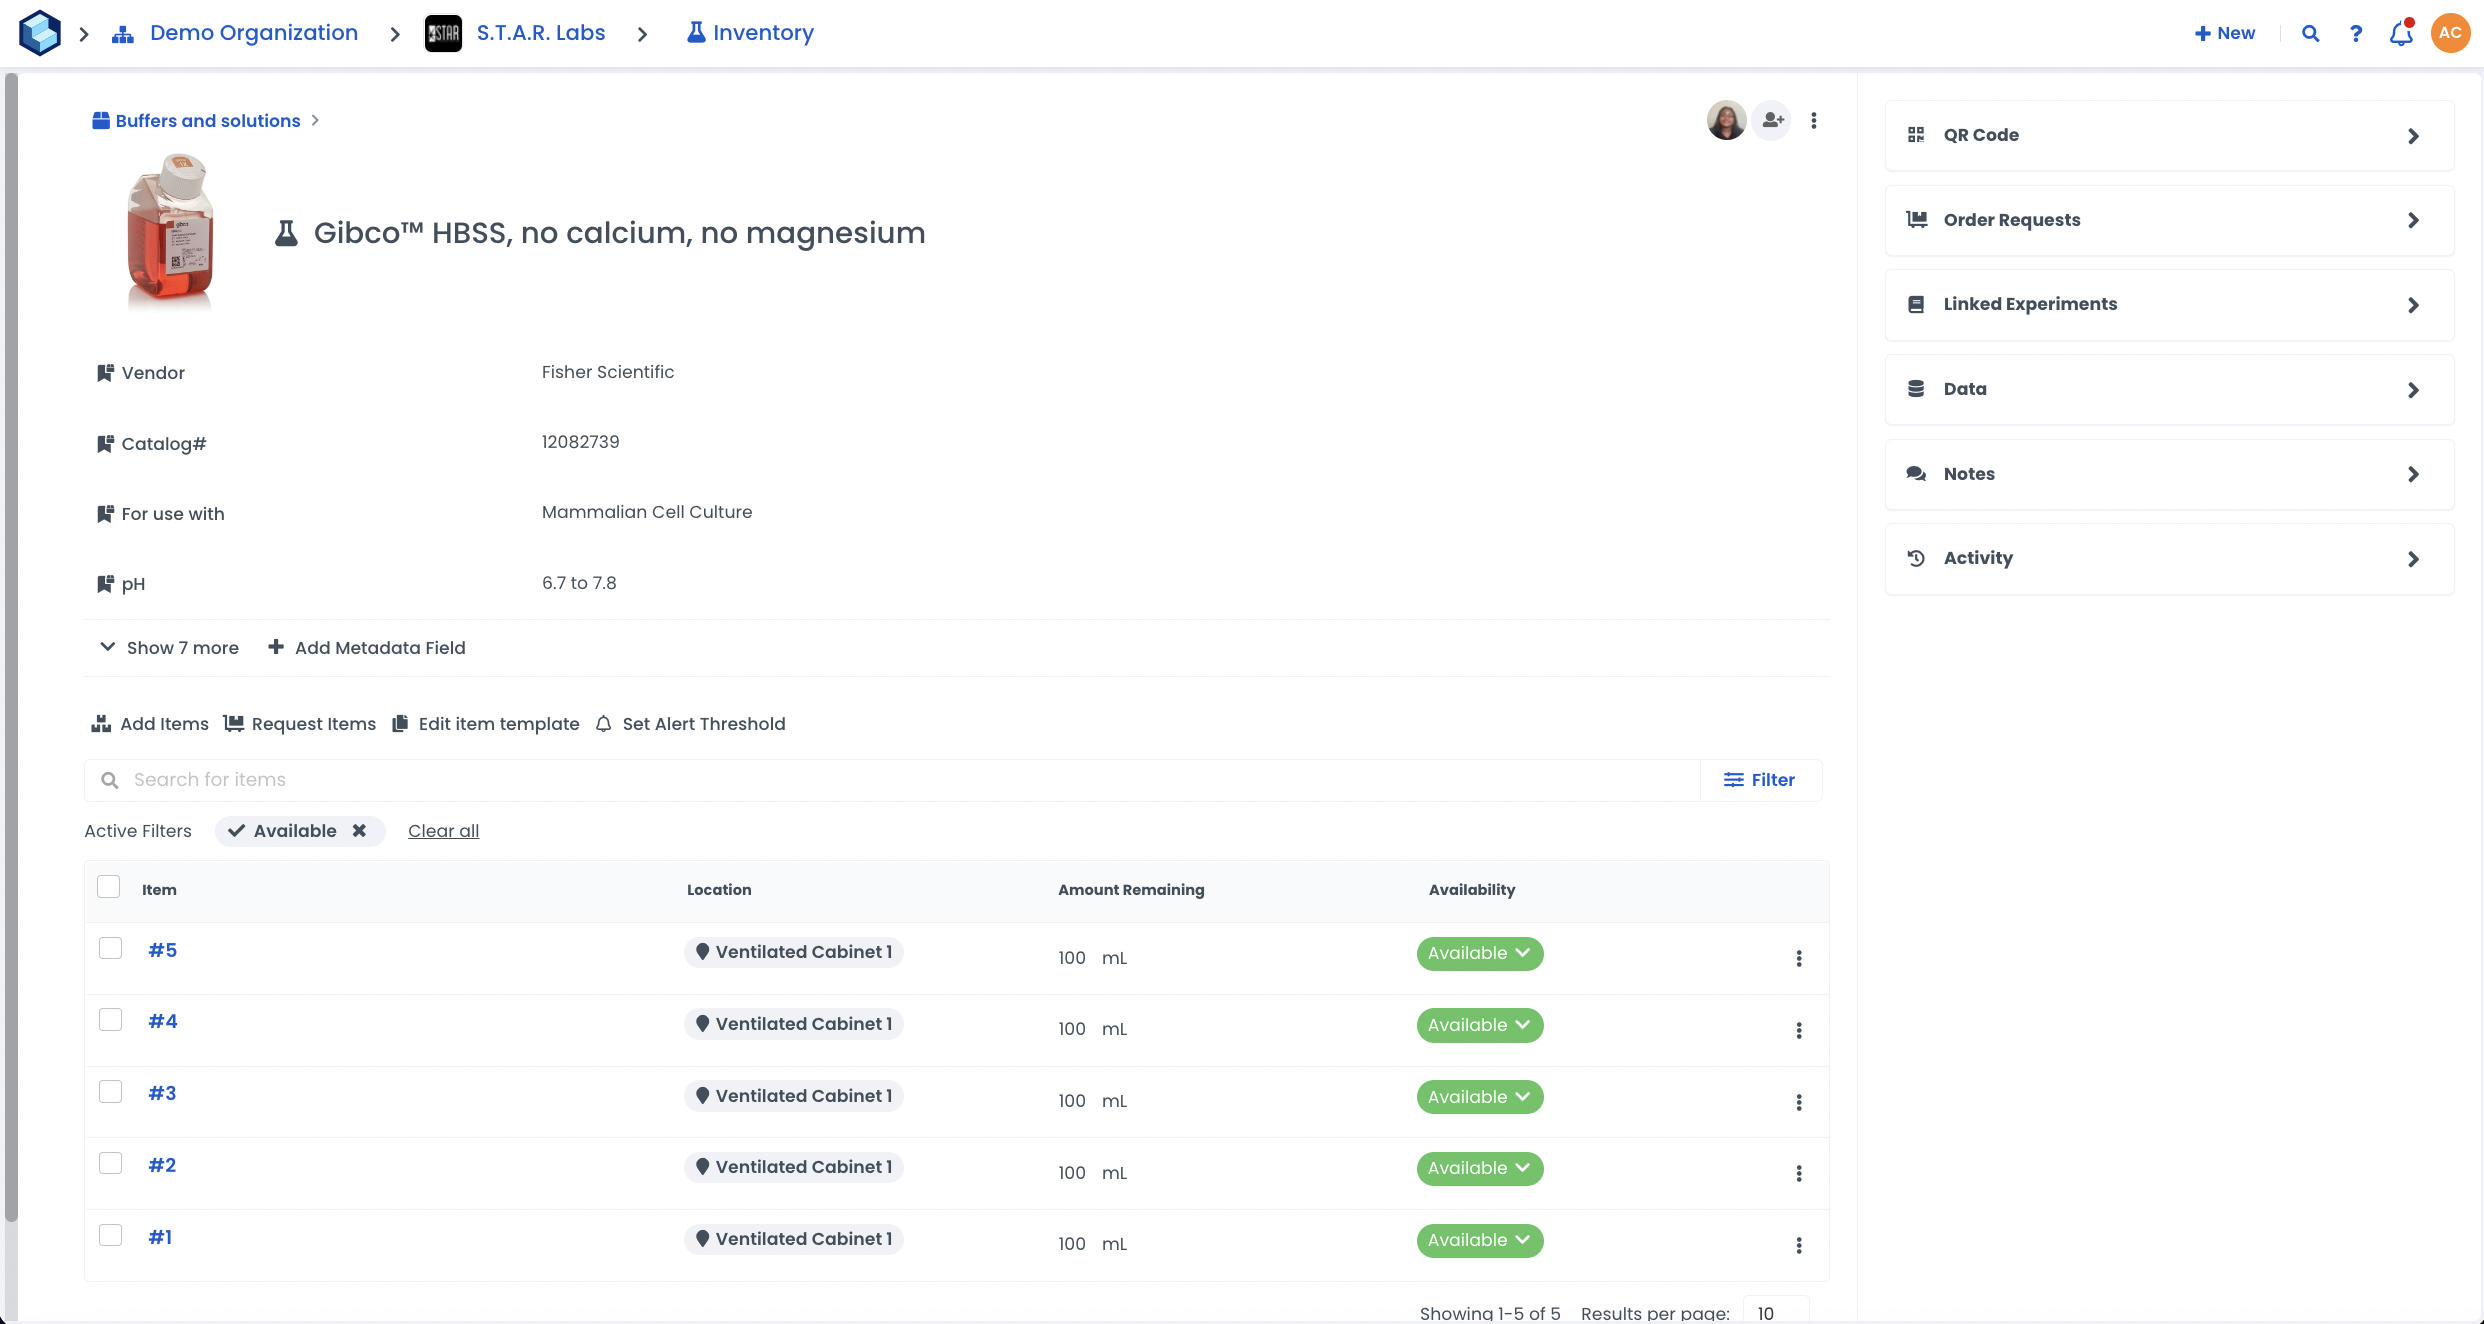
Set your resource categories to organize your samples and materials into specific locations. Any new category you create can also have imported or created metadata categories attached. Resources of the same category will often have the same metadata fields, so instead of creating the metadata fields every time you create a resource, you can just specify the category, and the metadata fields will be added automatically.
All resource locations can be given a default location and embedded workplace settings so all team members can use them.
Labstep supports integration with various storage applications, like Google Drive, One Drive, Dropbox or Box, allowing you to easily make links to files in results, notes and comments. Simply select the app of your choice and log in to your account to choose the desired files for your experiments.
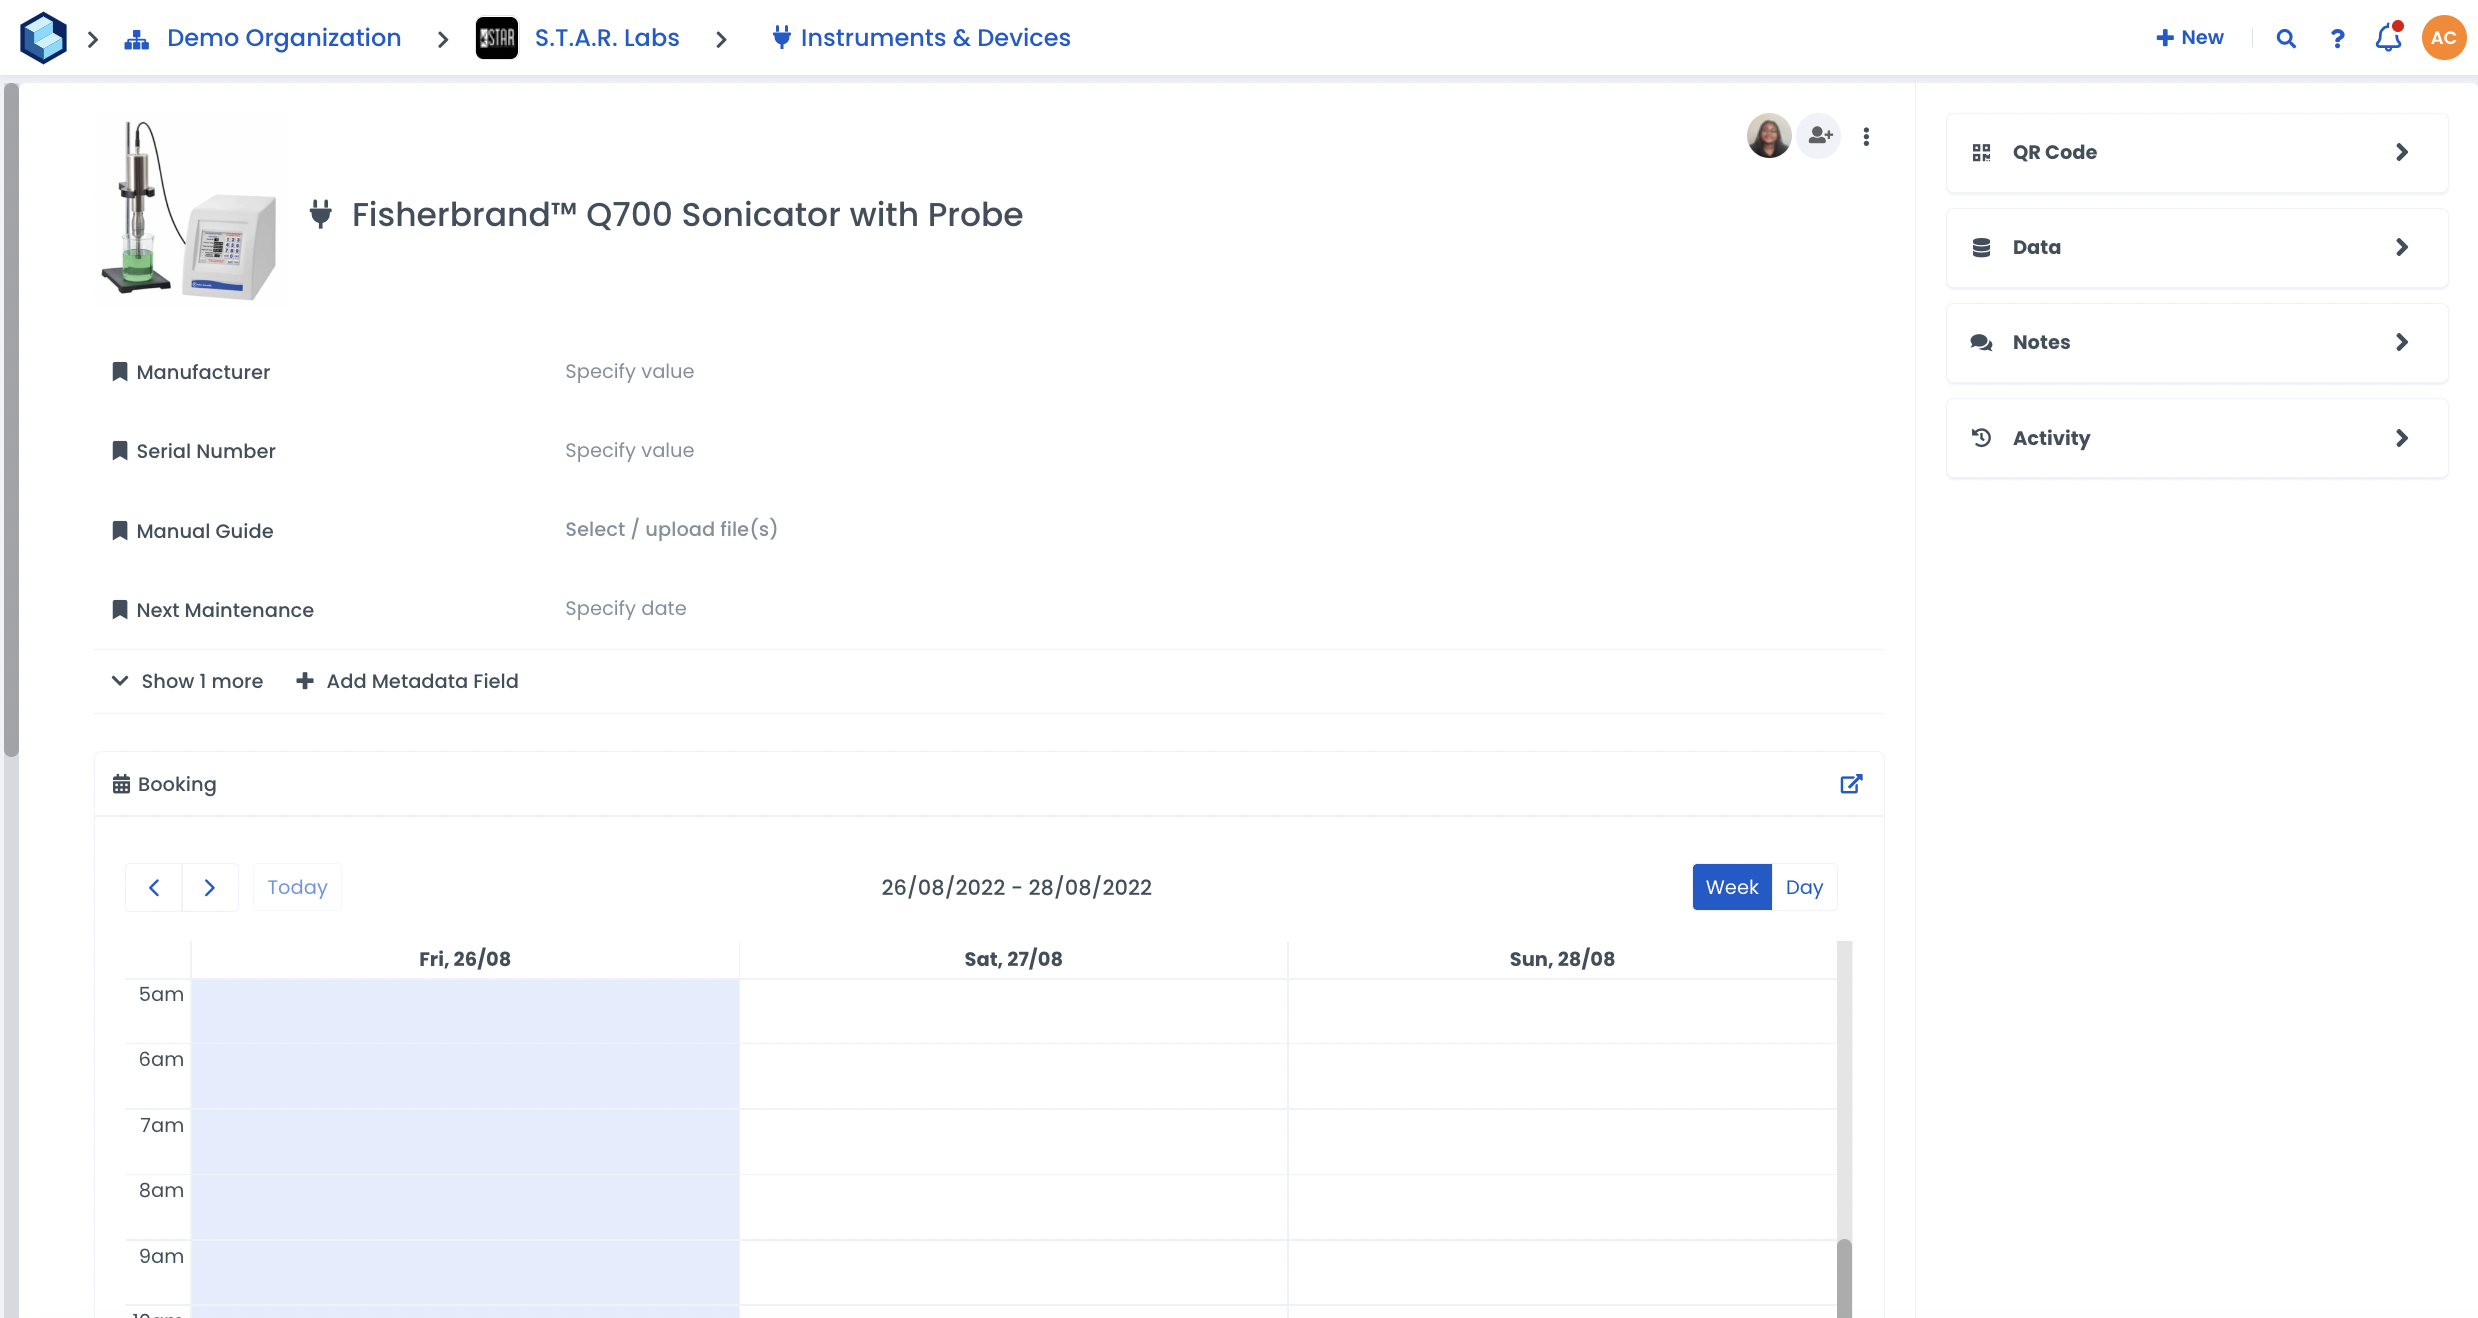
Furthermore, Labstep also offers instrument and device integration for the instruments you use in the laboratory to take measurements or record data. Creating a new device is incredibly easy:
Head to 'Instruments and Devices' and click 'New Device'.
Provide details for your new device or instrument and any relevant metadata such as the serial number, manufacturer or model. You can also add essential data fields such as service dates, attach manual instruction files and other important documents.
In the 'Notes' tab, you also record any required services or calibrations for the device.
Data from these instruments can then be used to populate data fields for your experiments in one click by adding the data field to a protocol or experiment template you can reuse again and again. When creating the data field, click 'Add measurement device' and select the instrument you are experimenting with to enable fetching data from a device. Next time you run the protocol, you can simply click 'Fetch from device', and the data will fill in with the most recent type sent in by that instrument!
Labstep team tip: Make sure you specify the type of data you expect. Labstep can receive 3 different types of data → simple numeric measurements, .csv files and free-form text. To send numeric data or free-form text, you will need the Labstep API. If you are not comfortable with coding, then use the device client.
The Labstep Device Client can be used to send over files from your device without using any code to simplify your lab processes. If you haven't already, you'll need to download the latest Device Client version from here (PC) or here (Mac). Don't forget to authenticate your Device Client with a valid Labstep API Key, which you can learn how to create here.
You can easily add devices from here by selecting the device connected to the computer you want to send data from. Or you can create a new one if you haven't already. Finally, select the folder you would like the device to output data to. From now on, whenever a file is saved to this folder, the Device Client will register and upload it to Labstep. If the file was uploaded successfully, a pop-up notification should appear. If you have multiple instruments connected to the same PC saving data to different folders, you can click 'add device' to watch other folders for different devices.
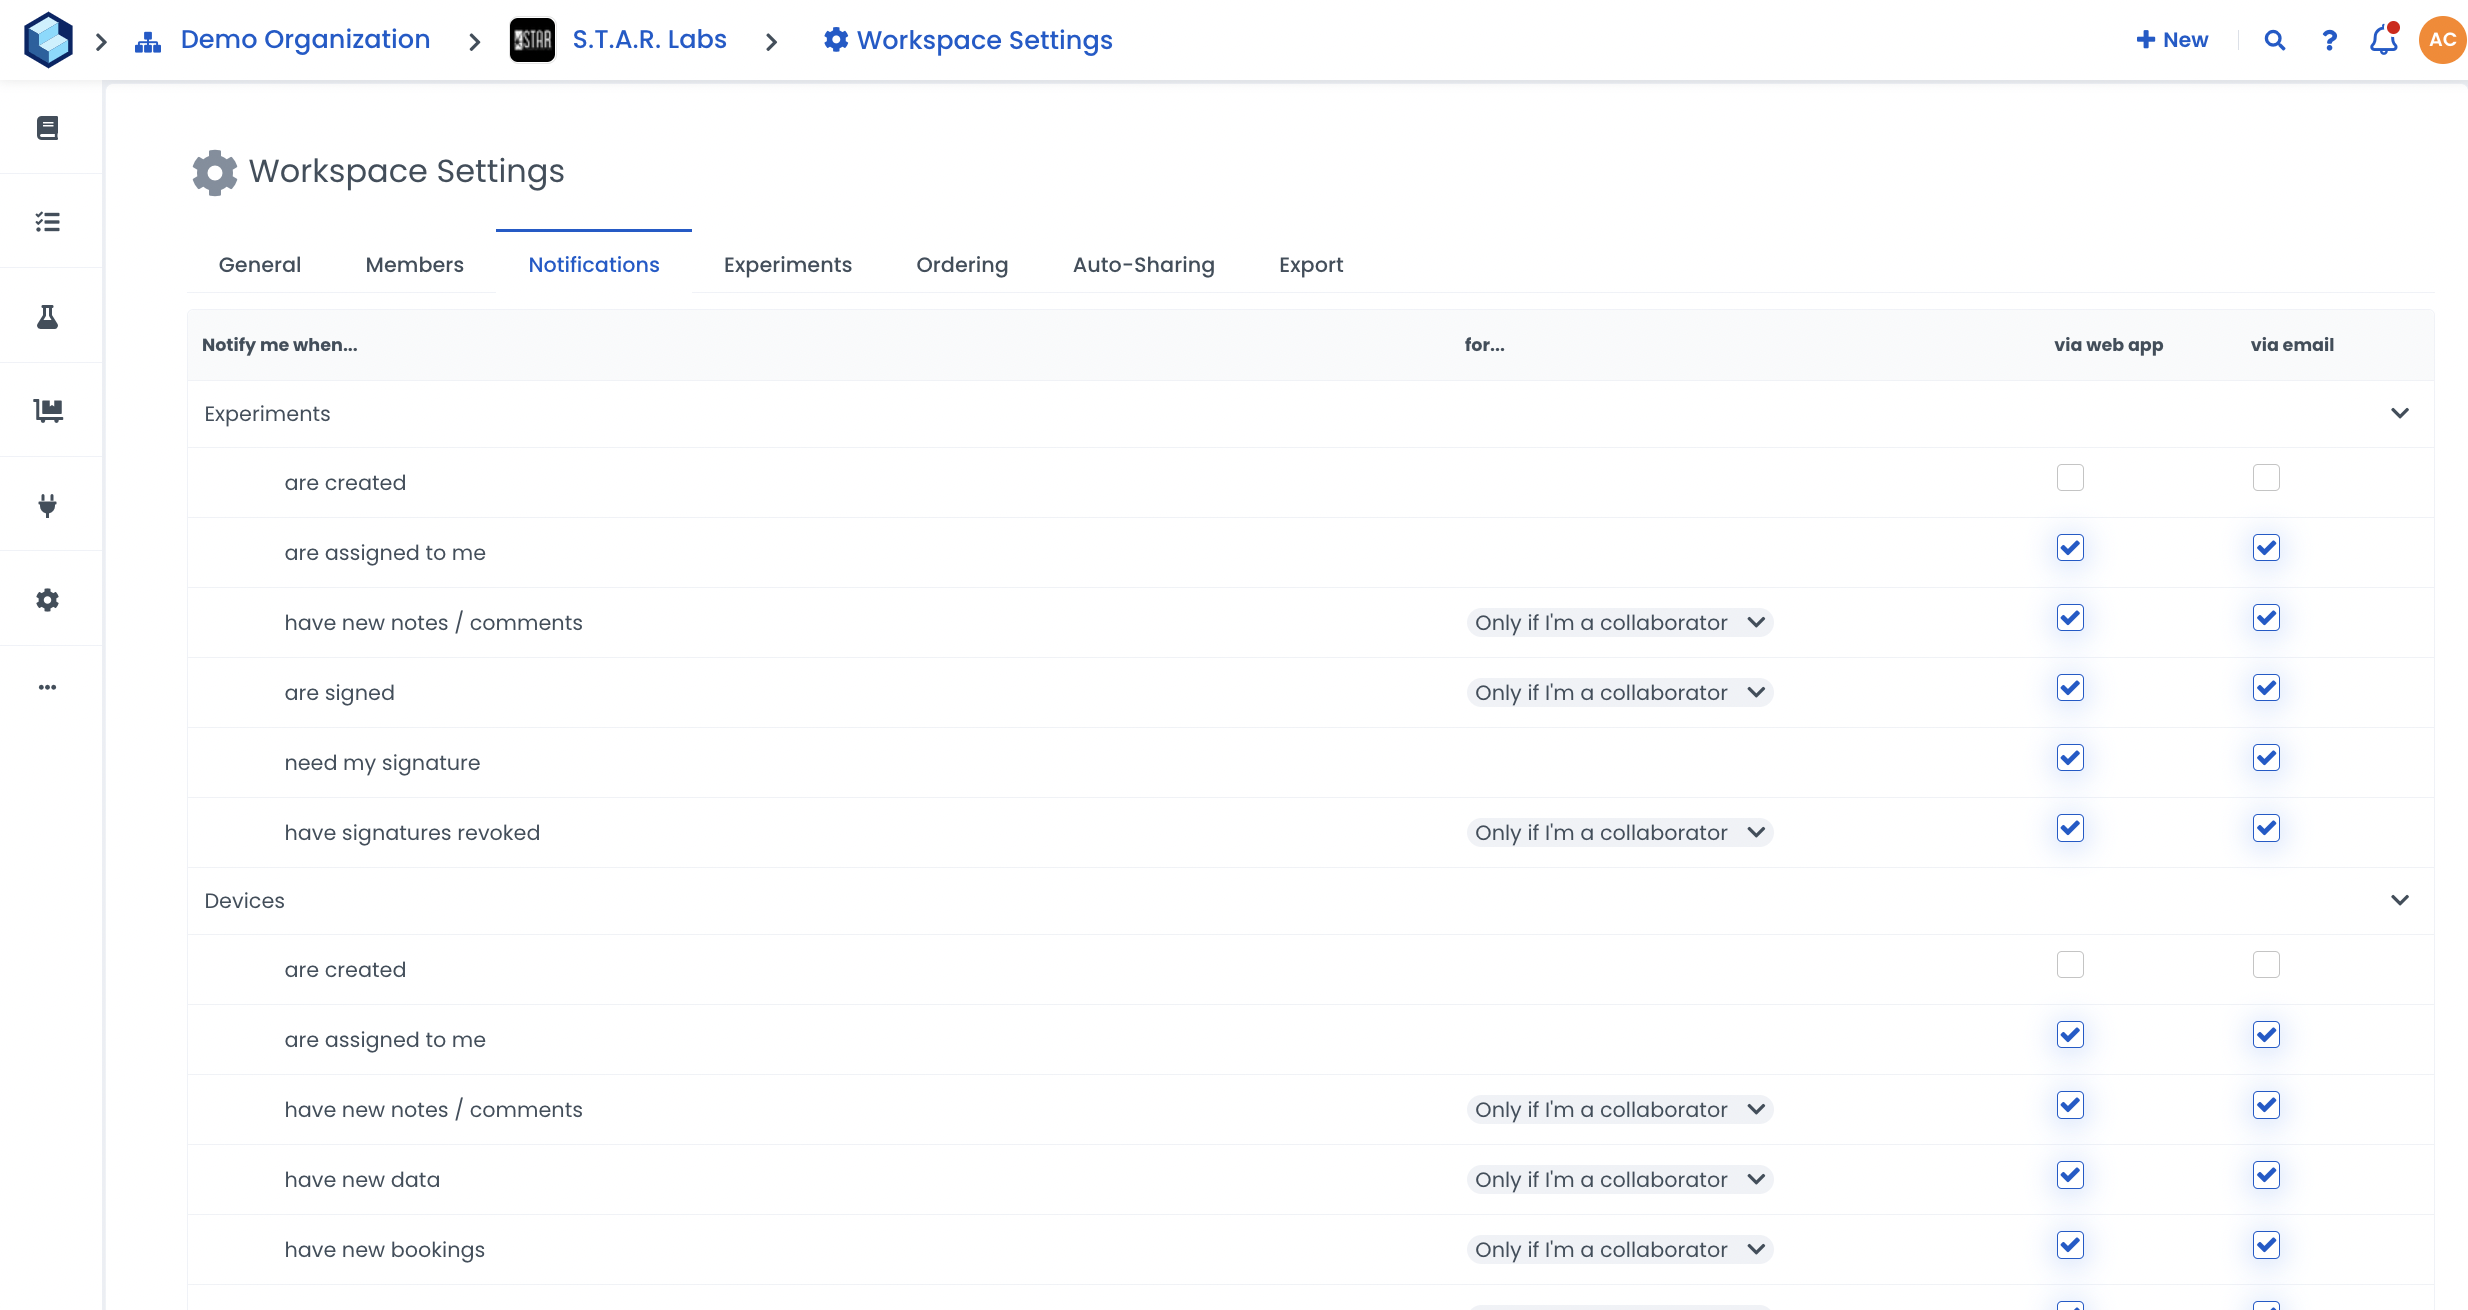
We know that endless notifications can be annoying. So, for each workspace you are part of, you can choose how you are notified of changes and updates to workspace content. You can then select the relevant notifications you require and how you want to receive them.
Next, you need to configure Labstep to set up correctly for your team depending on whether you have an enterprise or academic account.
You can also directly enter your member management area by clicking the grey cogwheel next to Members. This is where you can set user roles and workspace permissions, view activity dashboards and much more.
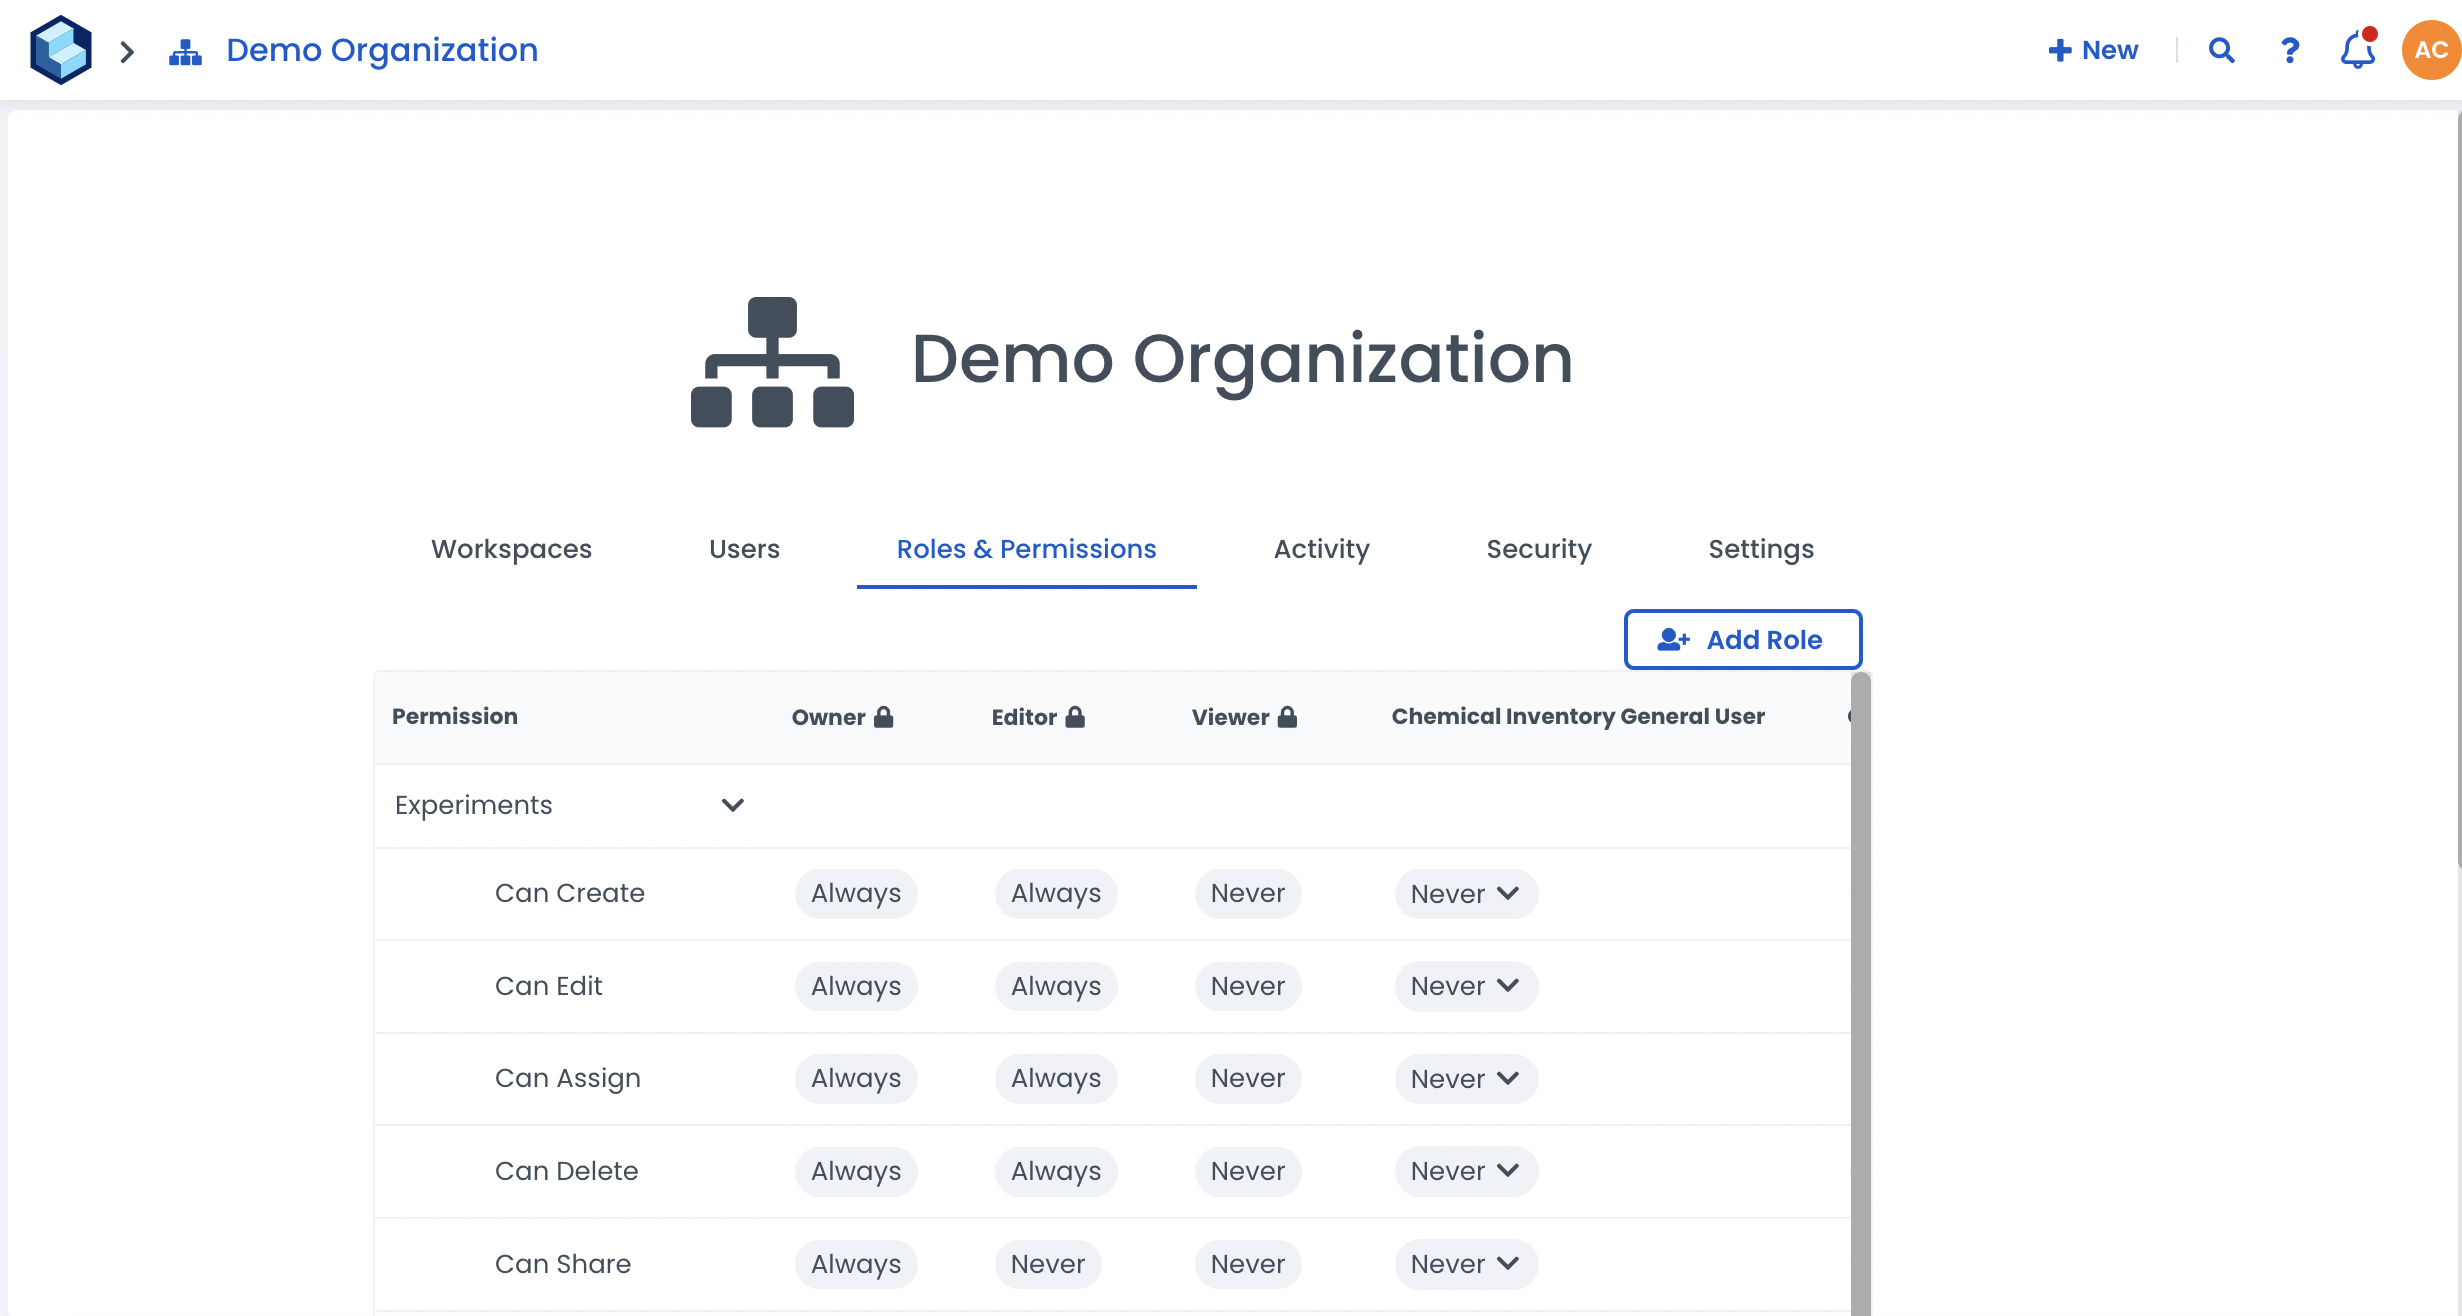
Organization admins also gain access to a special management tab that shows an overview of all the workspaces created by members of your organization, with full permission over everything within these spaces. You can also use this tab to manage users.
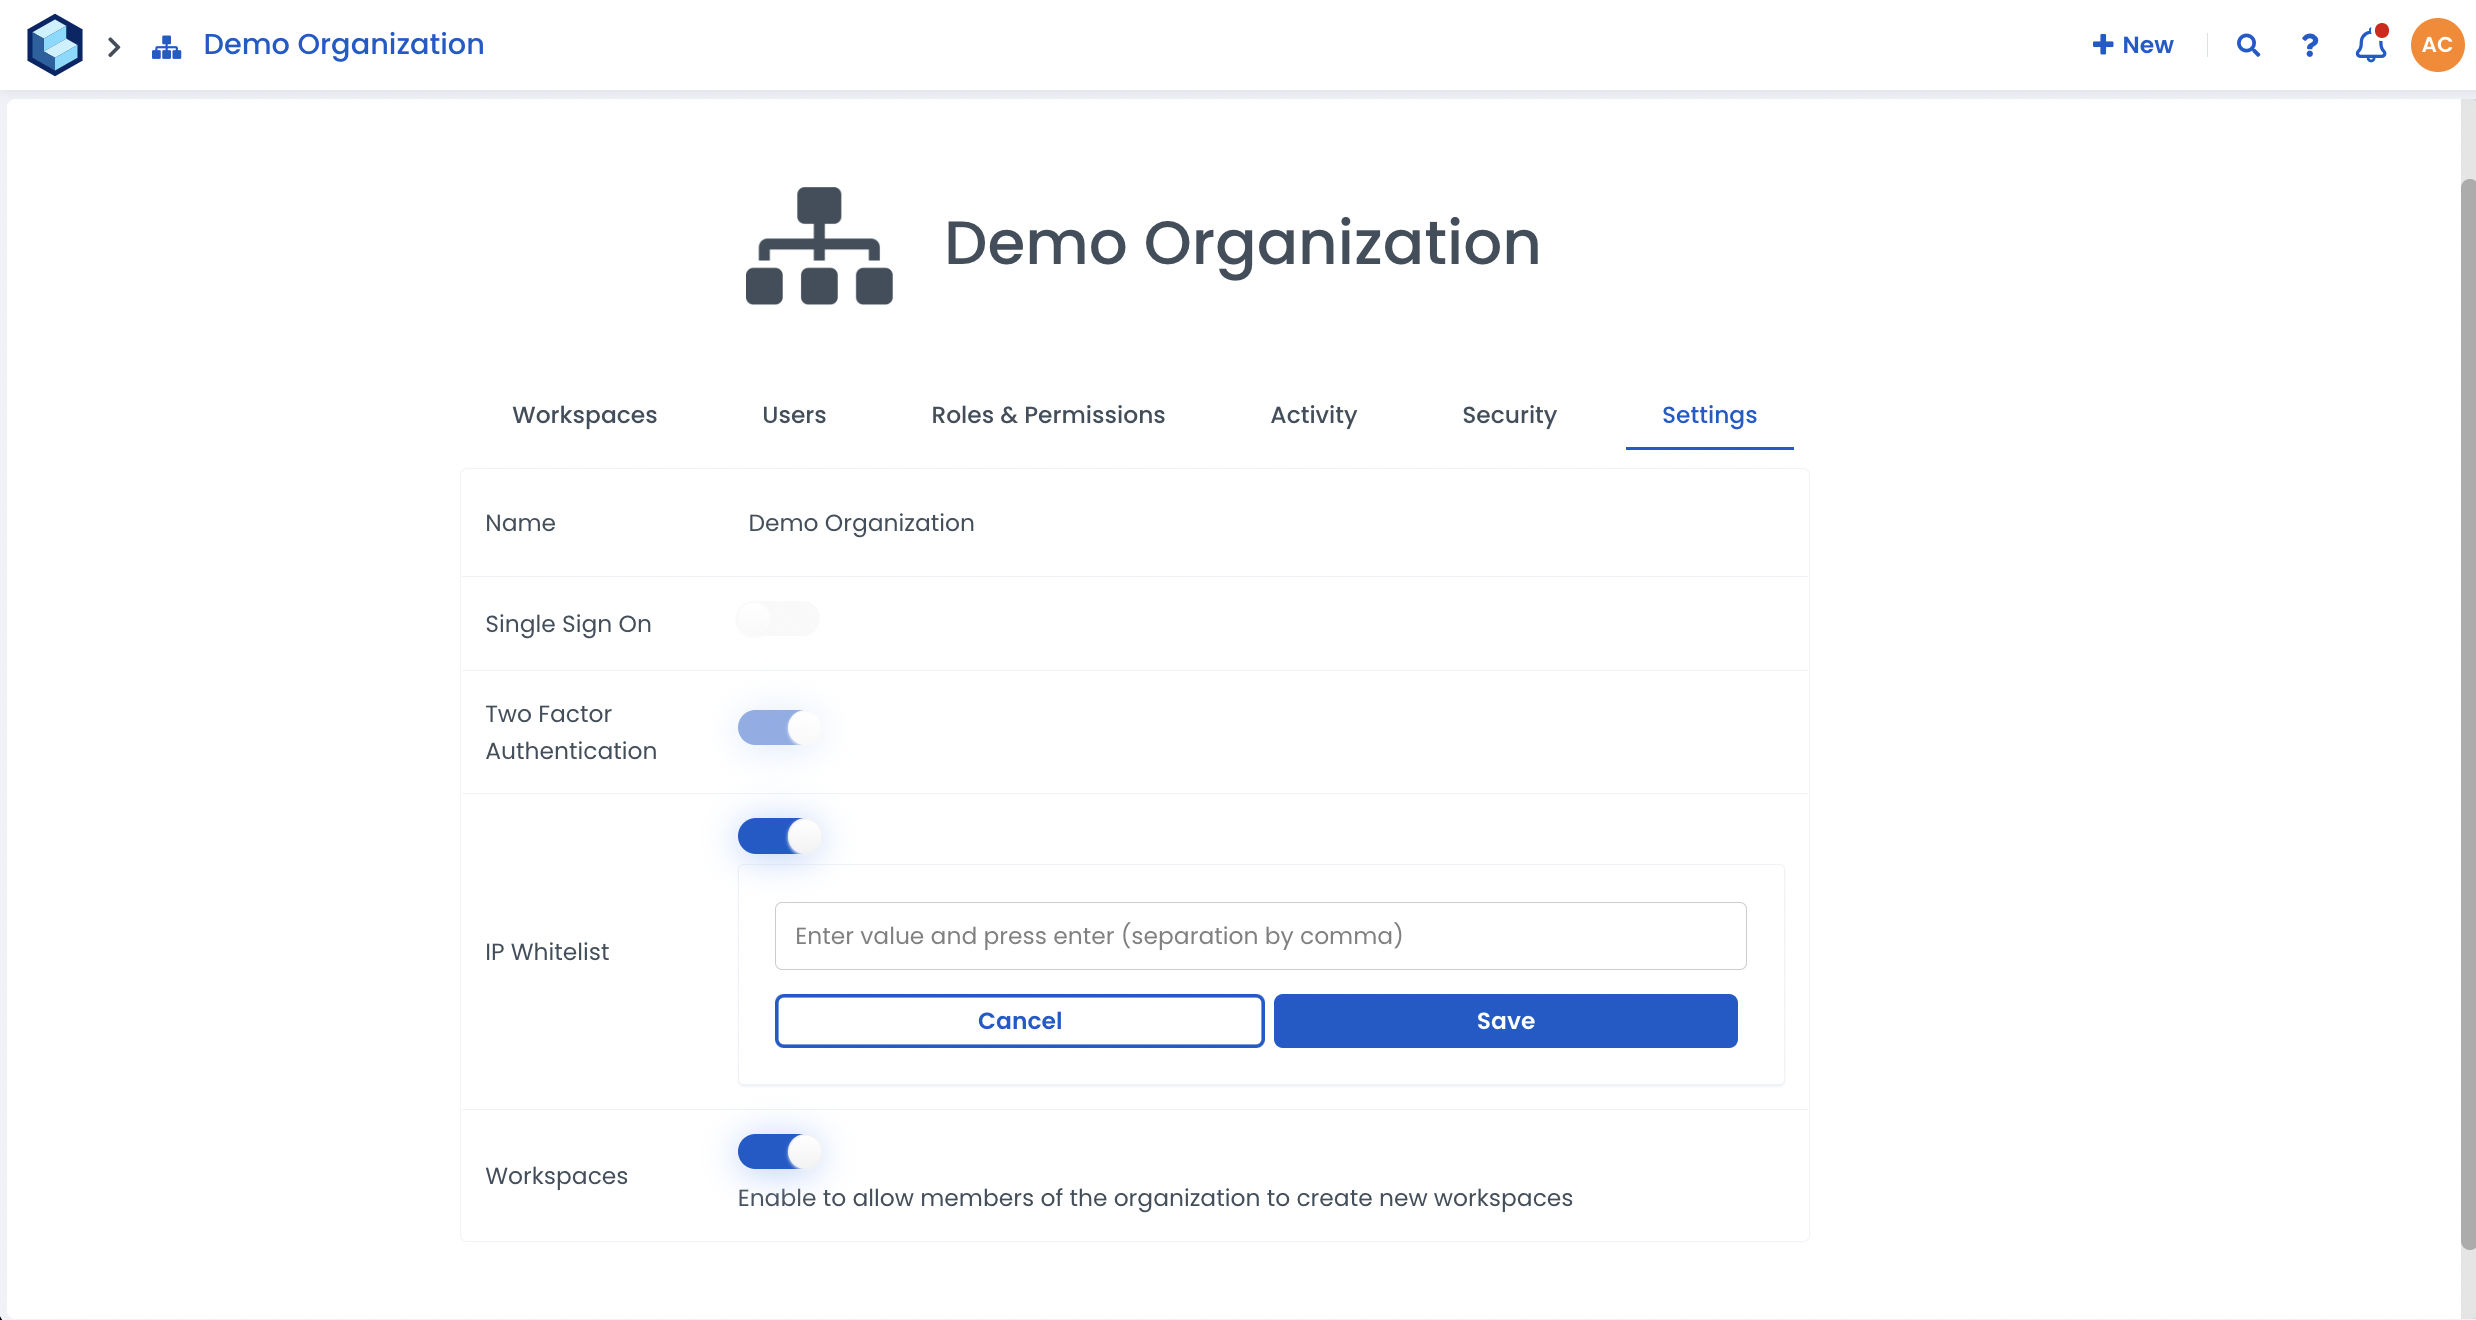
Enterprise admin users also gain access to IP Whitelisting at an Organizational level. This ensures that company data can only be accessed from an approved set of IP addresses. Find out more about IP Whitelisting here. Please contact our wonderful Sales team here if you are interested in this particular feature for your organization.
Still need help?
Contact us here or start a conversation with a member of our team using our in-app chat.
