The Chemistry Tools let you do a multitude of things very easily. Whether you're working on an experiment or customising your Inventory, your molecule or reaction will automatically be added to your content once you've finished editing it. Need to work out the stoichiometry or record the hazards of a molecule? No worries, the Chemistry Tools can do it for you!
Type / (slash) in your experiment or protocol entry
Click on 'Chemistry'
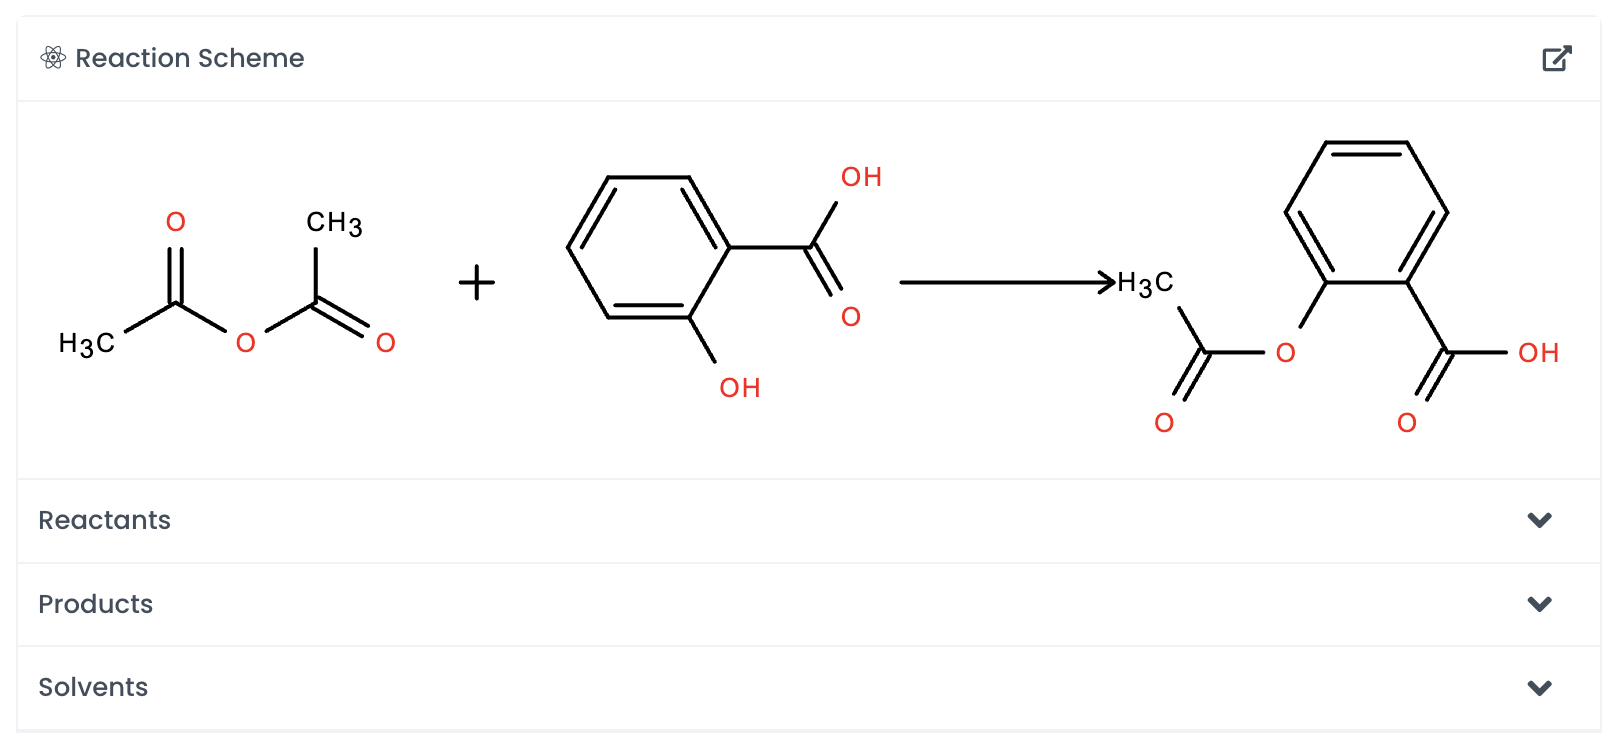
Draw a molecule or reaction
Click on 'Done' when finished

Automatically add a chemical to the canvas by searching for it. Labstep will pull information from the PubChem database.
If you've already drawn out the structure, you can click on Auto-detect, and Labstep will automatically update the relevant sections.
For easy calculations, enter the amount of the chemicals used. Labstep will automatically work it out!
Navigate to a resource page.
Click on 'Add Metadata Field'
Select the type 'Chemistry'
Click on 'Done'
Click on 'Draw structure'
Draw a molecule or search for a specific chemical in the search bar
Click 'Fetch from PubChem' to fetch metadata.
Click on 'Done' when finished
Labstep team tip: You can search for chemicals by name or CAS number to add to the canvas using the search bar.
Labstep team tip: You can reorder and arrange the way metadata columns are displayed. You can also save the view for all workspace members.

Navigate to your Inventory
Click 'Filter'
Select 'Chemical Structure'
Draw the structure
Click on 'Done'
See similar structures in the results
We have integrated Ketcher into our Chemistry Tools. Ketcher is a straightforward tool for drawing molecular structures and chemical reactions.
Please note that the following is directly from Ketcher documentation available here.
Using the Tool palette, you can:
draw and edit a molecule or reaction by clicking on and dragging atoms, bonds, and other elements provided with the buttons on the Atoms toolbar and Tool palette;
delete any element of the drawing (atom or bond) by clicking on it with the Erase tool;
delete the entire molecule or its fragment using the lasso, rectangle, or fragment selection and the Erase tool;
draw special structures (see the following sections);
select the entire molecule or its fragment in one of the following ways (click on the button align=center to see the list of available options):
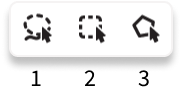
To select one atom or bond, click Lasso (1) or Rectangle Selection tool (2), and then click the atom or bond.
To select the entire structure:
Select the Fragment Selection tool (3) and then click the object.
Select the Lasso or Rectangle Selection tool, and then drag the mouse to select the object.
-Ctrl-click with the Lasso or Rectangle Selection tool.
To select multiple atoms, bonds, structures, or other objects, do one of the following:
-Shift-click with the Lasso or Rectangle Selection tool selects some (connected or not) atoms/bonds.
With the Lasso or Rectangle Selection tool, click and drag the mouse around the atoms, bonds, or structures that you want to select.
Note: Ctrl+Shift-click each structure with the Lasso or Rectangle Selection tool selects several structures.
You can use the buttons of the Main toolbar:

Clear Canvas (1) button to start drawing a new molecule; this command clears the drawing area;
Open… (2) and Save As… (3) buttons to import a molecule from a molecular file or save it to a supported molecular file format;
Copy with additional abilties to Copy As (4), Paste (5), Cut (6) buttons to perform the corresponding actions;
Undo (7) / Redo (8) to manage the last actions taken on the canvas;
Aromatize (Alt+a) / Dearomatize (Ctrl+Alt+a) buttons to mark aromatic structures (to convert a structure to the Aromatic or Kekule presentation);
Layout button (11) to change the position of the structure to work with it with the most convenience;
Clean Up button (12) to improve the appearance of the structure by assigning them uniform bond lengths and angles.
Calculate CIP button (13) to determine R/S and E/Z configurations;
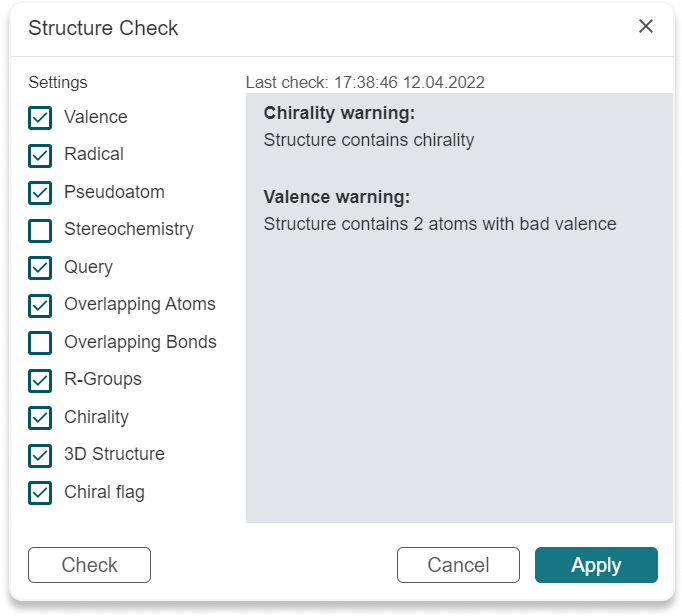
Check Structure button (Alt+s) to check the following properties of the structure. Check will be conducted immediately when the operation is selected. You can check only the Settings you are interested in and check structure again with new settings by clicking on Check button. Apply button will save the Settings checked and they will be applied for the file saving.
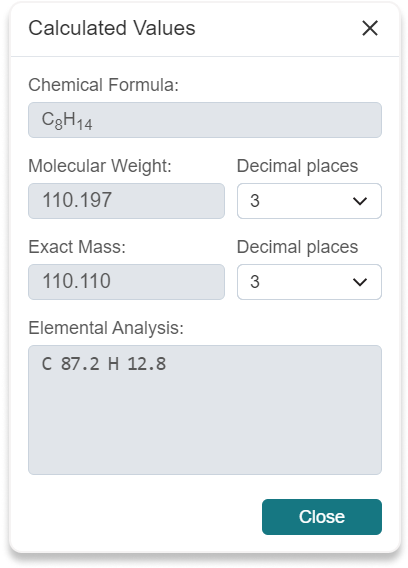
Calculated Values button (15) to display some properties of the structure:
3D Viewer button (16) to open the structure in the three-dimensional
Settings button (17) to make some settings for molecular files:

Help button (18) to view Help;
About button (19) to display version and copyright information of the program.
Fullscreen mode button (20) allows to initiate displaying Ketcher window in the fullscreen mode.
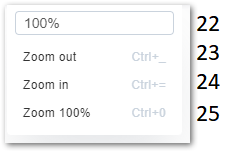
Zoom panel (21) displays the current zoom percentage. Click to expand the Zoom panel and use the following actions: Zoom percentage (22) to set the view manually, Zoom in (23) / Zoom out (24) to scale the view gradually, Zoom 100% (25) to enable the default zoom setting.
Still need help?
Contact us here or start a conversation with a member of our team using our in-app chat.
