Signed, sealed, witnessed! On Labstep, you can witness and sign experiment entries or request a signature from a collaborator. To prevent any further changes after an experiment has been completed, you can lock it. No one will be able to unlock it apart from the workspace owner.
This isn't available if you have Status Workflows enabled for your workspace.
Click on the gear icon in the left-hand sidebar menu
Click on 'Experiments'
Click on 'Specify Default Signature Request Message'
Enter your personalised request message that will be sent by default
Click on 'Save'
Click on 'Specify Default Signature Statement'
Enter your personalised signature statement that will be used by default
Click on 'Save'
Labstep team tip: Although you have set up a default request message and a signature statement, you will still be able to edit them each time before sending out a request or signing an experiment.
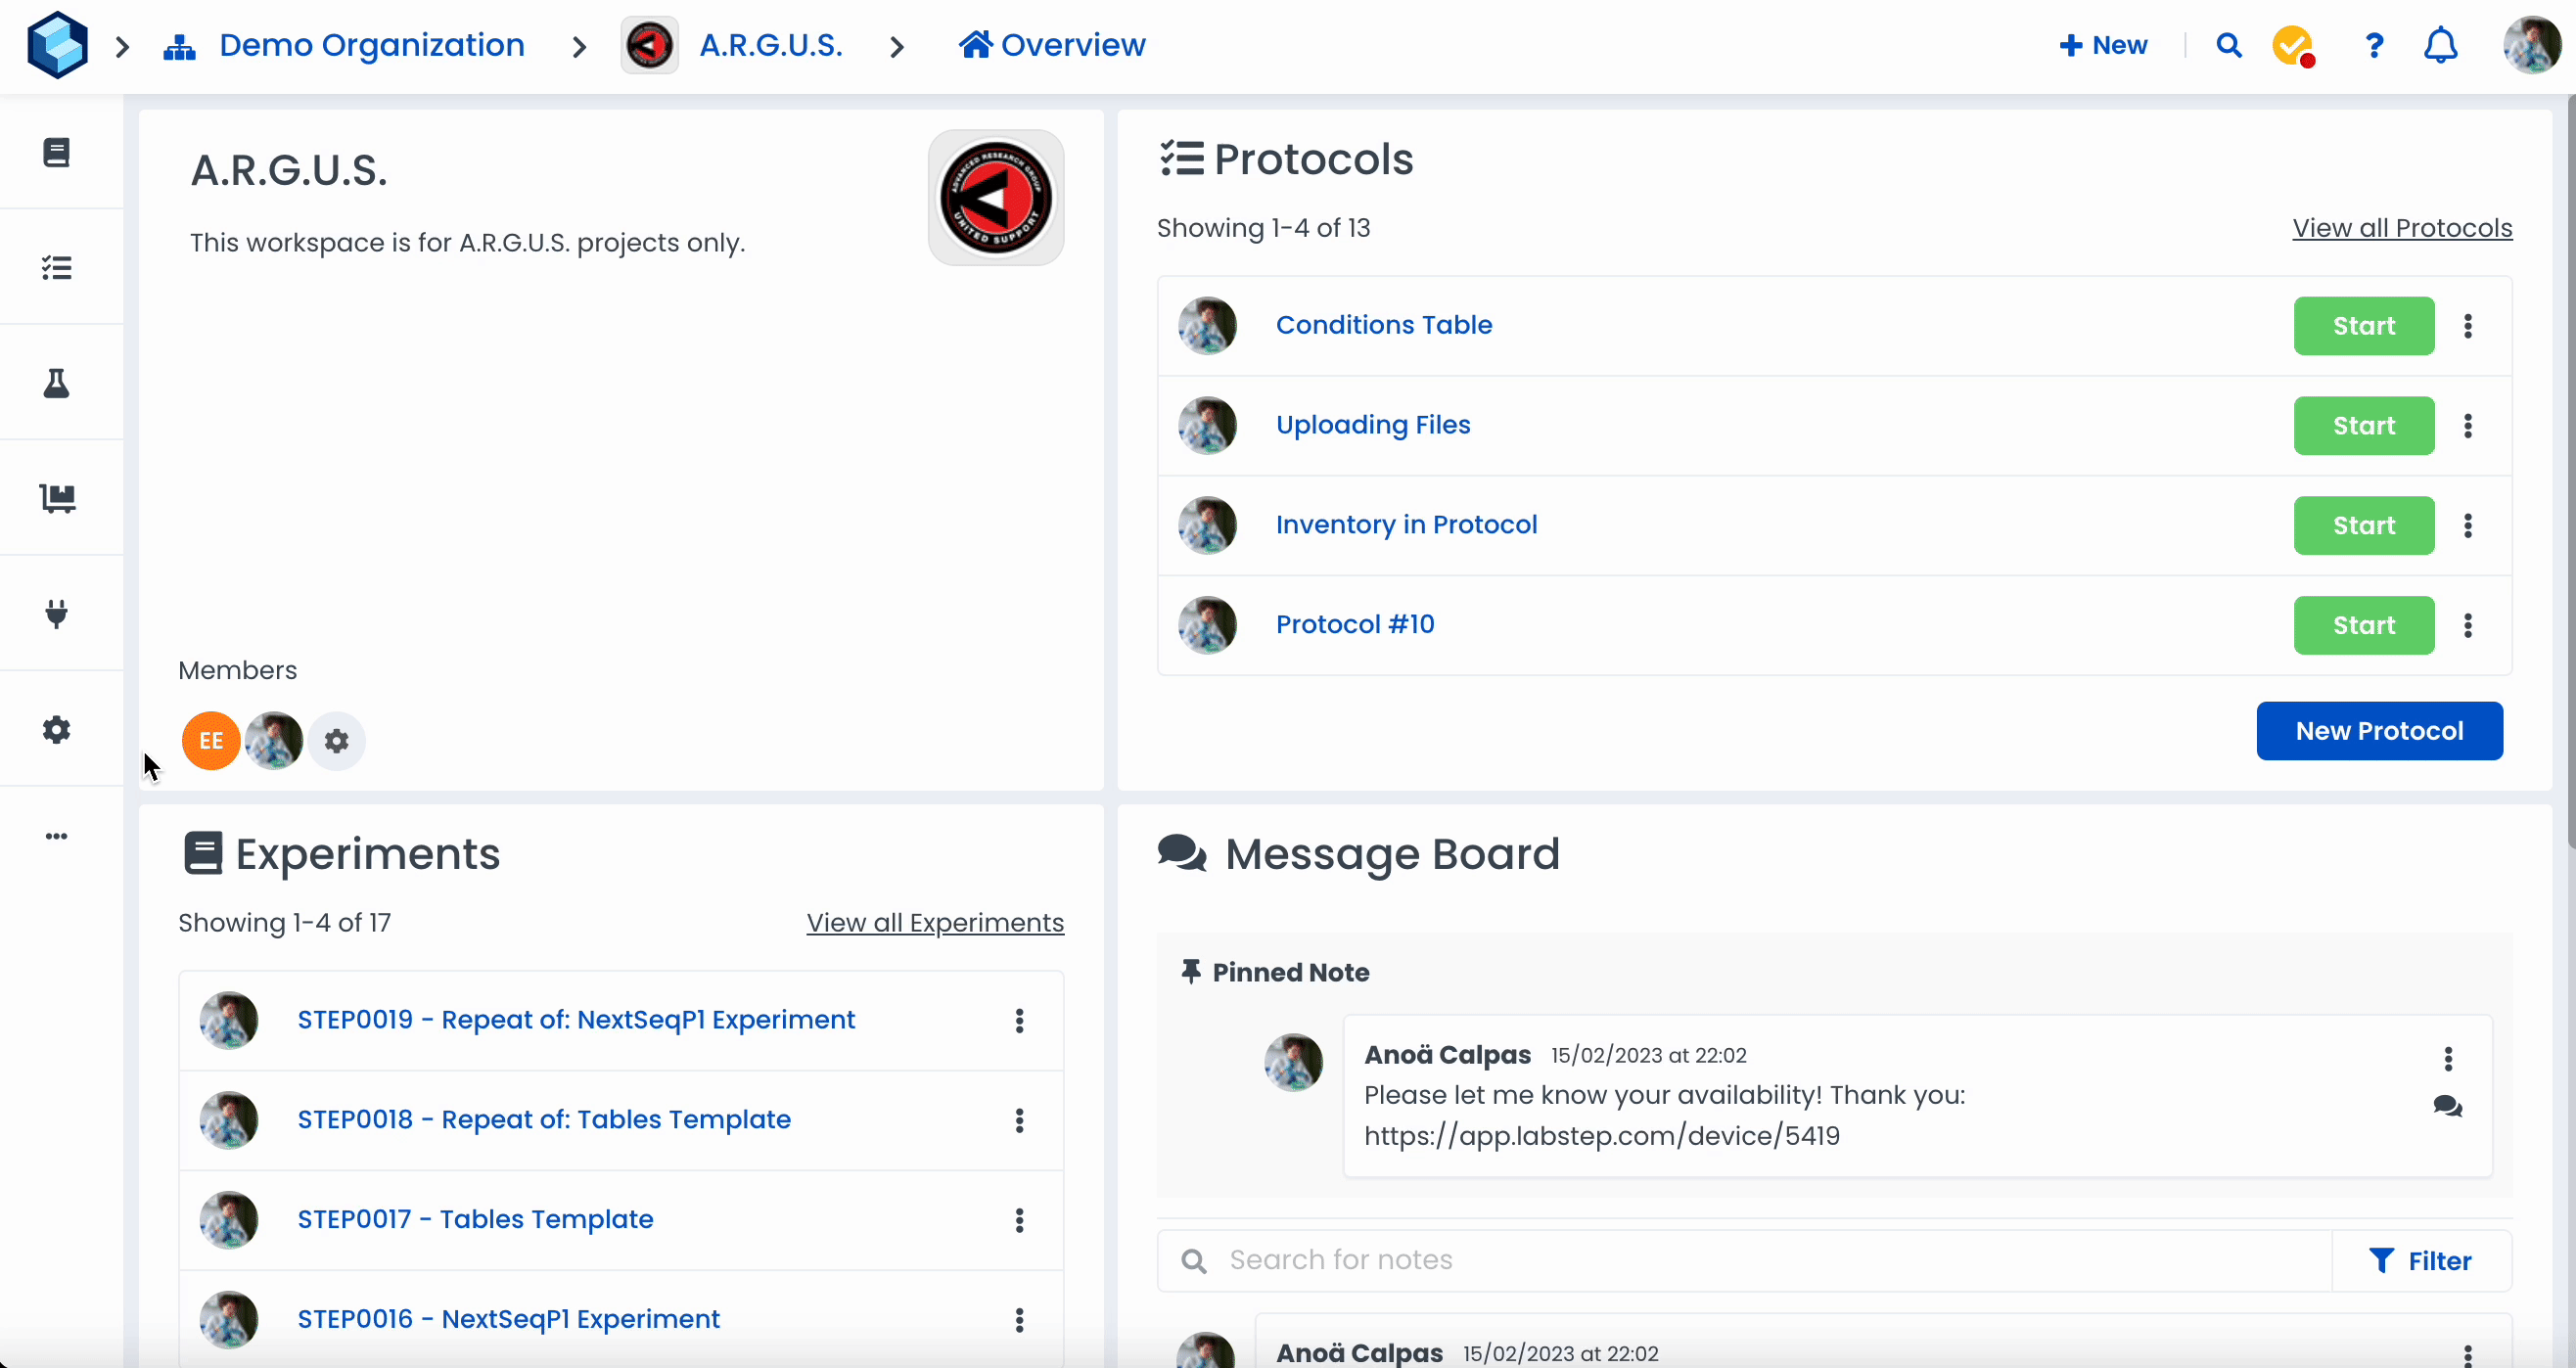
Navigate to your chosen experiment
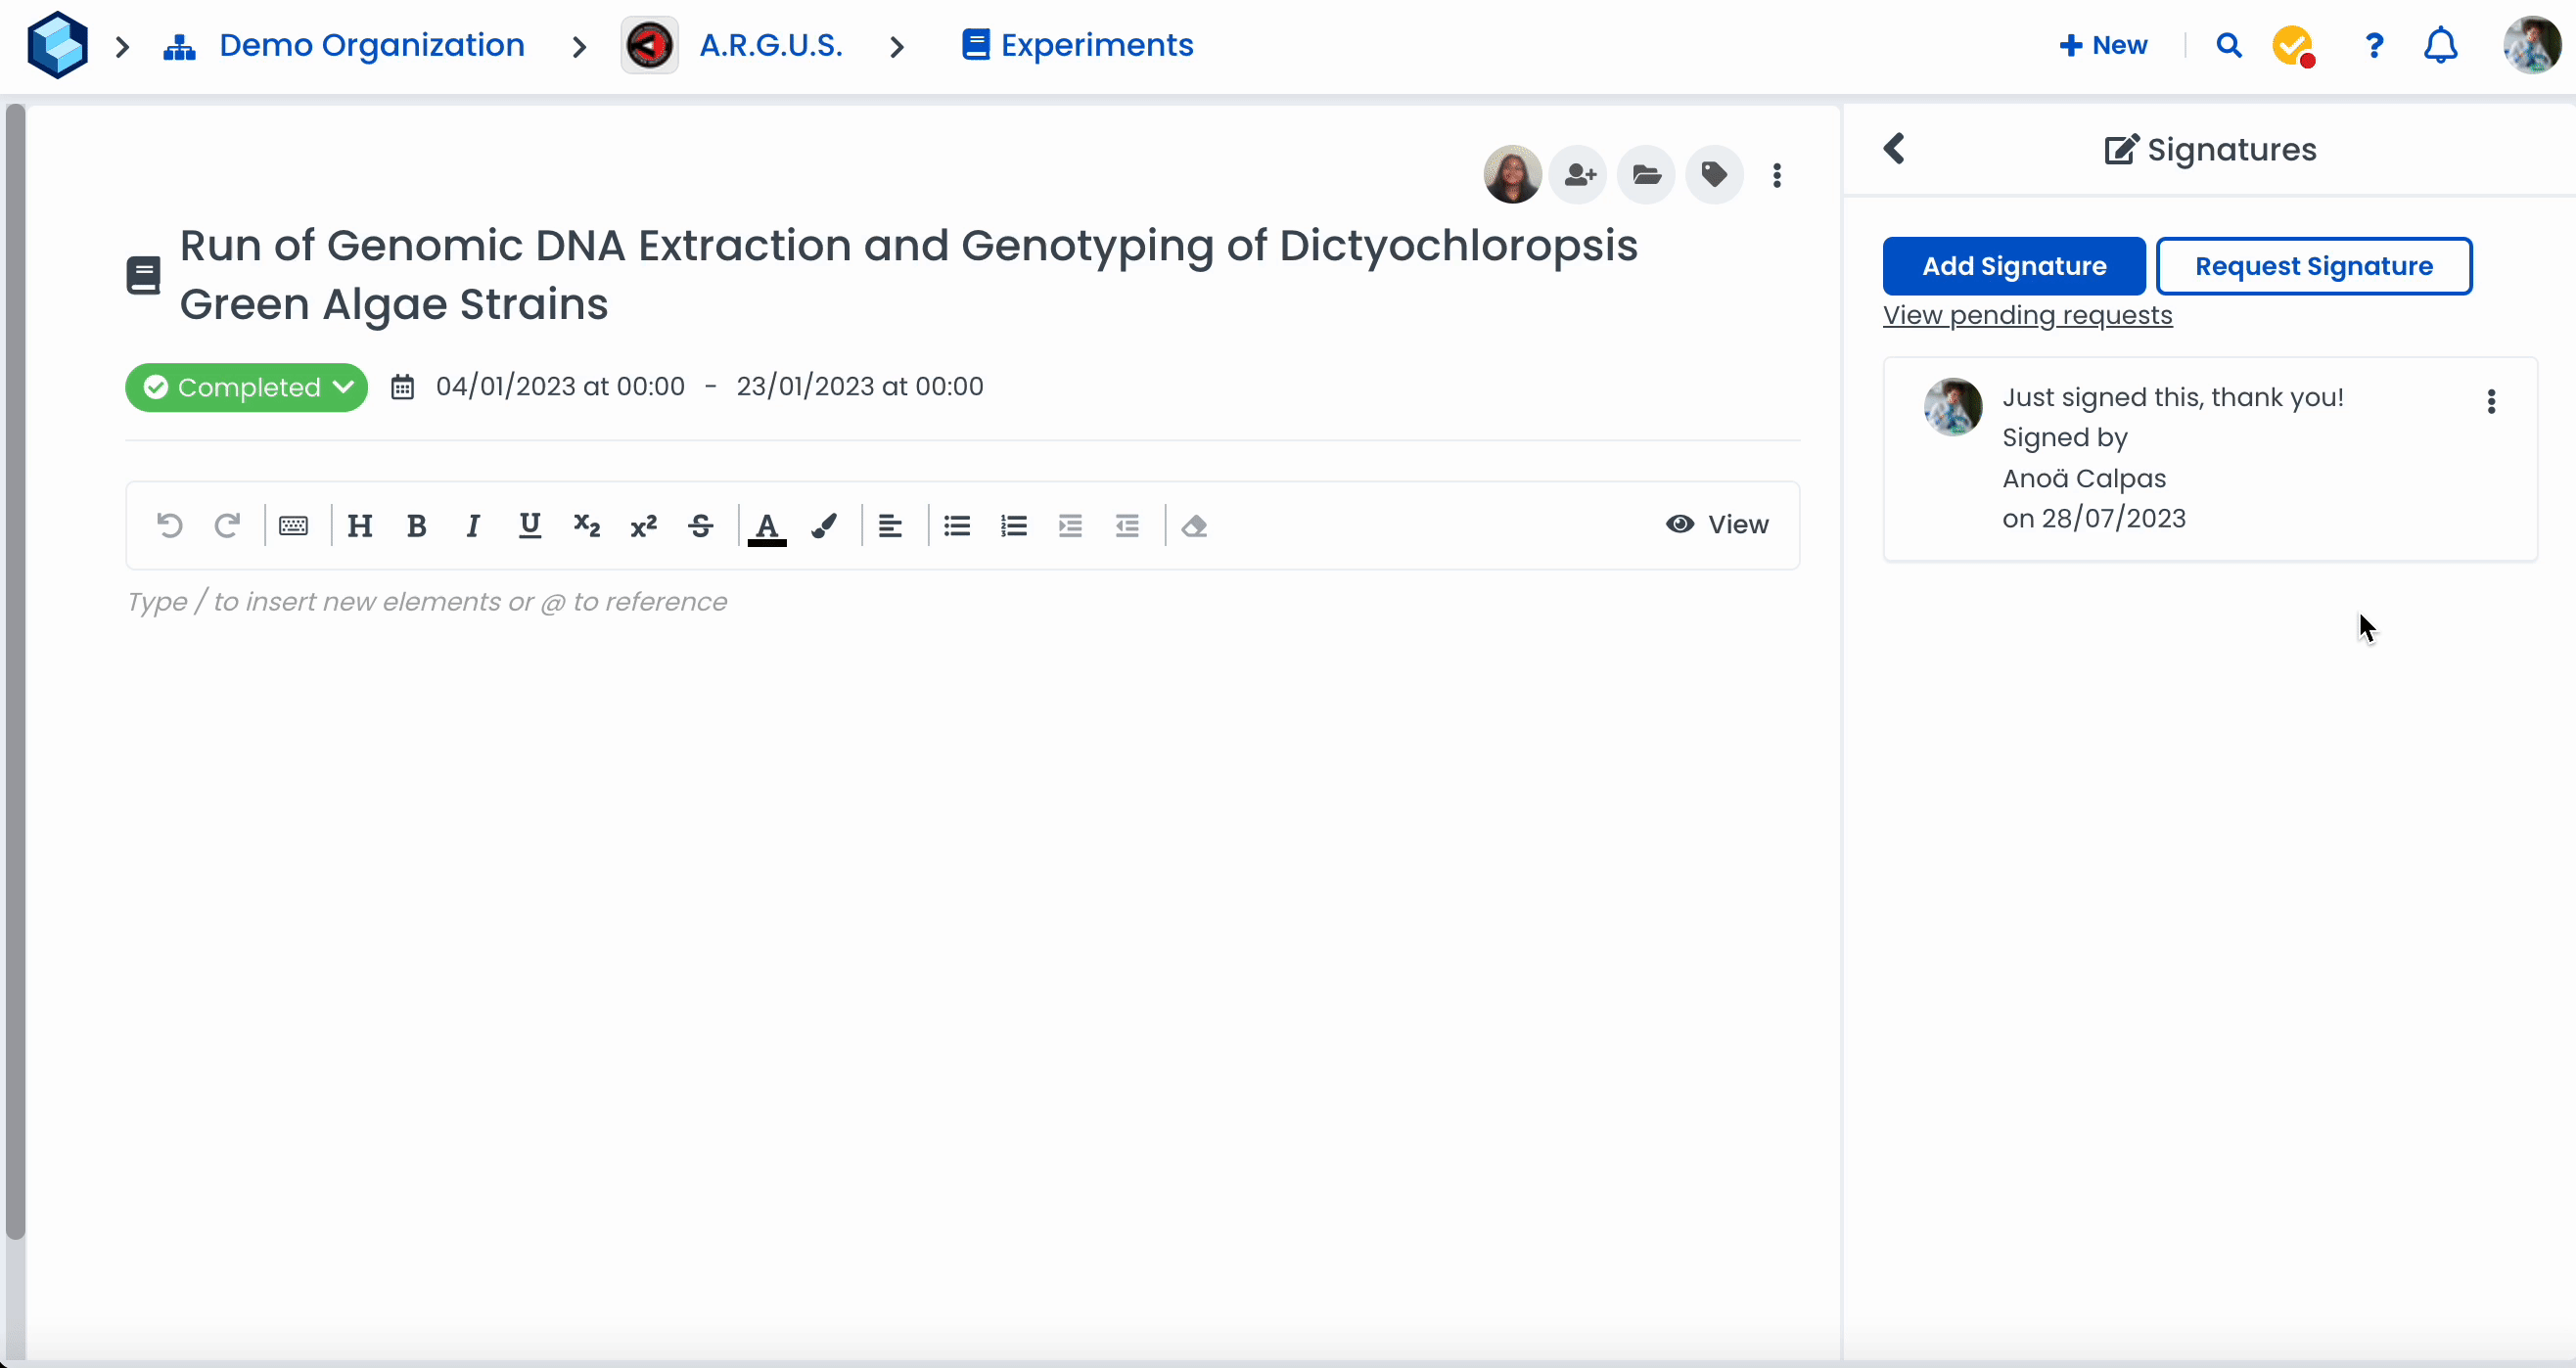
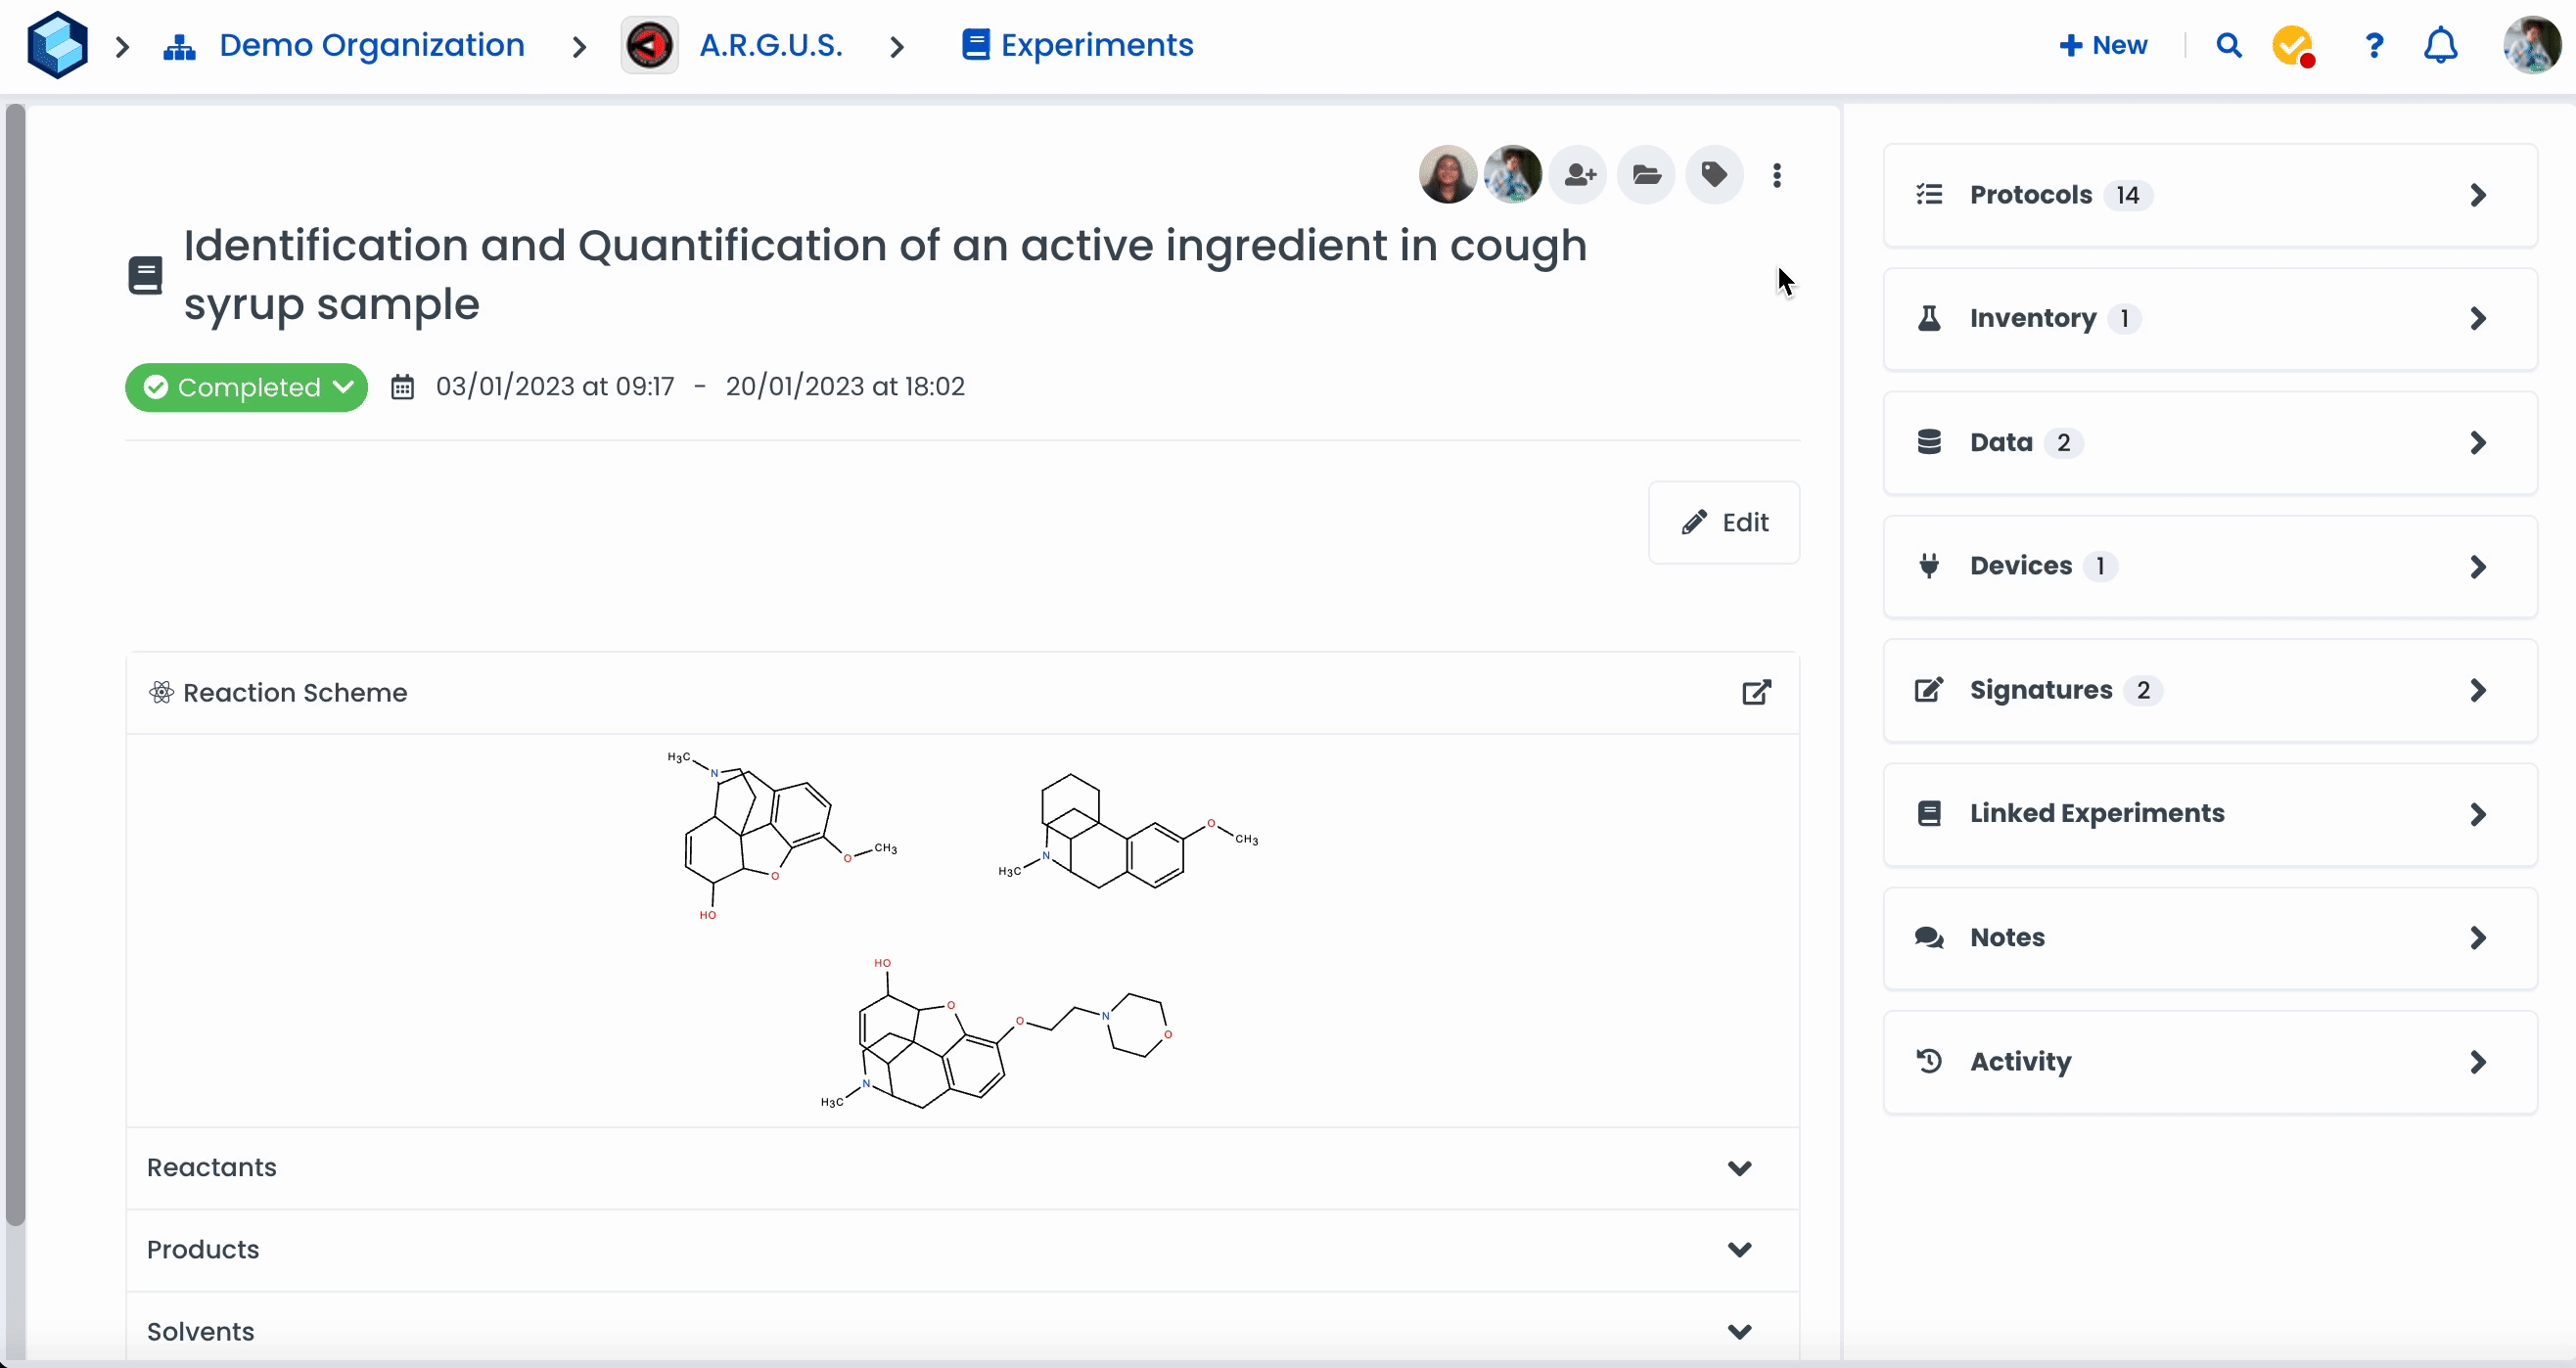
Click on 'Signatures' in the right-hand side menu
Click on 'Add Signatures'
Click on 'Sign' or 'Sign and Lock' (if you have all the signatures you need)
Labstep team tip: Before signing an experiment, you can add a statement. This statement informs other collaborators why you have signed the experiment and what part you played in the review process.
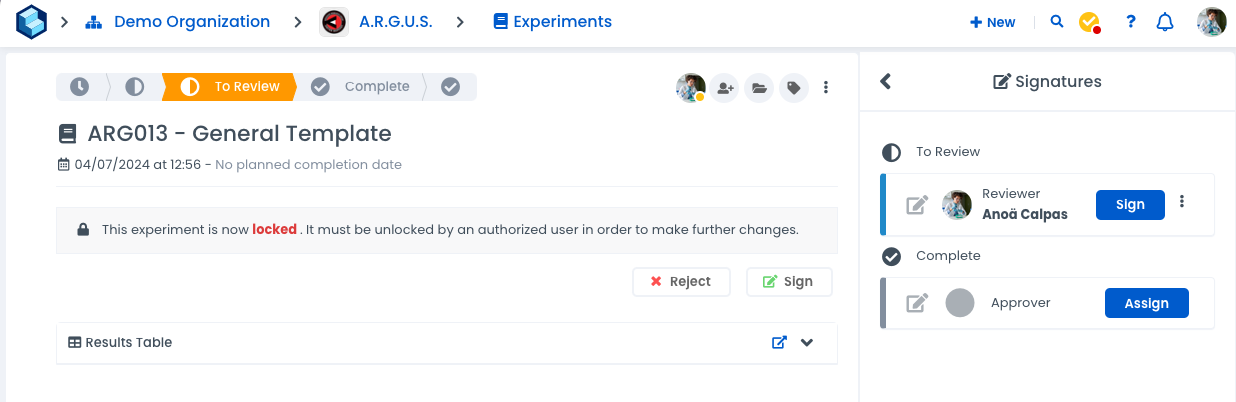
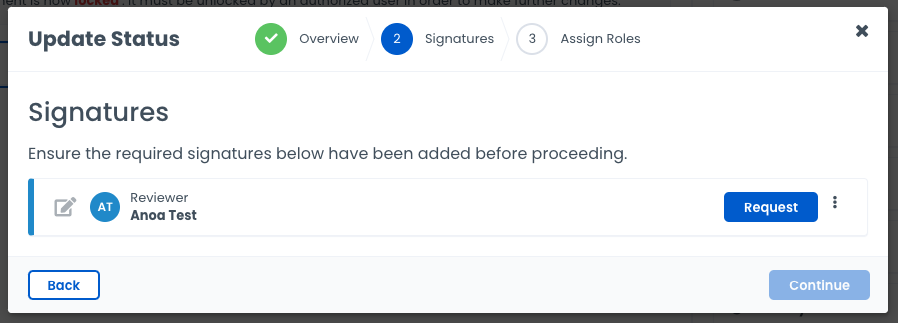
This is what it'll look like if you have Status Workflows enabled and need to sign off something:
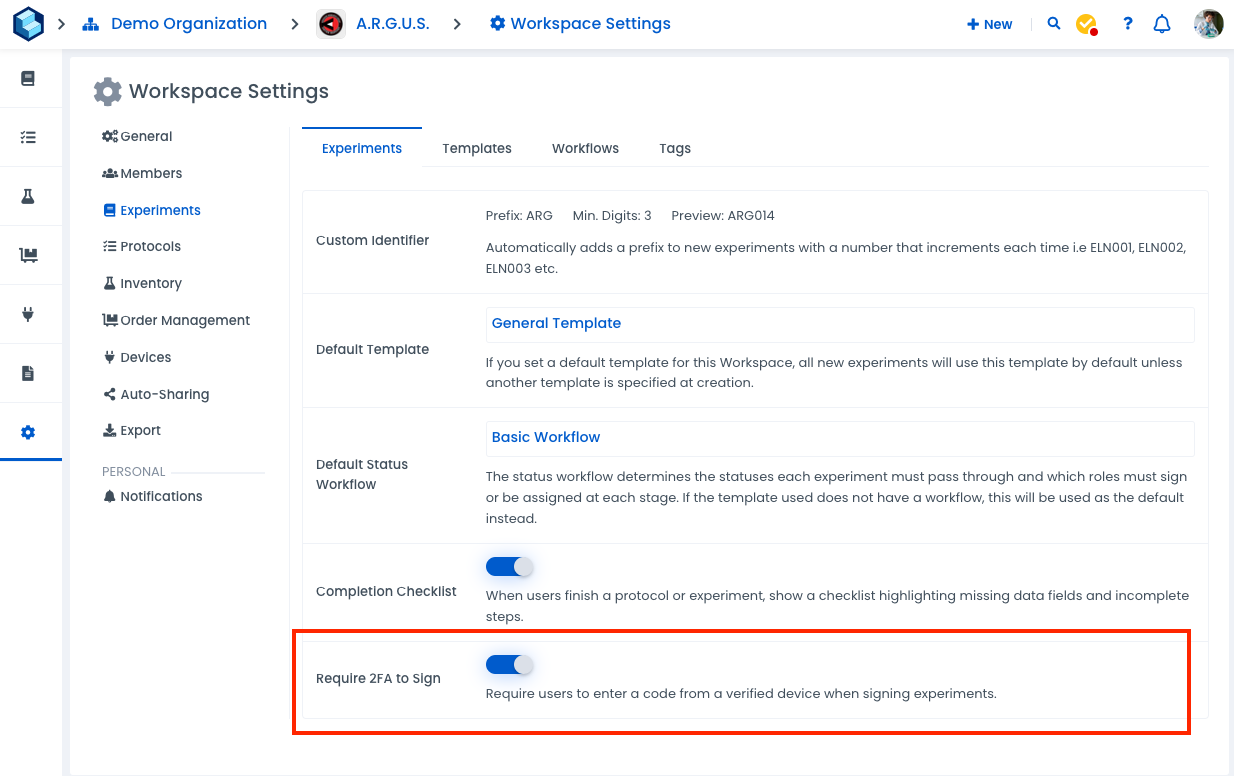
You can enforce 2FA before users can sign experiments. 2FA signatures are important for 21 CFR Part 11 compliance. For more information on how to enable this, please click here.
Navigate to the experiment of your choice
Click on 'Signatures' in the right-hand side menu
Click on 'Request Signature'
Search for members
Select a member
Change the message if necessary
Click on 'Request'
Labstep team tip: If you click on 'View pending requests' in Signatures, you can check the requests sent that have not yet been accepted.
If you have Status Workflows enabled, you can just assign someone and the click "Request"
Navigate to the chosen experiment
Click on 'Signatures' in the right-hand side menu
Click on the vertical ellipsis ⋮ next to a signature
Click on 'Revoke'
The signature will be marked as revoked (with the date)
Labstep team tip: Use the 'Revoke' option if you think a signature is no longer valid or was added by mistake. Only the signee or the experiment owner can revoke signatures. If you believe a signature needs to be revoked, let your collaborators know.
After the signature has been revoked, it will not be removed for compliance reasons and will still appear within the 'Signatures' tab.

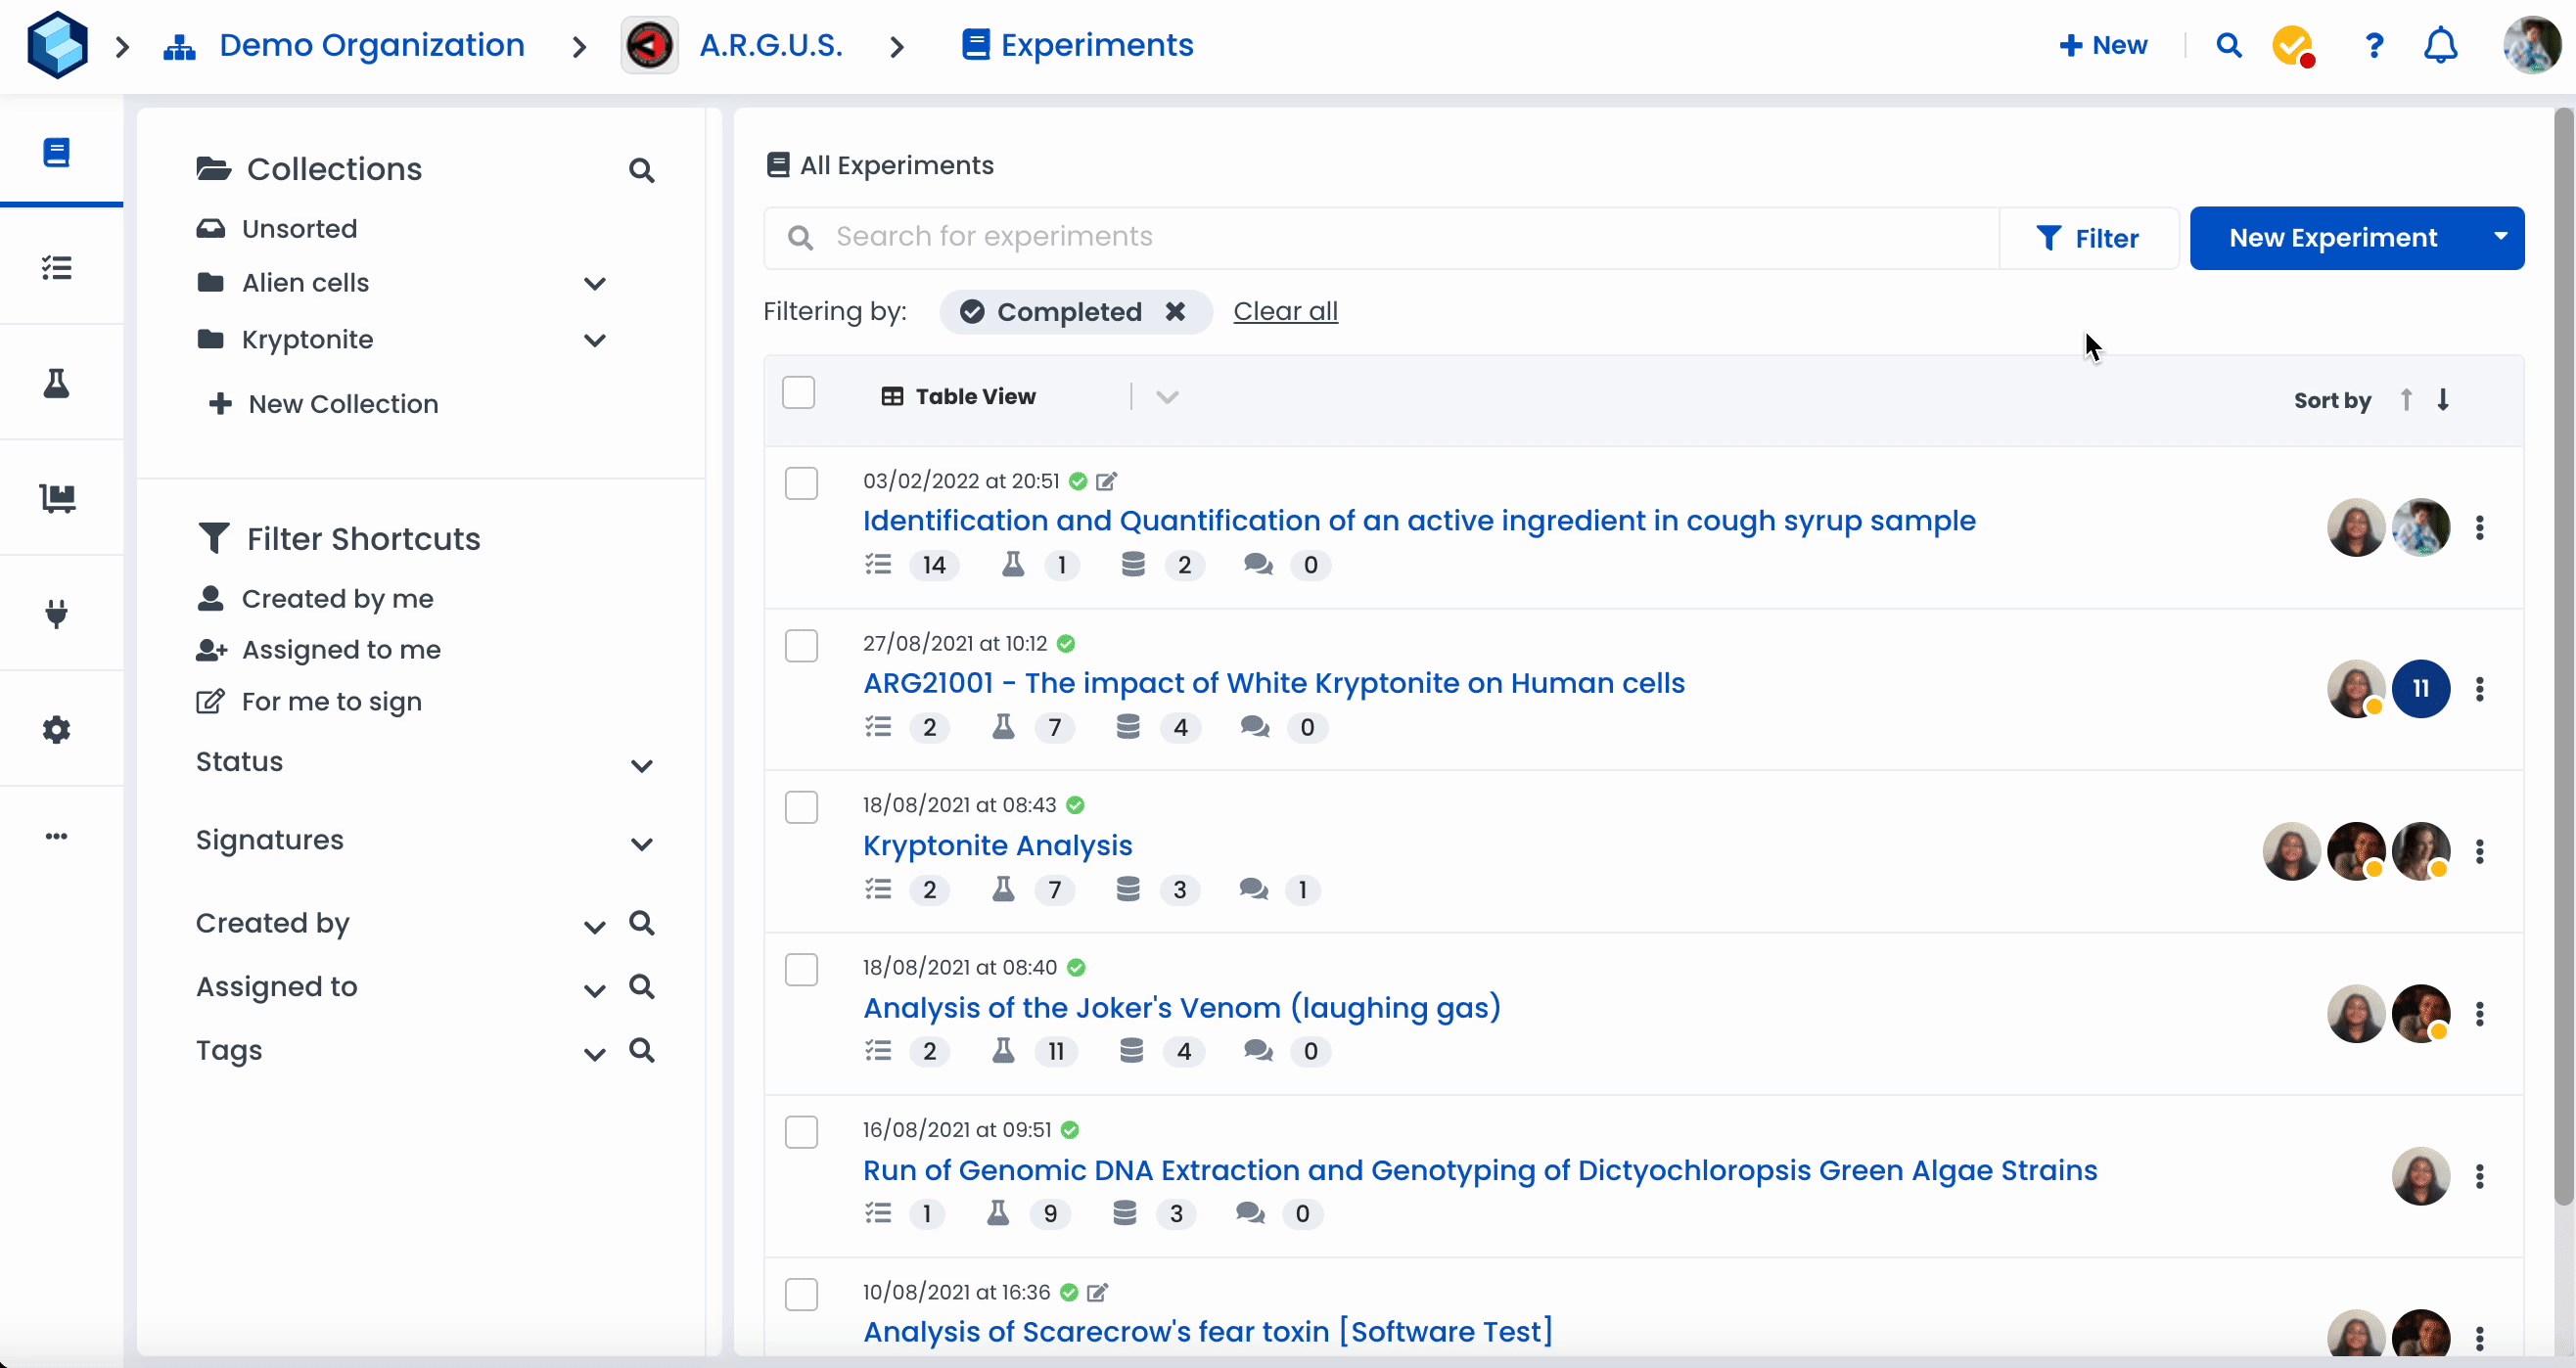
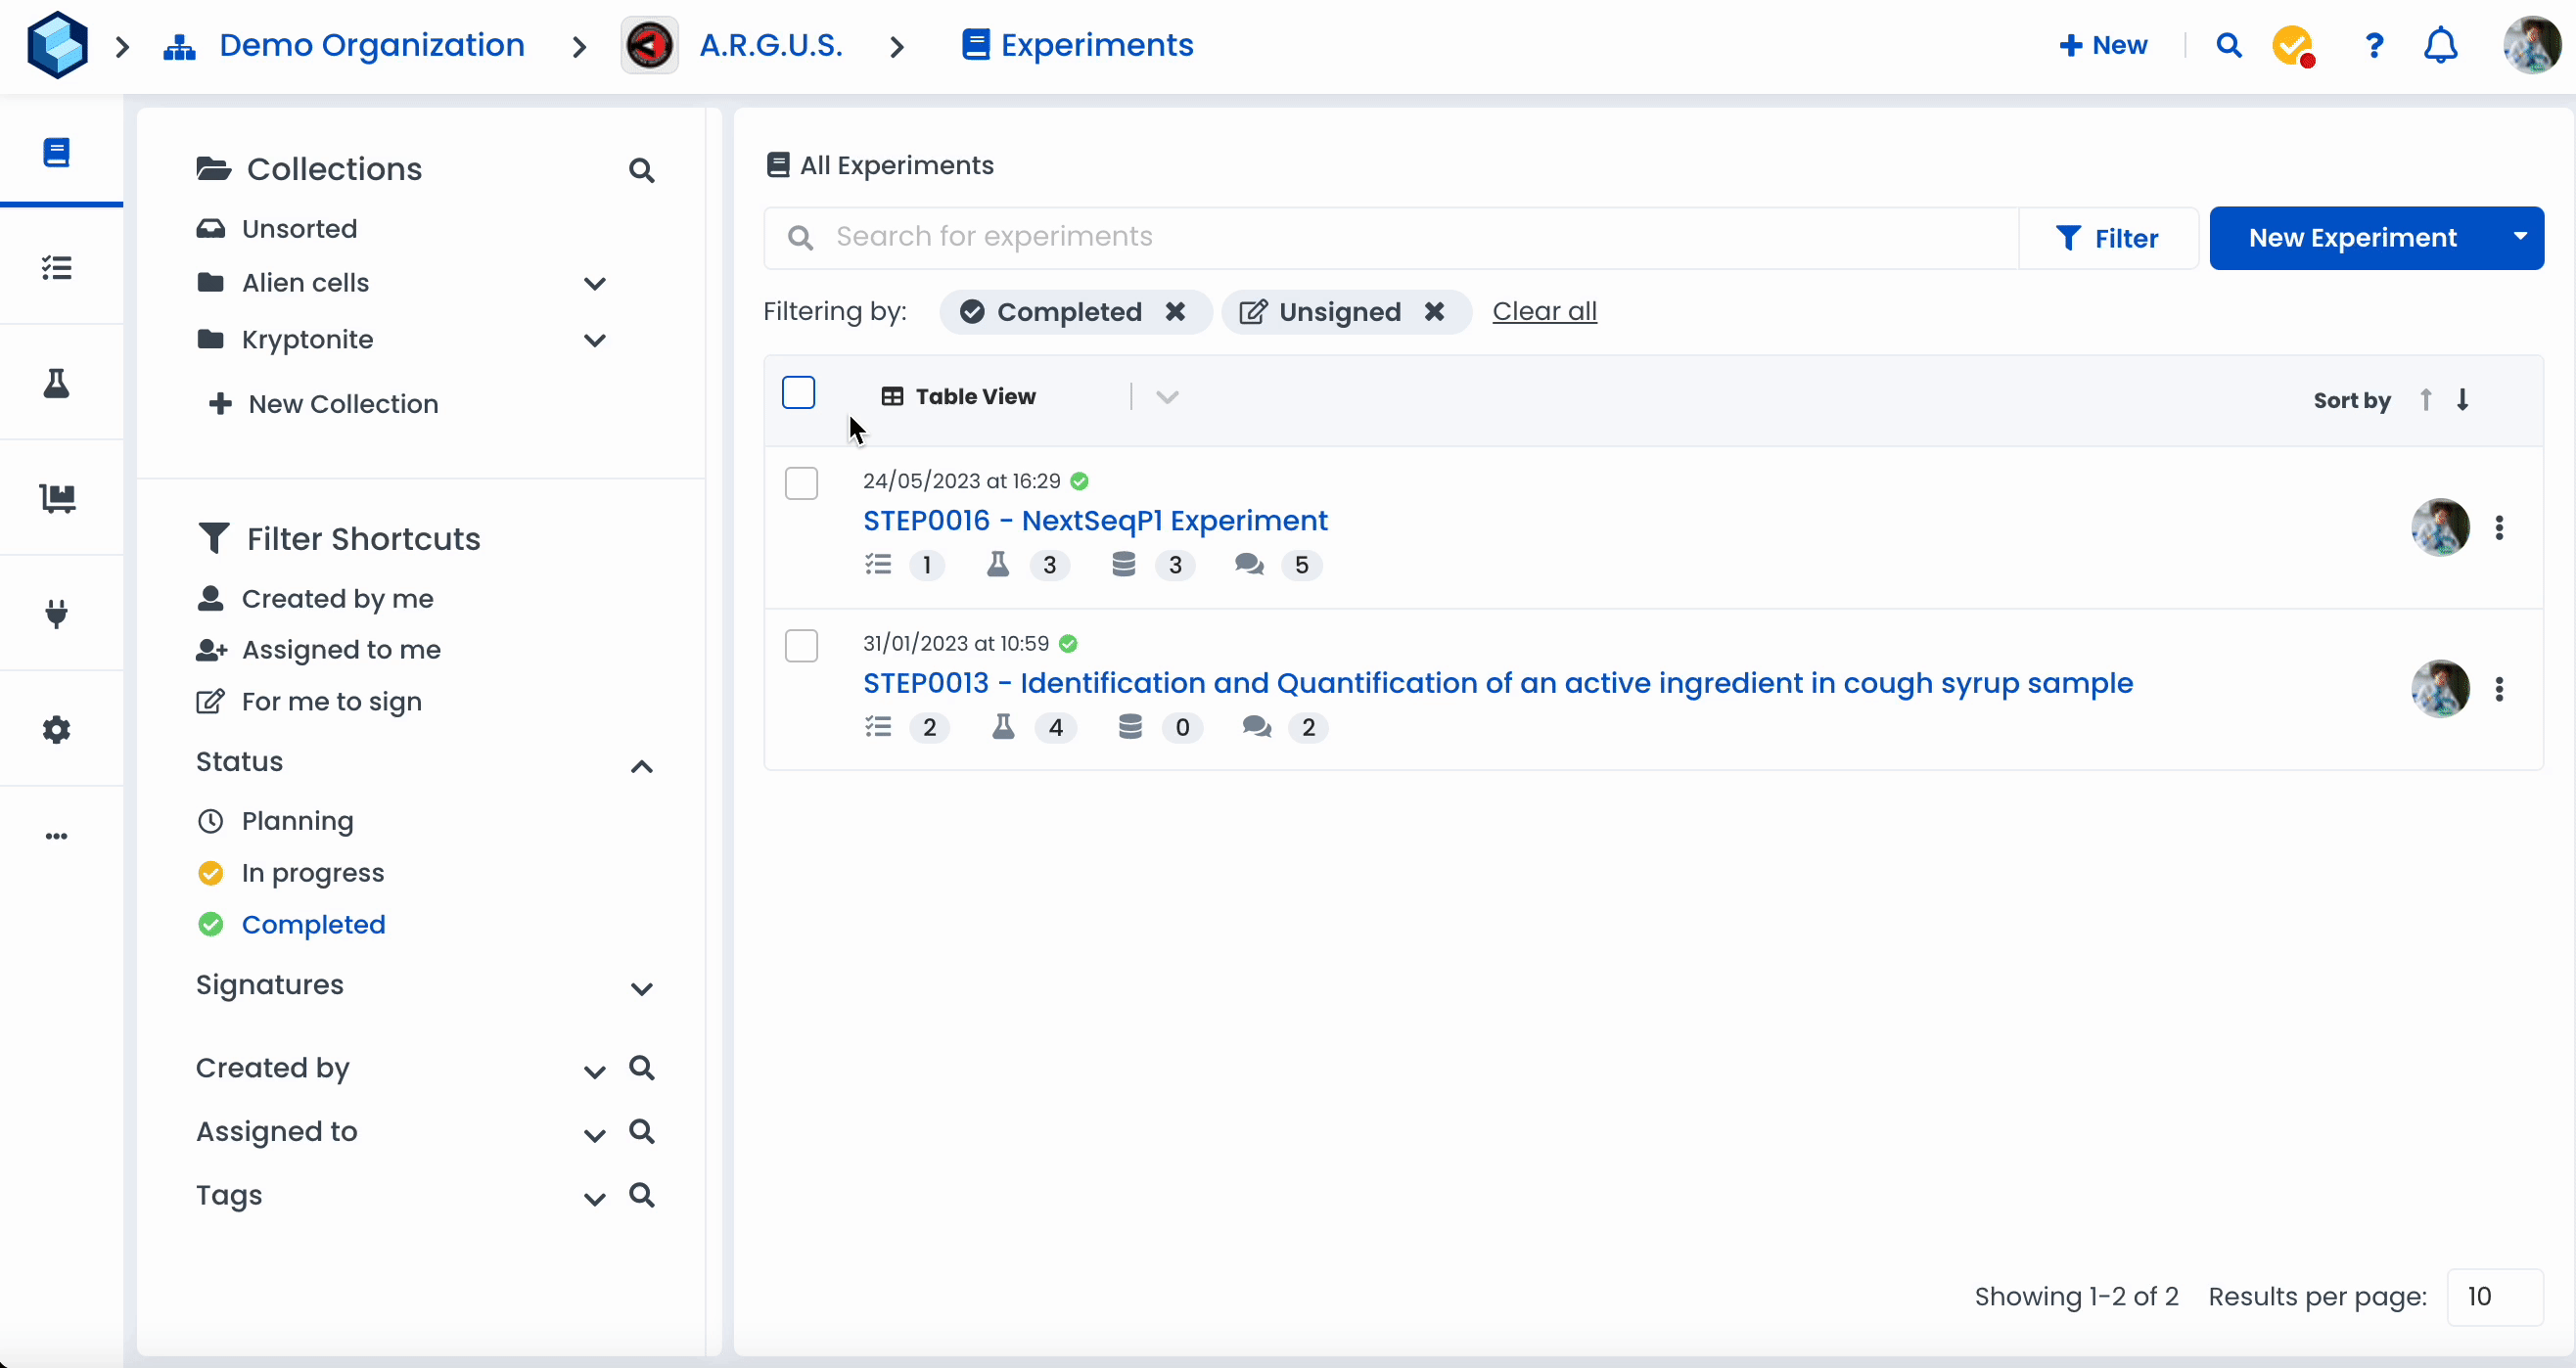
Navigate to the 'Experiments' tab
Use filters to narrow down your search
Check the boxes next to the experiments of your choice
Click on 'Request Signature'
Select a member
Click on 'Request'
Labstep team tip: Combine the 'Unsigned' filter with the 'Created by me' and 'Complete' filters to give you a list of experiments that you might want to request signatures for as they are completed.
Navigate to the 'Experiments' tab (or experiment of your choice)
Click on the vertical ellipsis ⋮ next to the chosen experiment
Click on 'Lock'
Click on 'Yes' to confirm you want to lock this experiment
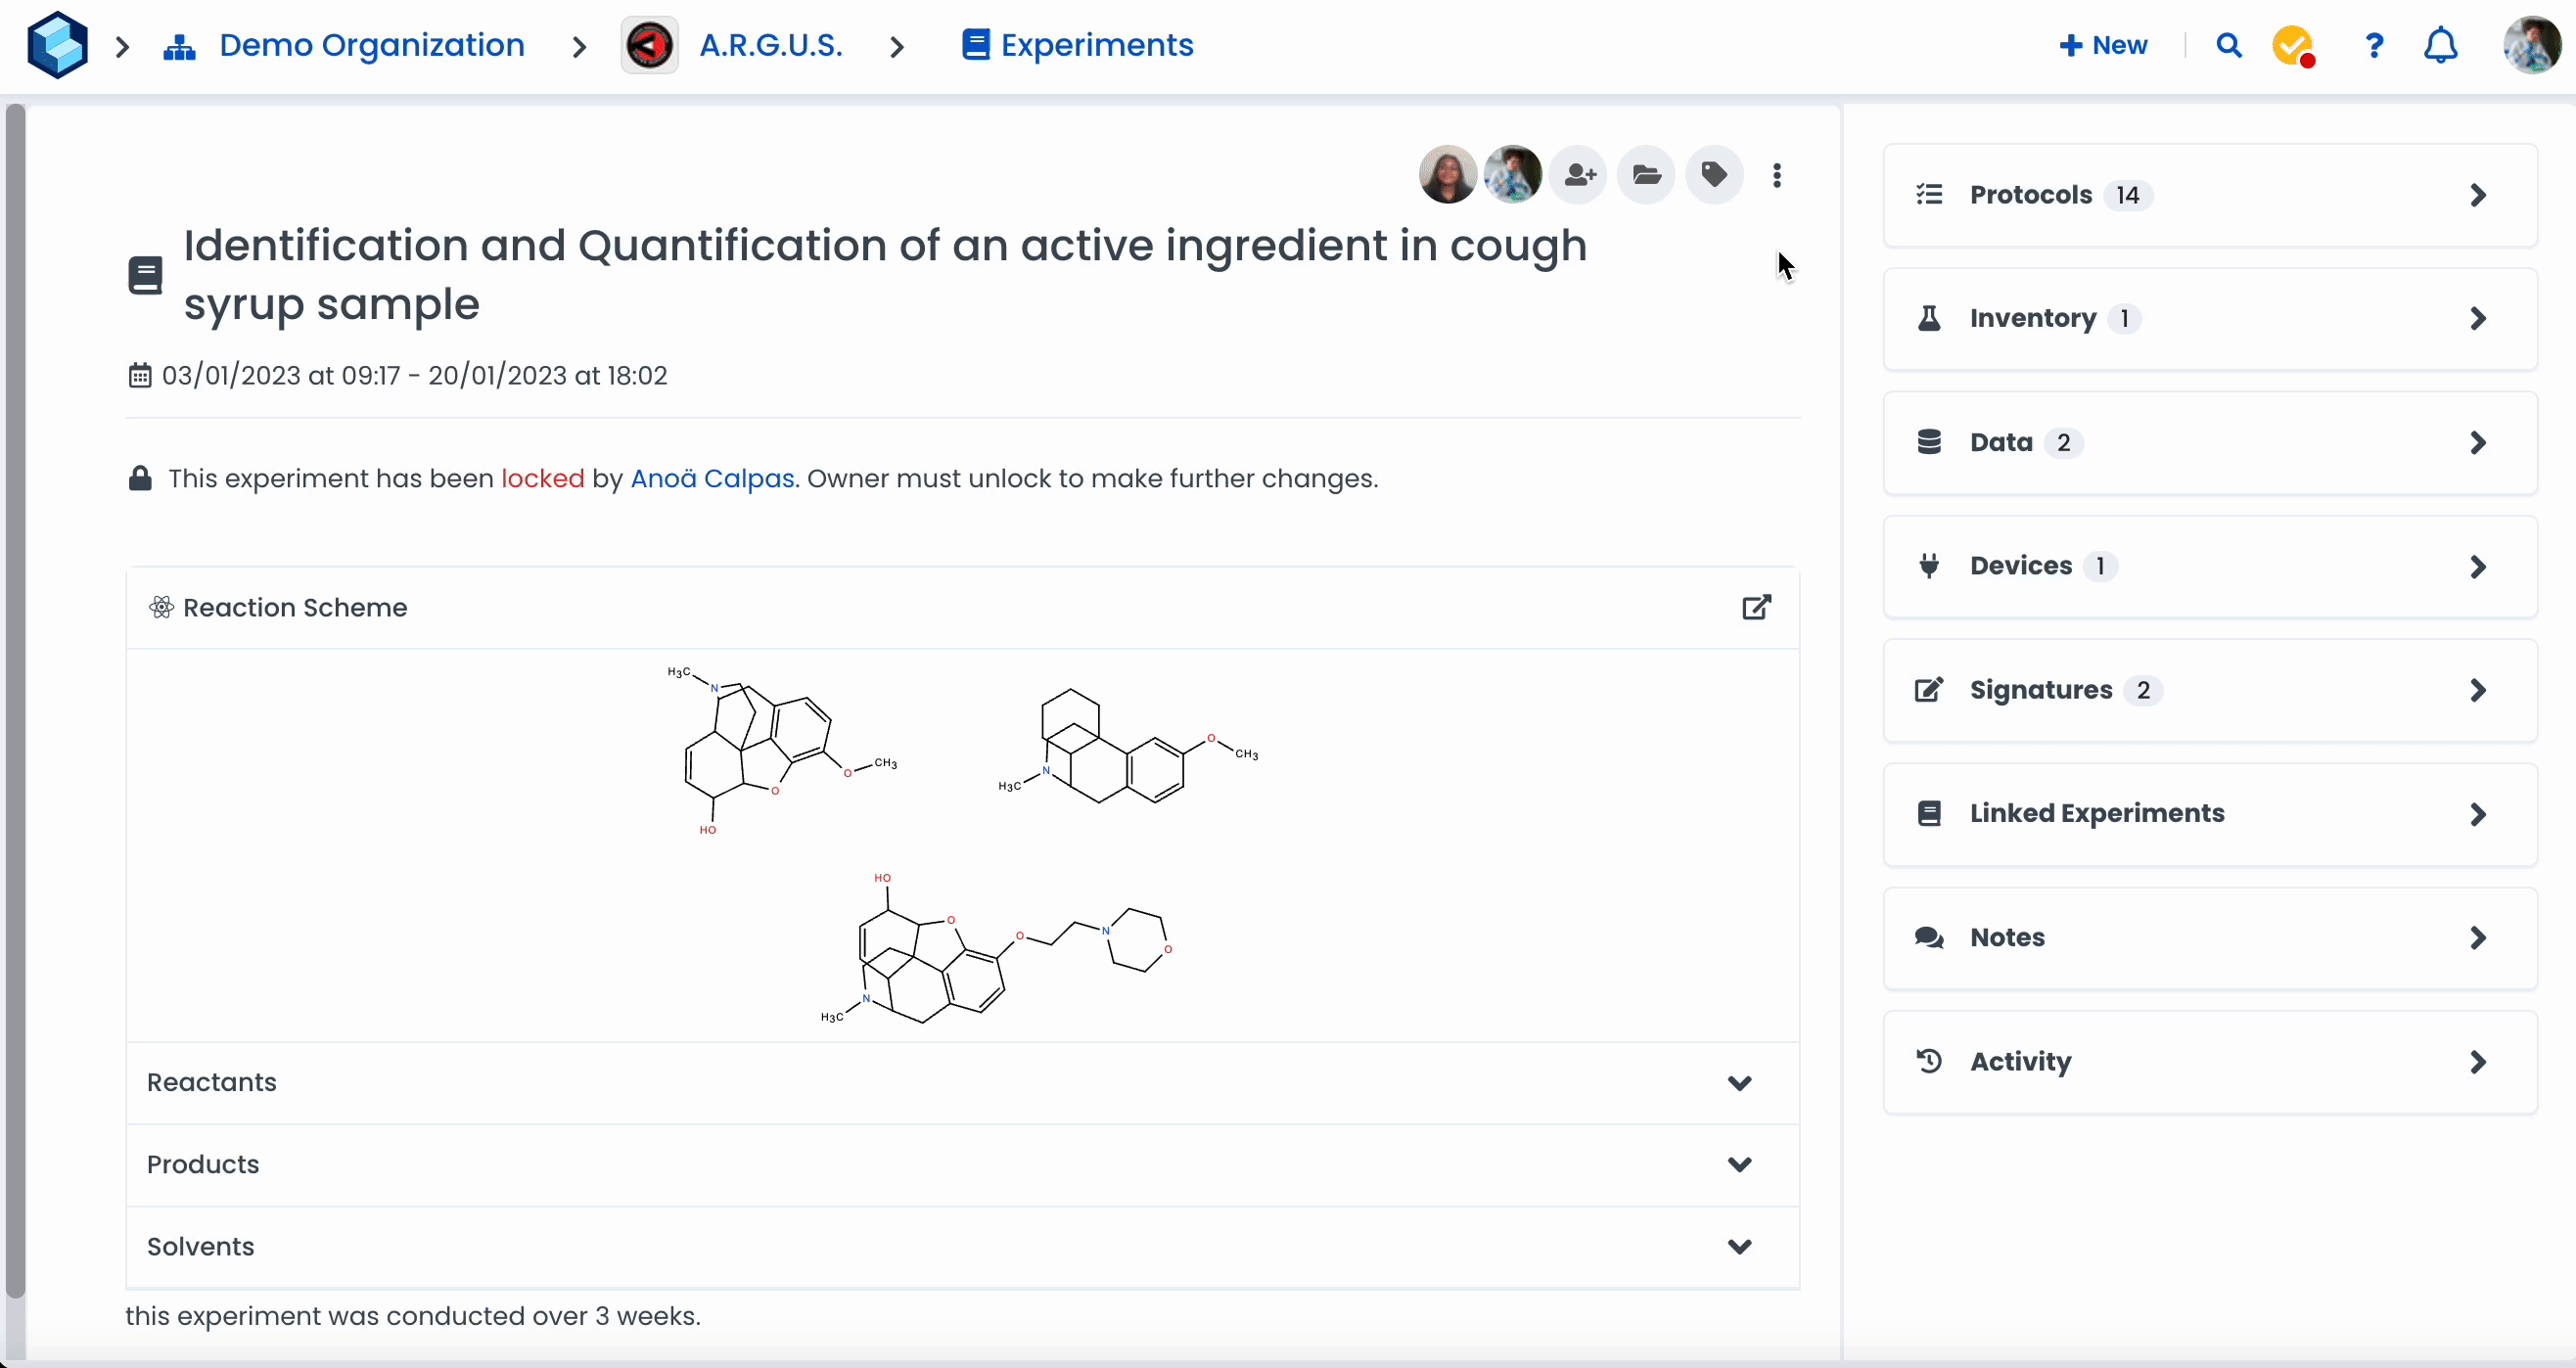
Experiment is now locked!
Navigate to the 'Experiments' tab (or experiment of your choice)
Click on the vertical ellipsis ⋮ next to the chosen experiment
Click on 'Unlock'
Click on 'Yes' to confirm you want to unlock this experiment
Experiment is now unlocked!
Labstep team tip: Please note only an Admin or the workspace Owner can unlock experiments. If you need to unlock an experiment and do not have the required permission, ask the workspace owner to unlock it for you or change your workspace permission to 'Owner'.
Still need help?
Contact us here or start a conversation with a member of our team using our in-app chat.
