Workflows are an essential part of project management. With our Status Workflows, we help you take a step towards achieving compliance and enable you to have greater visibility over the state of your work. In this article, we will walk you through how to configure workflows. With this feature, you can easily configure your workflows to suit your organisation's needs and ensure that tasks are completed efficiently and accurately. To learn how to use workflows, check out this article.
Please note this is a premium feature. If you're interested in adding it to your organisation, please contact info@labstep.com or your account manager.
To create a Workflow:
Navigate to the Workspace Settings
Go to the Experiments tab
Select Workflows
Click "New Status Workflow"
Rename your Workflow
Please note that depending on your permissions, you might not be able to create or manage workflows.
The status bar from the experiment.
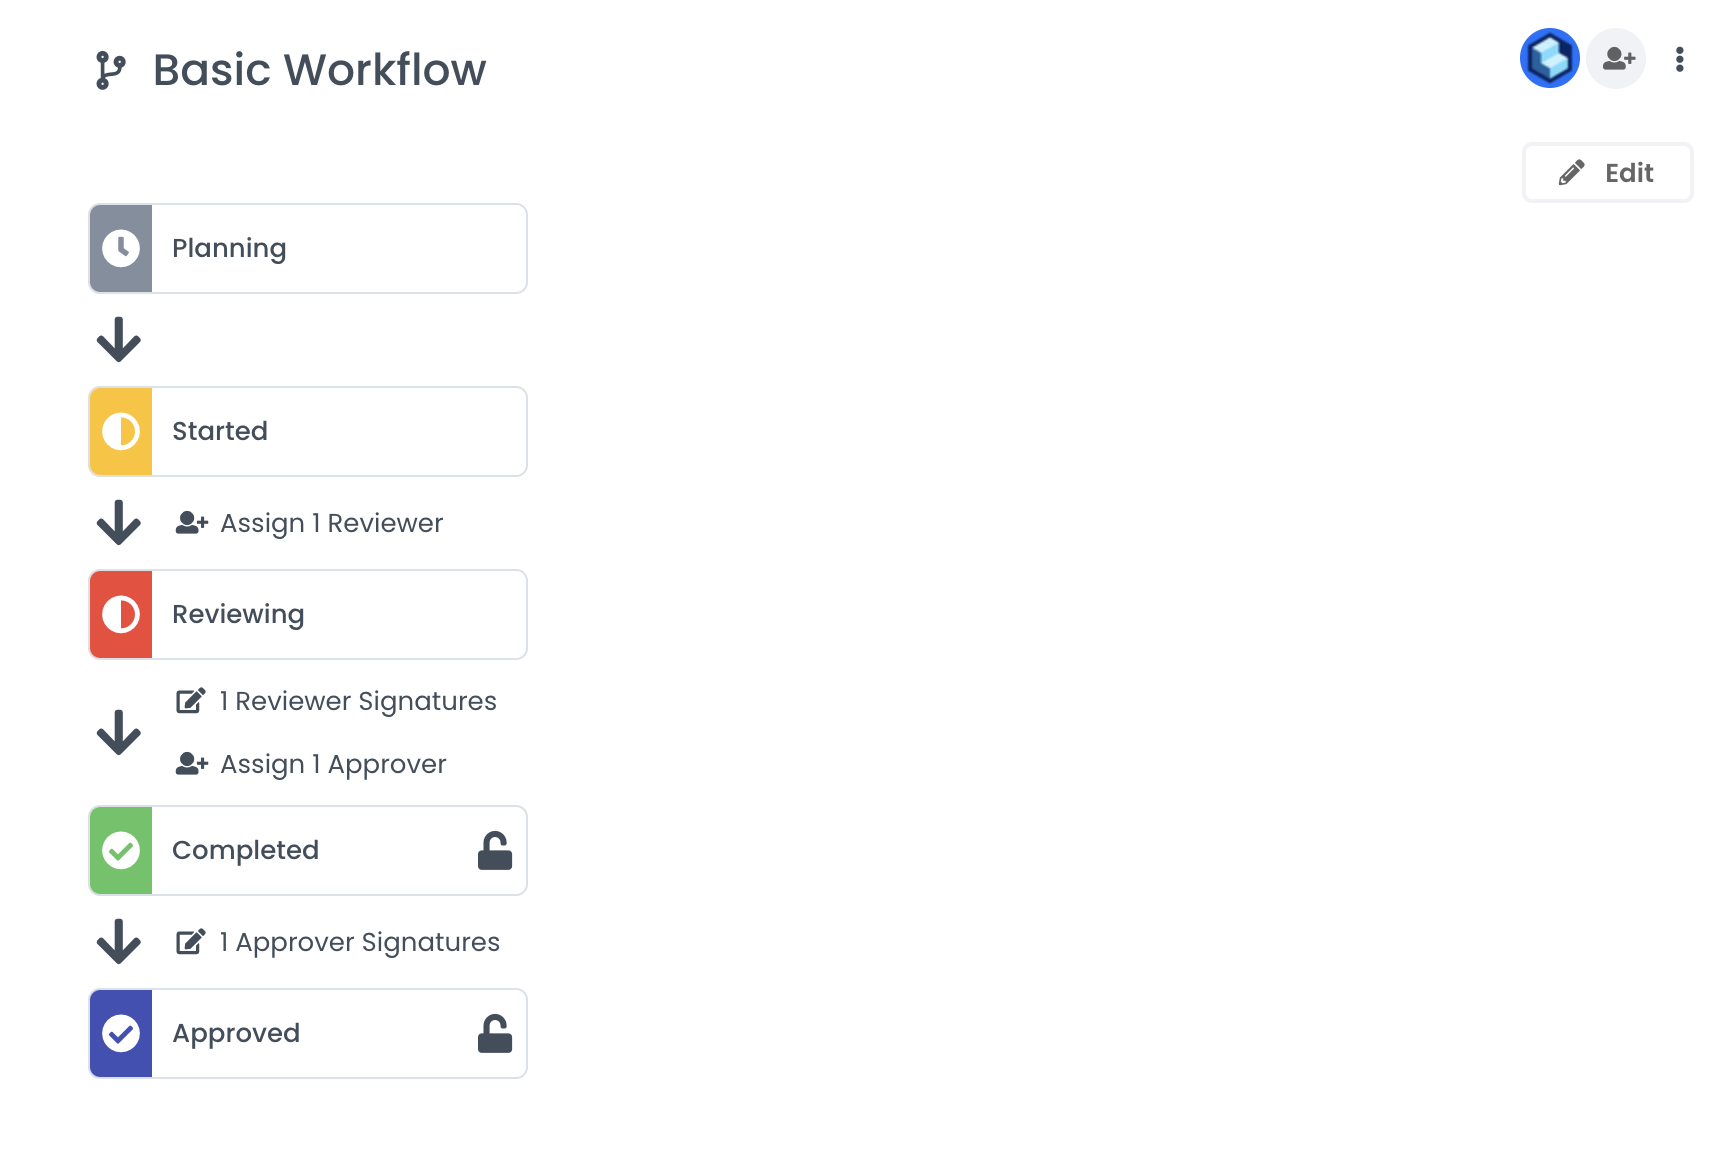
To start configuring your workflows, click on the "Edit" button. From there, you'll be able to rename the different states, add new ones, manage them, change their colour, add a description and add role requirements.
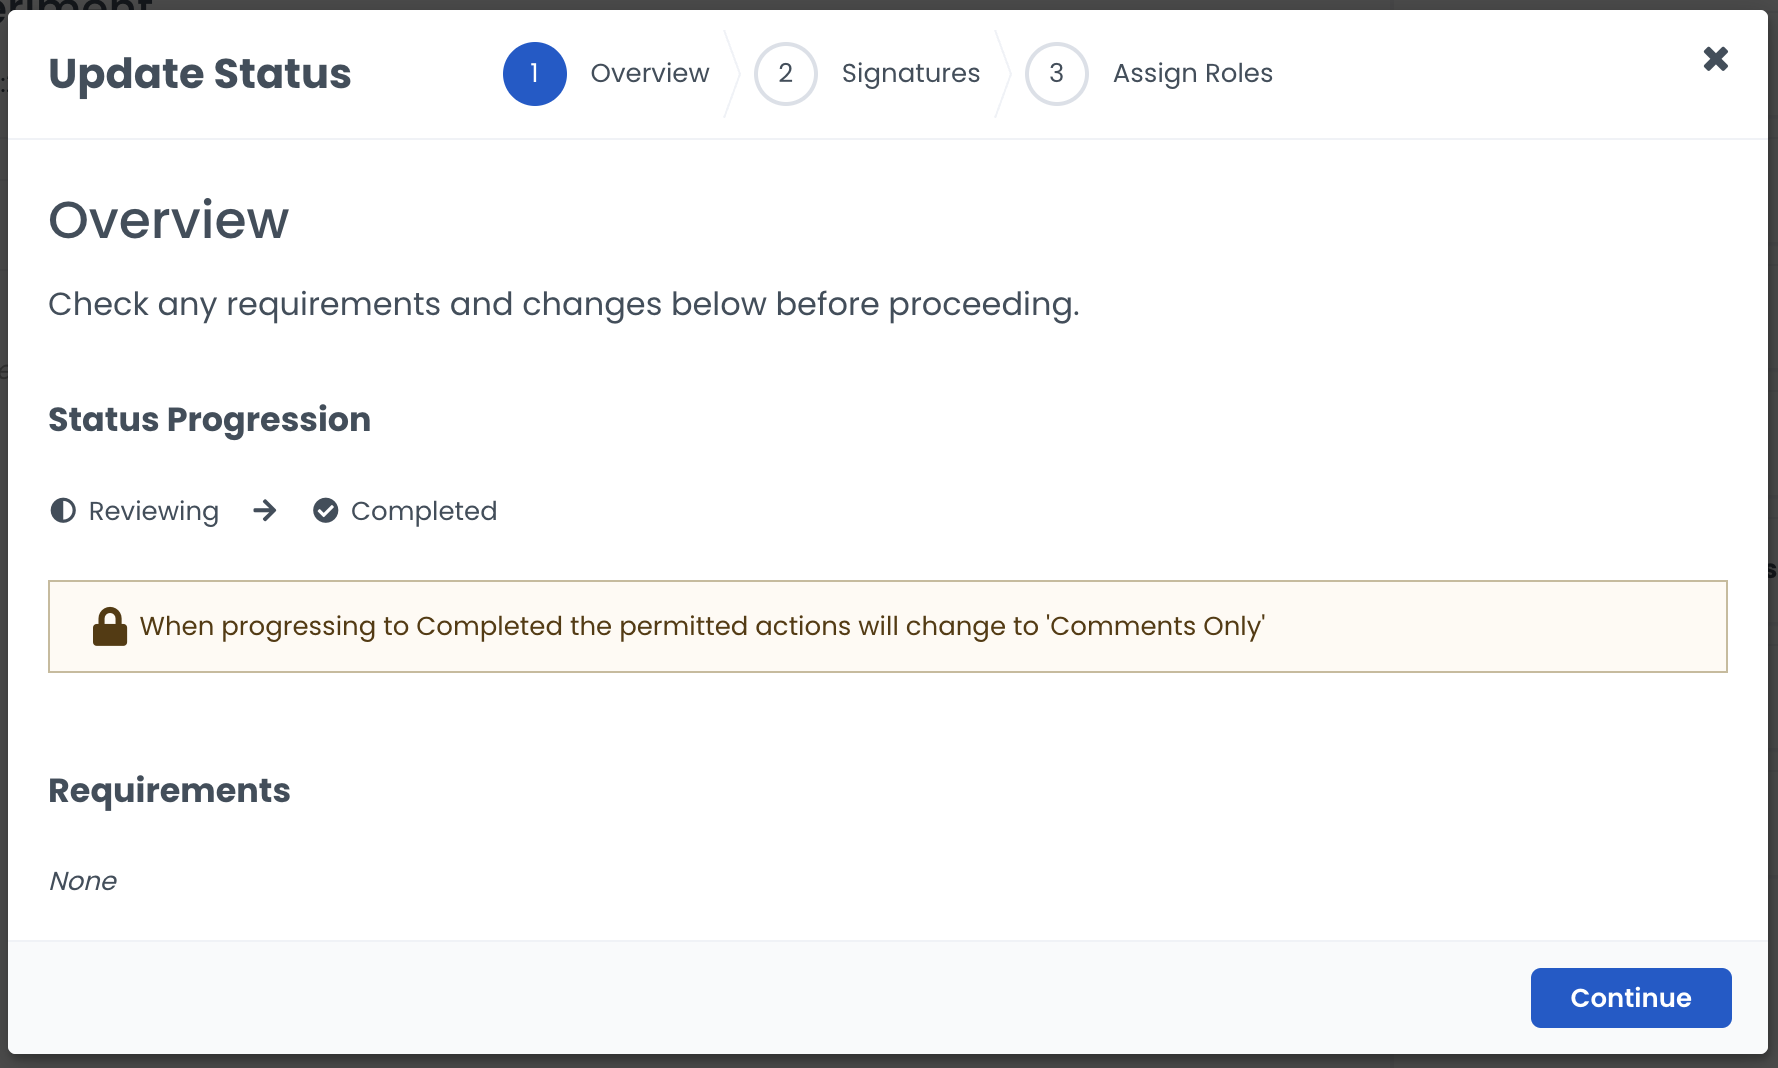
The pop-up status box a user sees when changing status in an experiment.
Before you can start using workflows, you'll need to understand statuses. These are the different stages that a task can go through. There are three types of status: Unstarted, Started and Completed. However, you can also add new states within these to better suit your project's needs. When your experiment first enters a started status, the start date and time will be set. When your experiment first enters a completed status, the completion date and time will be set. You can always edit these. If you do not wish to have an unstarted status as part of your workflow, whenever you create an experiment, it'll be in the started state, and the date and time set will be the one when you created it.
Click the + icon
Enter a name
Configure as necessary
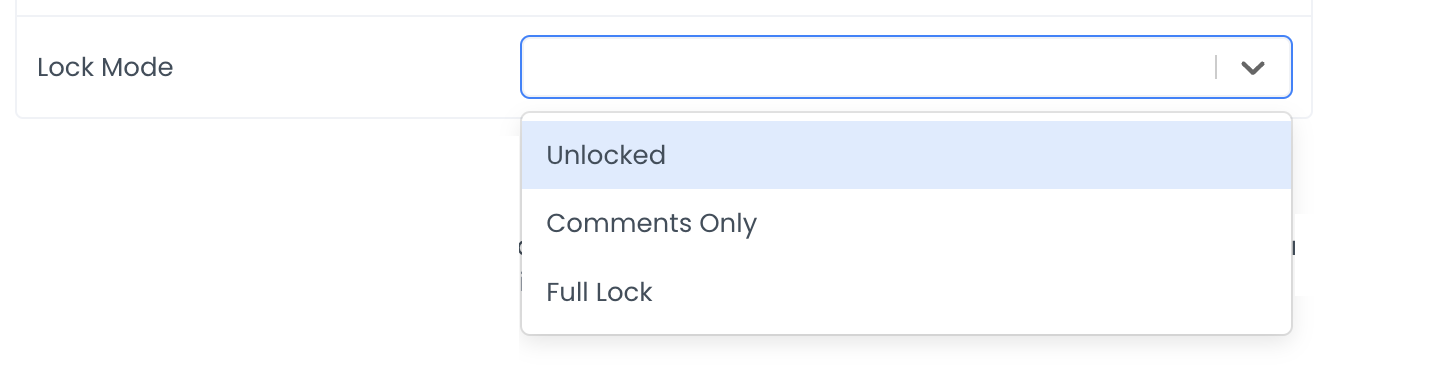
"Lock Mode" corresponds to the actions permitted in the different statuses. There are currently three modes: Unlocked, Comments Only, and Full Lock.
All actions are permitted, depending on the permissions each workspace member has.
Comments Only Mode is a feature that allows you to collaborate with your team on a task without making any changes to the actual task. This is useful when you want to discuss a task or provide feedback without altering its status or data.
What you can do | What you can't do |
|
|
No actions are permitted except adding and requesting signatures. Once the experiment is locked, only the Workspace Owner can unlock it.
If you want to ensure that a specific role is responsible for a task before it can proceed, you can add a Role Requirement. This means that users will have to assign someone with that role before the task can move to the next stage.
Select a status
Click "Add Role Requirement"
Click "New Role"
Set a Name and Description
Click "Done"
The pop-up status box a user sees when they need to assign a role in an experiment.
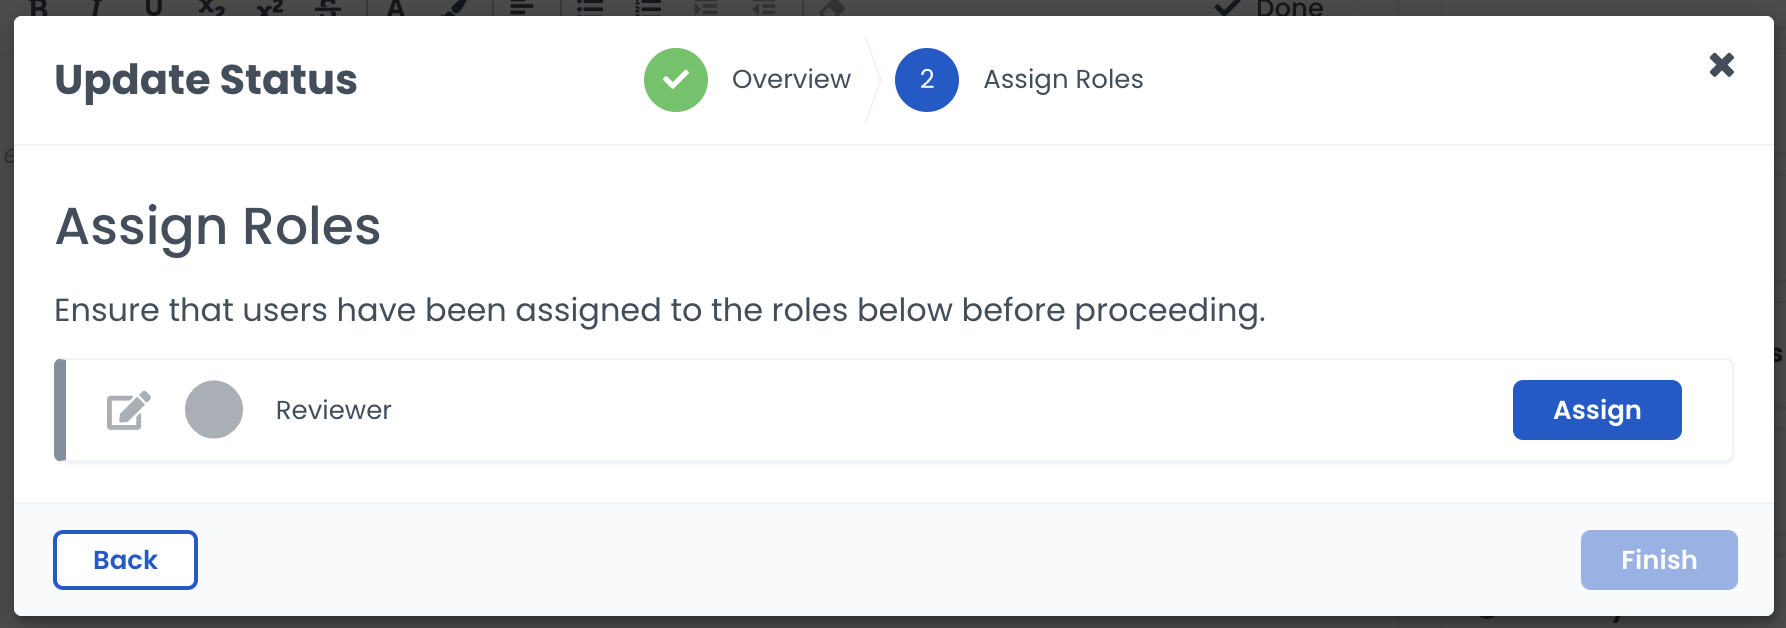
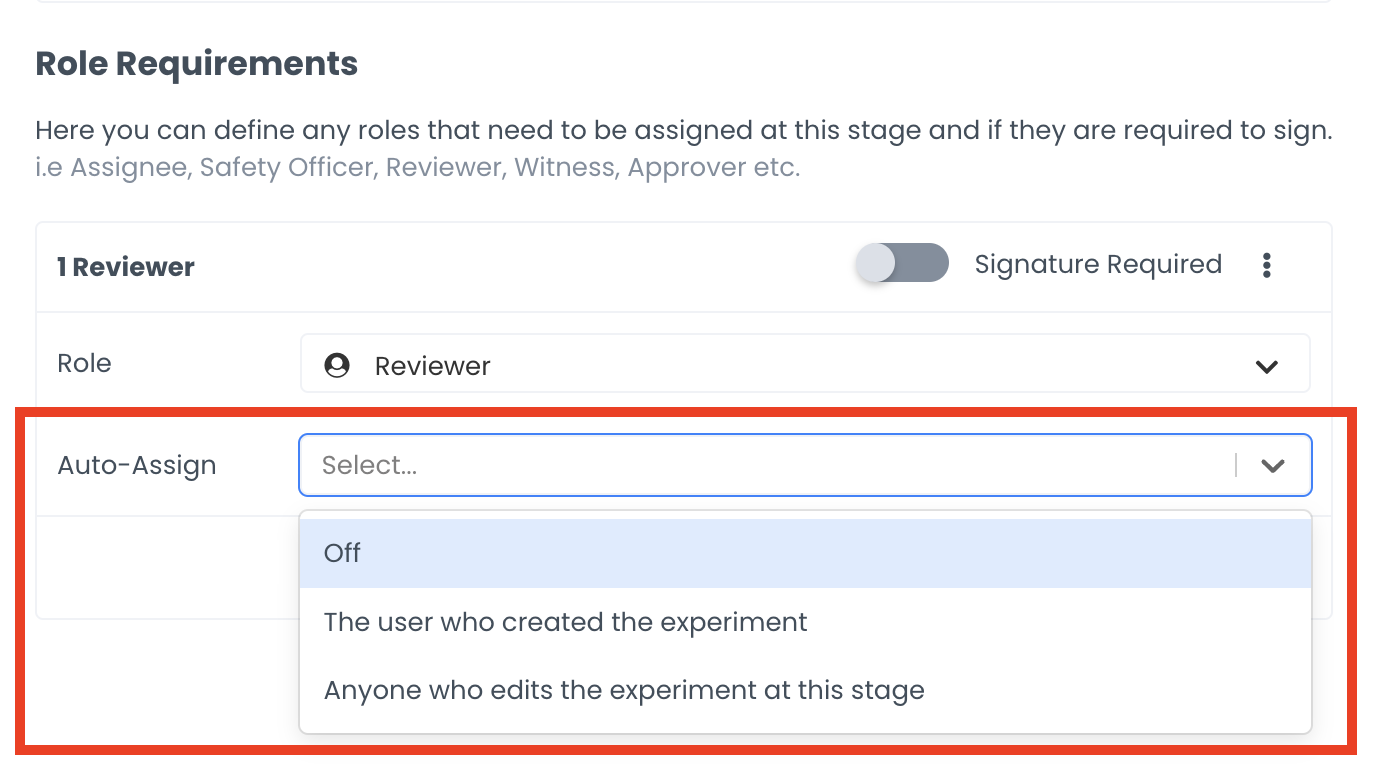
Choose whether the roles are auto-assigned based on who created the experiment or anyone who edits the experiment in the selected status.
If you enable Signature Required, the user assigned to that role will also have to sign off on the stage before it can proceed to the next one. This is useful if you want to assign tasks to require approval from a specific team member.
Select a status
Make sure you have a required role added
Toggle on "Signature Required" for the necessary role(s)
You can configure various settings for Role Requirements, such as the number of days to sign. This setting determines how long the assigned user has to sign off on the task. The system will send reminders to the assigned user one day before the deadline and then notify them when the deadline has passed (1, 7, 14, 30, and 90 days overdue).
Number Required | This setting sets the number of signatures required for a certain role. E.g. If you have more than one Approver, make sure to assign all the roles to avoid any issues moving from one state to another. |
Default Statement | This setting defines a default statement for when a signature is required. Each time someone adds a signature, this statement will automatically be added alongside. E.g. "Signed and approved!" |
Number of Days to Sign | This setting determines how long the assigned user has to sign off on the task. The system will send reminders to the assigned user one day before the deadline and then notify them when the deadline has passed (1, 7, 14, 30, and 90 days overdue). |
On Reject | This setting is to decide which state an experiment reverts to when it gets rejected when prompted to sign. Users with a role with a signature requirement will be presented with the option to sign or reject the edits. |
Still need help?
Contact us here or start a conversation with a member of our team using our in-app chat.
