Resource Relations in Labstep allow you to represent the relationships between the resources entities in your inventory. There are many reasons you may wish to link different resources, here’s some examples:
You may like to link expression plasmids with the plasmid backbone that they were created from.
You may wish to link samples of expressed product with the strain or cell line which expressed them.
When combining different materials to make an end product, you may wish to link those materials directly in the inventory.
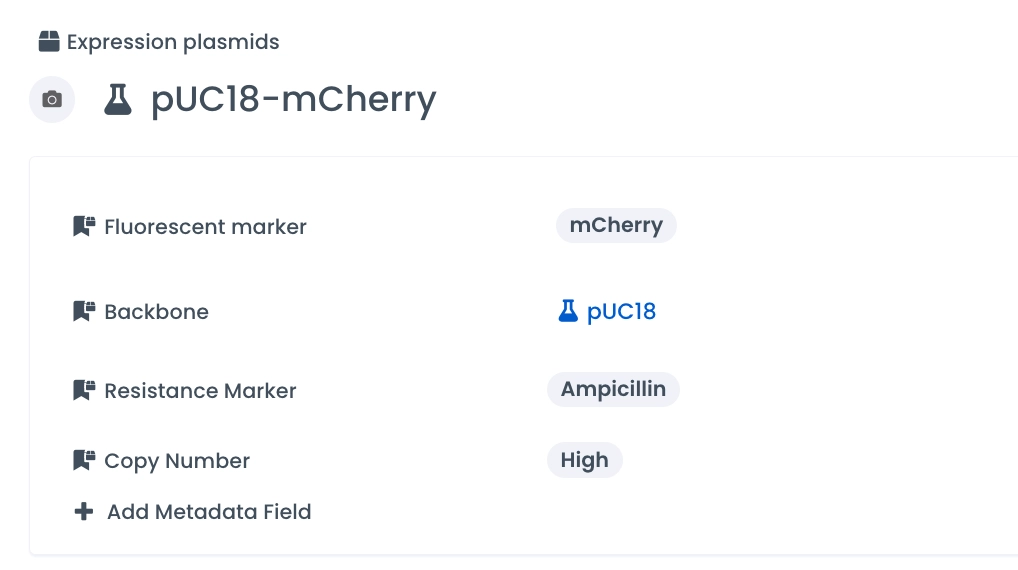
Each step of setting up a relation is guided in the Labstep app. Read on below for further information on each step and examples of how entity relations can be used.
Go to the resource template of the Category that you wish to link to another.
Select the ‘Add Metadata Field’ button and select ‘Relation’.
Chose the other resource category that you want to link with the present one.
Chose if you want your relationship to be one way, symmetric or an asymmetic.
A one-way relationship is for when you only want the relation to appear on one of the resources i.e. you might want to have an ‘ingredients’ field to list all the ingredients in the recipe but you don’t need a ‘recipes’ field on every ingredient.
A symmetric relationship may be used when you want the relation to appear on both resources under the same field name. For example, you may have a ‘Similar to’ or ‘Analogue of’ field and if you mark one resource as ‘Similar to’ another you also want the relation to appear on the other resource.
An asymmetric is for when you want the relation to appear on both resources but under different field names. This may be used for a parent child relationship: the parent would appear under the field field ‘Parent’ on the child and the child would appear under the field ‘Child’ on the parent.
Next choose the field name(s) for the relation. The default will be the category name but you may wish to change this for improved readability. For example, if you are linking your ‘Expression Plasmids’ category to your ‘Plasmid Backbones’ category, by default every Expression Plasmid will have a metadata field called ‘Plasmid Backbones’. It may make more sense to edit this to appear just as ‘Backbone’ on the metadata label of each Expression Plasmid.
You can also choose whether you want your relation metadata field to:
Be a required field. When this toggle is on, these fields are highlighted for the user until data is added to the field.
Allow multiple resources to be selected. When this is switched on, the users may have more than one entity linked to the present entity via the one field. For example, you may have a single field called ‘Ingredients’ to which you would like to link the many components that formed your present entity.
Auto-populate from experiment. This feature allows you to automatically create these relation links from your experiments, for more information on how to set this up, see this article.
Chose any metadata fields from your linked category that you wish to include with the linked entity in the present category. For example, if you have a category for Gene Constructs, you may wish to link to a category of Promoters, as each construct will contain a promoter. You may wish to include a metadata field from the Promoter category which describes whether the promoter is inducible or constitutive, so that this information is visible with your gene construct.